Monday, January 7

Fresh New Start

Happy 2013 Amazing Mold Putty fans!!  Wow can't believe another year has come and gone but I must this year was filled with so many great things.  I made so many new new friends, learned so many new techniques, and definitely became a better crafter thanks to all of you.

For my first project for the new year I want to share a tag I made.

 Angel cherub I used to make a mold of
 The finished mold

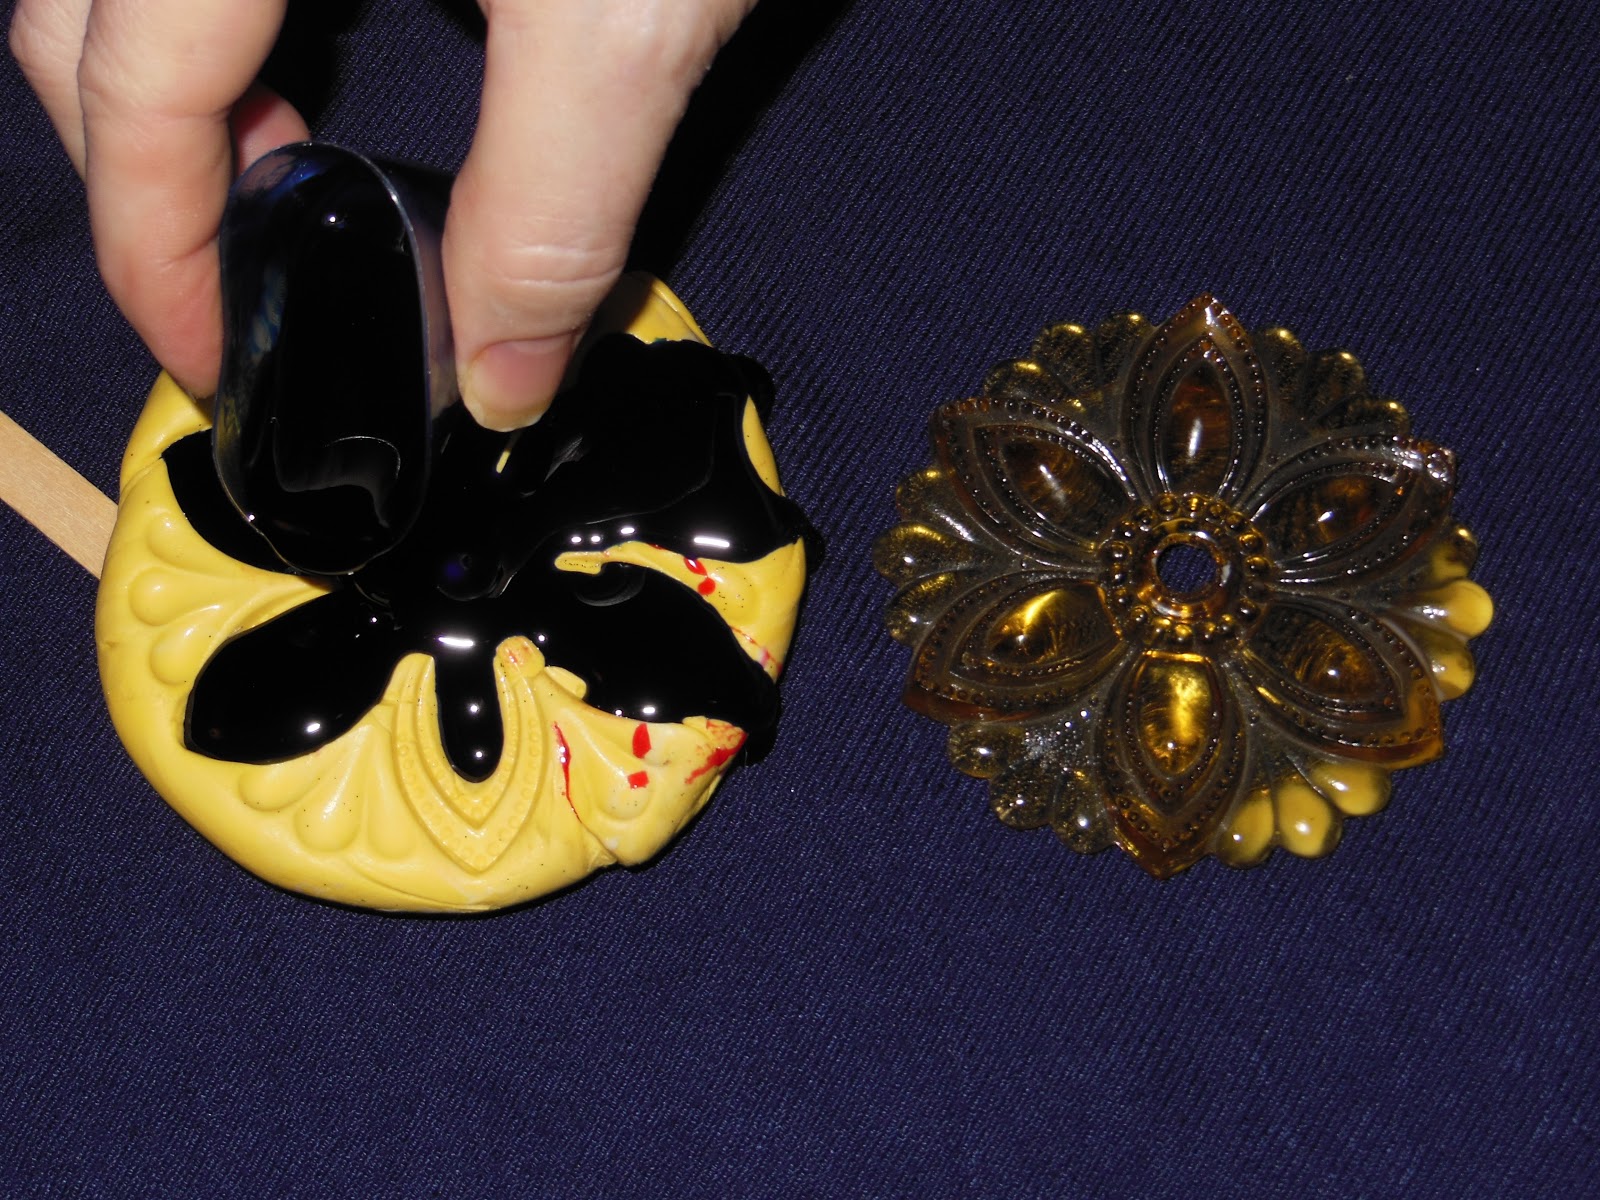
 I added color die to the resin.  You add dye to Part "A"
 This is how the angel came out I then used Inka Gold and rubbed it on the angels wing and hair
 These pieces are Gina's Designs chipboard this are just a few pieces from her Steampunk Set. You get multiple pieces in a set.
My finished tag!
You can find me at: Simply Monica
Hugs
Monica

Monday, December 31

Altered Altoid Tin


This was my first try at an altered Altoids Tin, so don't mock it too badly - lol.  I really like how it came out!

The tin itself was not difficult and there are a lot of tutorials out there (just google) so I won't go into that other than to say - don't cover it all with paper until you research - I did and mine wouldn't close so I had to make a loop closure for it. 

In looking at samples others had created, I noted quite a few with frames on the front.  And, since, eventually, I would like to make a class out of this (once I get it right), I knew I needed more than one of whatever I choose to use on top!  So, I chose some frames that I purchased in a kit a couple of years ago at a warehouse store.  I know that I can't possibly find them again, so I had to be able to make more.  And . . . in steps my  Amazing Mold Putty:

I mixed my Amazing Mold Putty mixing a 1:1 ratio of "A" and "B" (click on the link at the end of this post to go to their website for a tutorial).


Next I made a mold of each of my frames and then mixed my  Casting Resin (use the link above for detailed instructions) - equal parts A and B. As soon as parts A and B are thoroughly mixed you can begin pouring into your mold (It will turn an opaque milky white when it is completely hardened unless you are using clear or unless you added some dye to it like I did!  I mixed one drop of the African American dye  (Alumilite Dyes ) to side "A" before mixing the resin.  Check out my step-by-step pictures below.  You can see that the frames have a bit of color even before I play with them.


I choose the very last frame in the bottom right pictures to use for my tin.  I then painted it black (I only needed on coat because it was not the white resin).  After it dried I rubbed a bit of silver on it and it was ready to adhere to my altered tin.  If you look closely, you can see a key I made and showed in an earlier blog post. . .  couldn't alter the tin with just one molded item!
 
 
I really like the way it turned out.  Next time I think I will go back and dry brush a bit of the black back on it to "dirty" it up a bit (like the key).  Let me know what you think.


Thanks for checking out my project!  The  Amazing Mold Putty and Casting Resin are so easy to use and as I've said in the past, you really can recreate any embellishment you want to use more than once.  Head over to the Amazing Mold Putty website and check out all of their products.  Be sure to comment and ask questions if you have any.
 
~ Make Today Count
Wendy


Thursday, December 27

Cupcake Topper


Hi hope everyone had a Merry Christmas.  I know I did.  This idea came to me because it seems everyone is into cupcakes these days, so now you can make your own toppers so easily with Amazing Mold Putty.  Above are parts 1 and 2 plus blue dye for the clear cast resin.


 Here I am adding blue dye to parts 1 and 2 which has been mixed according to package directions.  


The dye has been added, try to be sparing with the dye as it is intense.  I will stir this until evenly mixed.

 As you can see the mixture is uniform in color and ready to pour.


This is the mold and antique glass fixture will be what I use for the topper.


Here I am pouring the Clear Cast Resin into the Amazing Mold Putty mold.


As you can see I have accidentally overfilled.  Not to worry, when it's dried you can trim off the excess.  The  casted item will pop right out.


The two cupcakes are ready for their toppers.


Cupcakes!!!!  Silver edible glitter on this one, plus a sprig of flowers.


Another mold, red this time for the season.


Second cupcake complete, ready to eat.  Have a great New Year, see you next month.
Related Posts Plugin for WordPress, Blogger...