Showing posts with label Decorative Tile. Show all posts

Wednesday, April 27

#Cre8time in the Country... Faux Delft Tile Decor by Tracy Alden


Hello! Tracy with another Amazing Casting Products tutorial! I have recently been seeing in home decor and antique stores blue and white country tiles and pottery. I have always been fond of the look and wondered if I could attempt my own version with everyday craft supplies and without the need of a kiln! 

Supplies: 
  • Amazing Clear Cast Resin
  • Polymer Clay Scraps (Uncured) 
  • Stir Sticks 
  • Acrylic Paint in Bright Blue and Ocher 
  • Paint Brush 
  • Stamps 
  • Flat head jewelry pliers 
  • Soft Wire 
  • ceramic tile 
  • Liquid Fusion Glue 
  • Disposable gloves 

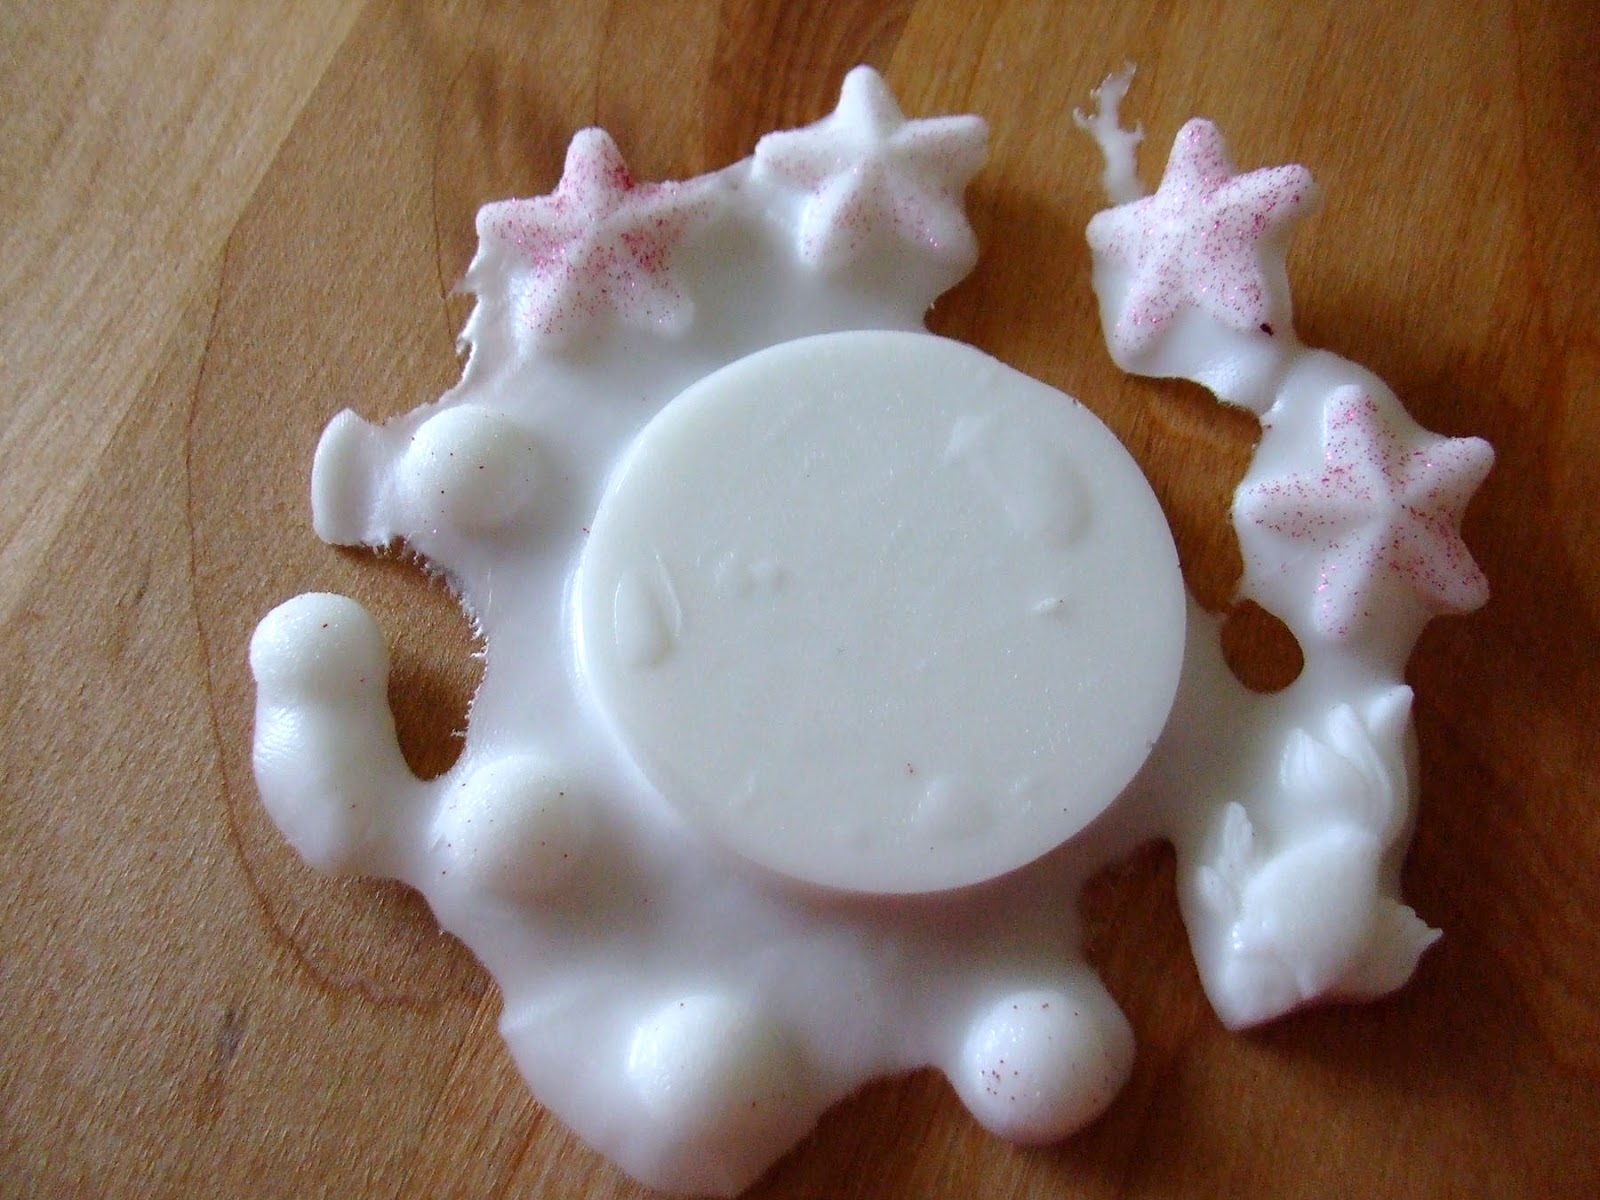
I started by going through some of my scrap polymer clay, left over from other projects. I tried to pick clay that was pale blue, grey, white, translucent and cream. I was careful to not pick any of the pearl or metallic clay because I wanted to create the look of old country tiles and not something modern.


Using a pasta machine (devoted to craft use only) set on the thickest setting I conditioned the clay and blending all of the scrap clay by multiple runs though the pasta machine. I placed my now smooth and uniform colored clay on a ceramic tile, trimming the uneven edges. I used a frame style stamp as a cutting guide, making sure I could fit 3 across and 2 going down on the clay.


Once the clay was trimmed I sprayed the frame style stamp with water to act as a stamp release from the clay and pressed firmly into the clay. After I pressed the stamp in 6 times I used small plant and insect stamps to press inside the frame impression to create the illusion of 6 individual tiles. I trimmed the clay even closer to the stamped images, smoothing edges and defining details. I placed the ceramic tile with the polymer clay into a toaster over to cure per manufacturer’s instructions.


One the clay was finished baking I removed it from the ceramic tile and cleaned the edges. I applied bright blue acrylic paint to detailed portions of the clay, rubbing off excess with a paper towel. 


I applied a color wash, of Ochre acrylic paint diluted with water, to give the tiles a aged and worn look. I let the paint fully dry.


I mixed up a small portion of Amazing Clear Cast Resin, making sure to slowly stir to reduce air bubbles and let it sit for 10 minutes. By letting the resin sit for 10 minutes, the resin will be thicker and stick more to the polymer clay piece. I carefully applied the resin to the front of the pieces with a toothpick, making sure to get all the grooves and indents of the stamped images. I put on a pair of gloves so I could smear the resin across the piece and get even coverage of resin. I let this layer of resin cure completely.

*At this point if you did not want to drill though the polymer clay piece, you can put a wire hanger on the back of the polymer clay tiles with some Liquid Fusion Glue, as I did for this tutorial.


With this polymer clay and resin coating technique any number of mixed media, embellishments and tile art can be created!

What AMAZING arts and crafts can you create?

Please share them on the user GALLERY on the Amazing Crafting Products Website!

Visit my blog Art Resurrected for more craft tutorials!

Until next time, safe travels! ~ Tracy

• • • • • • • • • • • • • • • • •

It's that time to have you chance to join our team of Amazing Creatives!


DEADLINE to apply is April 29, 2016.

  http://amazingmoldputty.blogspot.com/2016/04/an-amazing-opportunity-awaits.html

• • • • • • • • • • • • • • • • •

Don't forget to subscribe to our blog on the right side bar:
Twitter at AmazingCasting | Facebook at AmazingMoldPutty | YouTube at AmazingMoldPutty

Monday, July 27

#Cre8time Adventures in Moldmaking... and Fabulous FAUX Old World Tiles!


Greetings Amazing Crafters! Susan here to share a project that combines my love of moldmaking and casting with altered books... and I've transformed a plain jane kraft journal into something with old world Italian charm.

Cool2Cast is a product created by Tiffany Windsor of Cool2Craft – a fiber plaster medium which sets up really fast unlike paper maché casting or paper based air dry clays. This media brings a whole different feel, texture and effect to my stash of molds - and totally expands their use!

For my book I started with a plain blank spiral bound journal book. This particular one has a window already cut out of it and that's what I plan to house the casting in. I've also selected a texture plate from my stash made from Amazing Mold Rubber {CLICK HERE to view details}.


Since the cover made of craft paper, it's already primed and ready to go. I grabbed my three metallic colors of Ranger Distress paint and which have a dauber top, and I quickly painted the cover and around the edges, on the inside of the window and around the edges on the inside of the cover. When I am all done, I can go back and line inside cover with a pretty paper.


In just a few minutes the paint is dry and I'm ready to move
on to filling the window with a special casting.

I grabbed my Amazing Mold Rubber texture plate that I made from molding a vintage glass tile. I place the cover over it to decide what section of the design I want to have featured in my window. On the inside of the cover, I applied some removable blue painters tape to protect it from the liquid Cool2Cast from sticking. When it hardens, I plan to gently pull the cover off and place the casting back into the window after sanding/painting.

In hindsight - I really needed to protect the front of the cover and do this process from the backside {in reverse} so that I don't bend the casting in handling. Then I could have just mounted a piece of cardstock directly to the back of the inside cover to secure in place after it was hardened. Not a problem though, I got the results I was looking for... and the cracks that I created in my clumsiness actually added to the old world charm of my finished book.


I used some bags of glass beads to way down my cover so when I pour the Cool2Cast mixture it would not seep under the edges of the book cover.


In a Ziploc baggie I prepared a small batch of the Cool2Cast following the easy instructions - which is a 2 to 1 ratio of the casting medium to water, mixed to a pancake batter consistency. When ready, I snipped off the corner the baggie and squished onto my mold.


I used a small rubber spatula to spread the mixture around evenly,
and then I let it sit to harden for about an hour.


This created thin casting since I matched the thickness of the cover - next time I would go over and add second layer of Cool2Cast to reinforce it as I remove it from the flexible mold. I was so excited to see the result I really wasn't being as gentle as I should have been. It's all good though!


After sanding the edges slightly to square it up to fit back in the cover, I mounted a piece of chipboard {painted to match} as a backer and glued in place. I brushed on the same colors of the Distress Paint to give my Cool2Cast mod texture a nice matching patina.


I applied some coordinating metallic trim to line the edges and metallic bronze photo corners to finish it off add a little extra bling and interest.


Now I have a beautiful book ready to go that I can customize for a gift or I can use this as one of my many art journals in rotation. I really love the option of using the Cool2Cast because it gives a more earthen and distressed result when used in my Amazing Casting Products molds as opposed to the using resins that give you such a perfect and pristine casting.

The Cool2Cast insert really looks like it's a piece of old antique weathered ceramic tile. I think the next time I'm working with Amazing Clear Cast Resin, I will paint on a layer to add a protective seal to the chipboard and make the faux ceramic insert really POP.


I really love the finish on this and I'm happy how it turned out as I have a few more of these books in my stash! I look forward to trying Cool2Cast in my collection of Amazing Mold Putty and Amazing Mold Rubber molds to make castings with an old world plaster feel.

How will you alter books art

Please leave a comment below to share! If you would like to see more of my creations, please visit my blog sbartist : painting in the dark by clicking here. ~ Susan
. . . . . . . . . . . . . .

Want to Socialize with Amazing Crafting Products?
Twitter at @AmazingCrafting | Facebook at AmazingMoldPutty | YouTube at AmazingMoldPutty

Monday, January 26

#Cre8time Double Duty COOL TOOLS for Arting...
by Susan M. Brown {sbartist}


Welcome to another Mold Rubber MondaySusan here to share some molding and casting techniques to make yourself some Cre8time tools for mixed media using Amazing Mold Rubber... to give me thin resin shapes or layers for embedding in my mixed media creations.


Remember Lonnie's post from a couple weeks back where he shared how to make DIY colored resin sheets/film for arting?? Well - that set me off running on a tangent while I was preparing things to demo using Amazing Mold Rubber at the Winter 2015 Craft and Hobby Association Mega Show. Thanks to Lyneen Jesse for catching a quick glimpse of us in action amongst all the hustle and bustle.

Amazing Mold Rubber is available at Hobby Lobby and Micheals Stores, other retail locations and also at the moldputty.com website – so please feel free to search our archives and get inspired and excited about mold-making and casting... and MORE! 


Amazing Mold Rubber is an easy to use, high strength liquid silicone mold making rubber that is strong, soft and flexible - great for undercut parts and cures in approx. four hours. Amazing Mold Rubber is a two-part liquid rubber used to make extremely elastic molds to produce quick and exact reproductions of your original. Replicas can then be cast in Amazing Casting ResinAmazing Clear Cast Resin for plastic parts - or use other materials such as plaster, wax, clay or polyester... and that's just the beginning to all the fabulous uses just waiting to be discovered!

What I did... I made a double duty
Amazing No-Gelatin Printing Plate!


Started with using some recycled packaging courtesy of Ranger
as a mold box and a transporter for my new tool.


I spray mounted the base of the container and placed in varyied sizes of microscope slides {you know you all are hoarding these too} and small glass tiles. I had some empty space, so a cut up wooden stir stick as well.


Filled in with about a 1/2" of Amazing Mold Rubber and when cured I will have a monoprinting slab on the top... AND...


...perfect pristine molded glass slide voids on the other!


Perfect for creating 1/16" tiles or thin resin sheets and layering items for embedding.


I had fun experimenting with this double duty COOL TOOL that has another AMAZING No-Gelatin Rubber Plate on the other side. The glossy detail of the glass slides has been captured beautifully and transfer perfectly to the clear resin pour! I gave a few of my examples away at CHA and I'm looking forward to see what crafty goodness comes of them.

What items would you love to cast

Please leave a comment below to share your ideas -or- please, ask us questions! If you would like to see more of my creations, please visit my blog sbartist : painting in the dark by clicking here -or- check out more videos on my YouTube channel here. ~ Susan

Thanks for stopping by and have a creative day!
...........................................

Want to Socialize with Amazing Crafting Products?
Twitter at @AmazingCrafting | Facebook at AmazingMoldPutty | YouTube at AmazingMoldPutty

Thursday, July 24

#Cre8time Adventures with a Bird and Mod Podge... by Brenda Burfeind

Hello crafters! Brenda here again to show you what happens
when you experiment while playing with a few products... 


I started out with some Creative Paperclay® and a wood tile. 


Cutting around the wooden tile, I carfefully cut the Creative Paperclay® into a tile shape. Although it's an air dry clay, I baked it for about half and hour – turning it every 7 minutes of so to get a nice even bake. I use a small toaster oven to bake all my clay and never use it for anything else. 


I still had a little bit of this gorgeous Decopatch paper left over from my April Frog Dog Studio Kit and decided to "muddy" it up a bit using some alcohol inks. 


I also used some Alumilte Silver Metallic Powder and
Alumidust in Orange and created a spray mist.

Here is what the tile looks like after Mod-Podging the paper to it. 


You can still see some of the original paper, but I did want just a hint of the details. Once I got the color I wanted I Mod-Podged the paper to the tile and sanded around the edges. Then I took my orange ink pad and ran that around the edges to give it almost a burnt look.


Now, I mixed up the Amazing Clear Cast Resin and painted it over my tile. Then I mixed a bit of the Alumilite Blue Dye into the remaining clear cast resin and puddled it around the top of my tile and "blew" it with my heat gun. It gave it some interesting detail. I sprinkled some orange glitter in the blue area just for bling. 


I used up the rest of the Amazing Clear Cast Resin with the Alumilite Blue Dye to cast my bird of paradise {also from the April Frog Dog Studio kit}, that I created a mold of using my Amazing Mold Putty. Actually, if you missed that post, you can see it here.


After she was set up, I demolded her and glued her to my tile.


I added a pop tab to the back of my tile as my hanger and now I have a very unique tile to hand in my bathroom just because that color palette will work there very well. 


I just love experimenting; sometimes it's a fail, but most mostly I have success. Now I love my tile and the uniqueness it holds. I doubt I'll ever be able to recreate this, but it was fun making it. Thank you for stopping by today and I hope I've inspired you to do some experimenting.

 I hope you will join me over at my blog and until next time, happy experimenting!


 • • • • • • • • • • • • • •

Don't forget to subscribe to our blog on the right side bar:
Twitter at AmazingCrafting | Facebook at AmazingMoldPutty | YouTube at AmazingMoldPutty

Tuesday, March 25

#Cre8time Adventures in Resin Play Fashion a Decorative Tile... by Isabel Villarreal


I usually spend my creative time making things that are useful but this time around I really just wanted to make something for the sake of making instead of making something with a specific purpose. This 5" x 5" decorative tile will be gracing my coffee table but it can also be used as a paperweight or a coaster.


I have a set of flashlight filters from an old military light that my boyfriend got rid of - yes, he actually got rid of something! The filters come in bright colors and just called for something cheerful. I gathered the filters, some random findings and a wooden block and challenged myself to make something happen with these items. My goal is make something I can display on my coffee table.


Of course as soon as I decided to use these items I realized I might want to use them for other creative works so instead of using the originals I used Amazing Mold Putty to create a mold so I could make my own colorful disks and findings for any future ventures. For the findings I got a plastic lid to use as a base for my mold since there were a few different shapes and I wanted to try making a small mold that would accommodate all of the different shapes. I mixed equal parts of "A" and "B" of the Amazing Mold Putty and pressed it into the dish – starting from the center and working my way to the edges. Once the putty was spread equally I pressed the findings and the disk into the putty. I mixed another amount to create the mold of my wooden block, once again starting from the center and working out to cover the edges. After I made sure the edges were covered, I flipped it over and pressed it onto my work surface to flatten out the bottom and left both pieces to set for about 10 minutes.


After removing the original pieces from the molds, I noticed there was some glitter that had been left behind in some places. I wasn't able to brush off the glitter and I didn't want to damage the mold by scraping it with my nails so I did the first thing that came to mind... I used Amazing Casting Resin to clean out my mold. Amazing Casting Resin sets and becomes a solid white color in only 10 minutes – so I would be able to do it quickly and not lose my creative momentum. Combining equal parts of "A and "B", I mixed them in a small cup and quickly poured it into my mold. While I gave it a few minutes' setting time, I continued working on my other mold.

For the wooden block mold – I mixed up some Amazing Clear Cast Resin and poured a thin layer. The block mold is about 3/4" deep so I poured a layer that's about 1/8" thick and let it set. I went back to pull off the now solid white Amazing Casting Resin and saw that my experiment worked. The glitter that had been left behind was now removed from my mold and it was ready to use.


For my findings I mixed some Amazing Clear Cast Resin and then added a drop of Alumilite Yellow Dye to the mixture. After pouring it into my mold I left it to set. After 4 hours the resin was not completely set in either mold, but for what I was doing I didn't need it fully set so I went ahead and removed the Yellow findings from the mold. I added another layer of Clear Cast Resin to the block mold and dropped the findings face down into the new layer of  Clear Cast Resin. For some ridiculous reason I used yellow pieces in a yellow mold so I couldn't really see if this was working as I'd hoped. I'd have to wait until the whole piece was complete before I could see the finished product. 


After waiting about 4 hours, I poured yet another layer of Amazing Clear Cast Resin. I'm building up layers so that I can reduce the chances of bubbles developing in the resin as it is setting. Within the third layer I used a toothpick to drag Alumilite Red, Blue, Green and Violet Dyes through the freshly poured resin. I then swirled the colors around in the mold and waited as they moved around. I had very little control over how the colors spread and swirled, since they kept moving around until the resin settled. I let this layer dry overnight.

The next day I poured the final layer in the mold. My last layer would be Amazing Casting Resin  My thinking was that this solid white layer will be the background of the piece and it will show the shapes and colors nicely. I won't know if this actually works until the piece is finished. I'll just have to wait for the last layer to dry. 


I removed the piece from the mold and it was very foggy with rough edges so I used superfine sand paper to smooth out the roughness. My last step was to pour a thin layer of Amazing Clear Cast Resin over the top of the piece. This thin layer of Clear Cast Resin will take away the fogginess of the piece and provide a protective top layer for the tile. Once the layer was poured I dipped a small soft brush in Alumilite Metallic Gold and Copper Powders and splattered the surface of the tile. I went back with a toothpick and traced small overlapping circles over the entire surface of the tile.

This created a really interesting florentine swirl pattern that kept changing slightly as the resin dried. I'm absolutely in love with this piece. It was very exciting for me to create this piece because I was never really sure how it would look when it was done. It almost created itself because of the way the resin settles so this time around it was pure creative adventure for me.

What adventures will you create
with Amazing Crafting Products? 


I'd love to see what you create! Please upload and share your creations to the


• • • • • • • • • • • • • •

.................................
__________________________________________

COUPON
Use this coupon to shop at the Amazing Mold Putty
website HERE and receive 20% OFF your purchase.
Please use coupon code " shamrock " {no quotations}.
Coupon expires March 31, 2014.
__________________________________________
.................................

Don't forget to subscribe to our blog on the right side bar:
Twitter at AmazingCrafting | Facebook at AmazingMoldPutty | YouTube at AmazingMoldPutty
Related Posts Plugin for WordPress, Blogger...