Showing posts with label Rust. Show all posts

Wednesday, June 21

Fly Away with Amazing Remelt... #Cre8time ArtDolls with Kristie Taylor


Hello all you mold lovers! Kristie Taylor here with a new adventure in mold making. Anyone who knows me knows that I love babydoll art... and hearts... and steampunk – and of course using Amazing Casting Products to make these things.


So today I want to show you how I combined my some amazing cast resin shapes with a sardine can and some chipboard to create "Frederick". Please join me as I show you how easy it is!

Sometimes a set of beautifully detailed wings is all it takes to really set off an idea! That's what happened with this project – I already have a lot of the ingredients cast out of Amazing Casting Resin in my stash, but I needed that little "something extra" to really set it off.


Then I remembered these wings that came off of a beat up vintage tree topper that I had found at a local thrift store! 


First, I gathered these molds from my stash – many using Amazing Mold Putty and one using Amazing Mold Rubber. Then I used Amazing Casting Resin the make casts from them.


Then I needed a head – so I got one from my stash! I quickly made a mold with Amazing Mold Putty and when cured, I filled it with Amazing Casting Resin.

Now you may wonder why I didn't just use the head?!! The reason is that I wanted it to be flat on the back... and besides, I will probably use this face for another project!


Now let's make a mold of these lovely wings!


I went to my stash of containers and found one that was a suitable size for both wings to fit. I glued the wings to the lid with a hot glue gun, making sure they don't touch the sides of the container, and that they have enough room between them. 


I sprayed the inside of the container and the wings with UMR mold release sprayI sealed the lid with hot glue, making sure I have a good seal so that the Amazing Remelt doesn't leak out. I flipped the can over and removed the bottom – my mold box is complete.


Melt the Amazing Remelt following instructions in the microwave and pour into the can {CLICK HERE to view preparation}. Set aside to allow the mold to harden.


Once the Amazing Remelt is fully cooled and hardened, I can remove the mold from the can and remove the original plastic wings.


I used a craft knife to cut down the sides of the mold to remove the wings. This is OK - I can use rubberbands to hold the mold together when I fill with resin.


Look at all that detail in there!


Mix equal parts of Amazing Clear Cast Resin according to instructions. I let this rest for 5-10 minutes to release air bubbles, then poured into the mold {CLICK HERE to view mixing/preparation}. While these cure, I can move on to preparing and painting other parts.


Once cured, I painted the resin wings, face and other resin cast pieces with Gesso. I used my fingertip to apply gesso onto the face so that there would be more texture.


I used Aves Apoxie Sculpt to attach the head, collar and wings to the outside of a recycled sardine can. I started the assemblage for the inside of the can, using E6000 adhesive to hold everything in place, then painted the can with Ten Second Studio Verday paint. 


I painted the wings and face with black craft paint, 
then with Golden fluid acrylic interference colors. 


Then I added Ten Second Studio rusting paint. That is it!

Now I have a beautiful angel
with lovely wings!


Meet Frederick!

Isn't he just a lovely little guy? He flies on the wings of time looking for his one true love and keeps his clockwork heart safe and sound inside his chest until he finds her. Is it you??!!


Isn't he just lovely?!! I love him so much and this project is made from a LOT of pieces cast with Amazing Casting Products!


Thank you so much for stopping by today...
now get out there and mold all the things!!

What altered things will you create
with DIY cast resin wings??!

Thank you so much for stopping by today! Kristie

To see more of my work, please visit my blog, "The Scrapinater", 
over on my YouTube Channel or on Instagram.

• • • • • • • • • • • • • • • • •

Don't forget to subscribe to our blog on the right side bar:
Twitter at AmazingCasting | Facebook at AmazingMoldPutty | YouTube at AmazingMoldPutty

Monday, March 24

#Cre8time Experimenting Yields Unexpected Results on Mold Rubber Monday


Good evening Amazing Crafters! Susan dropping by again for Mold Rubber Monday. Last Monday, I shared how I created molds to used to cast loads of handmade screws, bolts and other hardware baubles in the March Frog Dog Studio Kits. Each of the pieces were pristine duplicates of the brand new hardware molded. Today, I am sharing another mold that I've created to show the AMAZING detail captured by Amazing Mold Rubber... except this bolt is a rusty, grungy original I found in my crafty stash – surely something I picked up in a parking lot or the street.


I glued the bolt using 3M spray ahesive to the inside of a small metal tin {just slightly larger than my original}. Please CLICK HERE to jump to last week's post. I had other items in the works so again I prepared an entire container of Amazing Mold Rubber {please CLICK HERE to view mixing/preparation}.


The March Frog Dog Studio Kit contains this awesome Rusting Powder by The Dusty Attic. After seeing everyone's results using this - I couldn't wait to try it out. So I read the instructions, and OPTED to experiment. The test was to see how the rusting powder works using the Amazing Casting Resin as the bonding agent. Well, short answer... FAIL! The resulting metal look is great - except the powder bonds with the resin removing it's ability to rust when vinegar is applied to activate the rusting.


I dusted the The Dusty Attic Rusting Powder directly to the mold as I would using the Alumilite Metallic Powders, and I prepared another mold with the smaller hardware items also.


I prepared a small batch of Amazing Casting Resin {equal parts of "A" and "B"}. I added a small scoop of Alumilite Gunmetal and Bronze Metallic Powders, and also a scoop of the The Dusty Attic Rusting Powder. I added no dyes to the resin; stirring a little extra because I couldn't see the mixture go clear and then poured into the molds.


I love the real metal coloring that has resulted after the Amazing Casting Resin has cured. I pop them all out, and trim off any flashing, then spray with white vinegar following the rusting powder instructions. Unfortunately, even after an hour, there was no change in the color of the items, visible rusting or oxidation. I chalk it up to a learning experience... and I still have a lot of new, fun usable hardware ready to go for more distress and coloring. If you don't try – you won't know the answer.


Side-by-side you can hardly tell the difference!

The rusting powder dusted into the mold along with mixing into Amazing Casting Resin with Alumilite Bronze and Gunmetal Metallic Powders gave a fabulous aged metal coloring – even though NO DYE was used. I will cast a few more items like this and then apply the The Dusty Attic Rusting Powder, as instructed, using an adhesive, then apply vinegar to activate the rusting and oxidation. These are a nice base to start with and it was a good learning experience. Stay tuned for a another project I will have using these here on Thursday.


What items would you mold and cast
for your mixed-media projects?

If you would like to see more of my creations, please visit my blog
sbartist : painting in the dark by clicking here. ~ Susan

I hope you have a creative evening - thanks for visiting!

.................................
__________________________________________

COUPON
Use this coupon to shop at the Amazing Mold Putty
website HERE and receive 20% OFF your purchase.
Please use coupon code " shamrock " {no quotations}.
Coupon expires March 31, 2014.
__________________________________________
.................................

Don't forget to subscribe to our blog on the right side bar:
Twitter at AmazingCrafting | Facebook at AmazingMoldPutty | YouTube at AmazingMoldPutty

Saturday, March 15

Rusted Findings plus #Cre8time make a Mixed Media Vintage Necklace... by Rachel Whetzel


Hello, Creatives and Rust Lovers!! Rachel Whetzel here, to show you how I got started on a vintage item mixed media necklace using Amazing Casting Resin and Amazing Mold Putty by Amazing Crafting Products.

I used this rusty crusty found piece of metal for this piece.


Here's what you'll need to make a necklace of your own:


To start, I molded both sides, one at a time, using Amazing Mold Putty. Please CLICK HERE for more detailed instructions on how to mix Amazing Mold Putty. I used some Copper Alumilite Metallic Powder, dusted into the inside of my mold using a Cotton Swab.


Next, I mixed Amazing Casting Resin, and poured it into the molds. Please CLICK HERE for more detailed instructions on mixing and preparing Amazing Casting Resin. I got a little excited, and pulled the pieces before they completely set, so some of the Alumilite Metallic Powder stayed behind in the mold, but that's alright, because of the crusty nature of this piece. Had it been more important, I might have re-poured. 


Once the Amazing Casting Resin was completely set up,
I got busy layering colors onto the pieces using Acrylic Paints.

Black and Orange

Some Creams and Browns

To get the colors to layer into the nooks and crannies, I painted, and then wiped some of the paints off here and there. Still, my colors weren't QUITE popping when it came to the rust. Then I realized that the Alumilite Florescent "FLO" Orange Dye might be just the thing.


I just squeezed a DROP onto a damp paper towel, and dabbed it onto the pieces.


This really made the orange look like rust, but it was still not QUITE dingy enough, so I sprayed a little bit of Walnut Antiquing Spray over them.


That's just about perfect. 

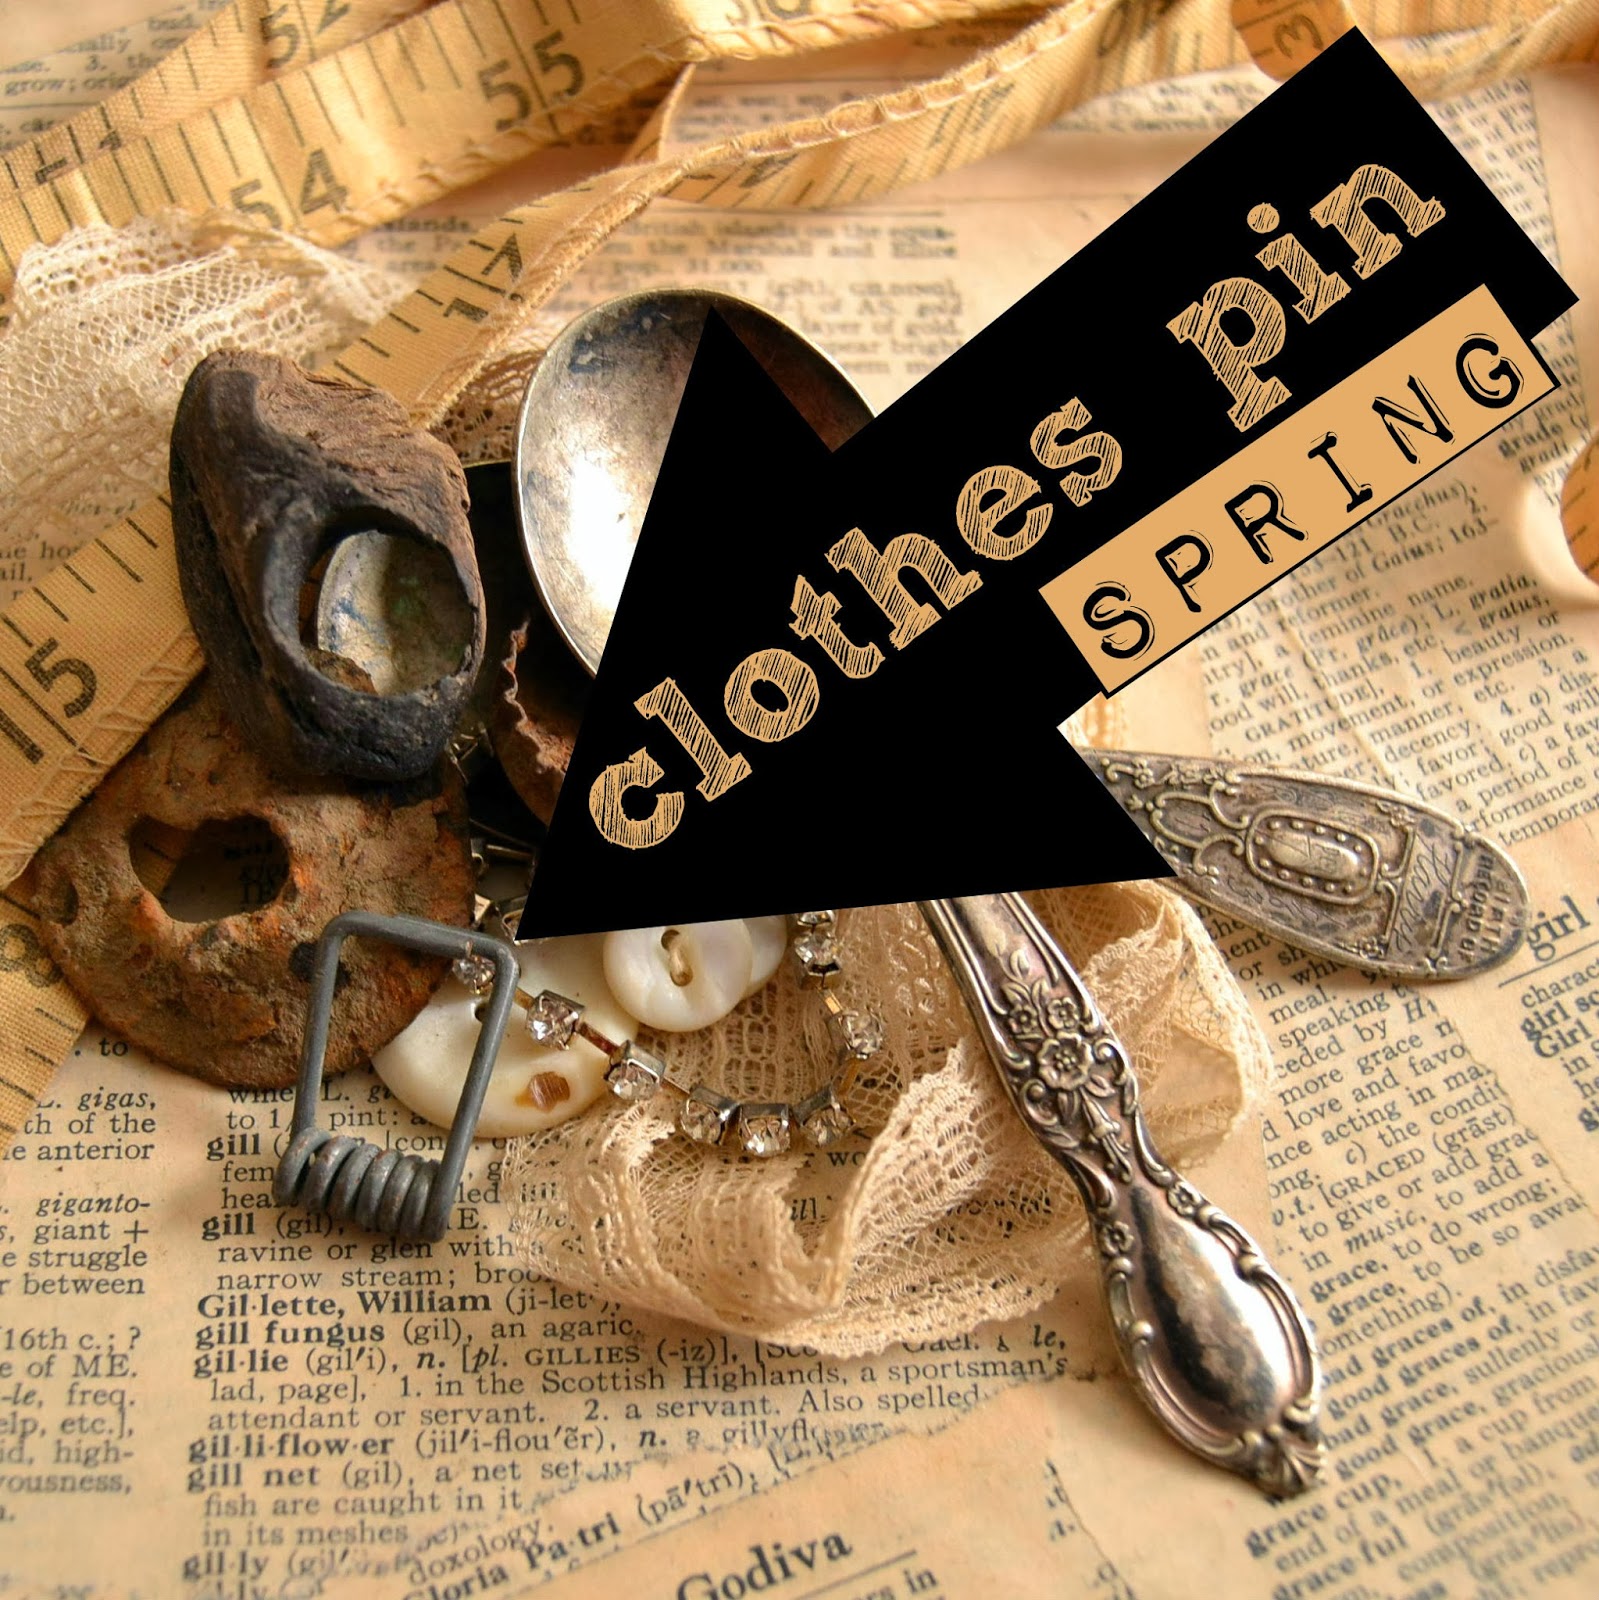
I used the clothes pin spring I shared with you in my "pile o' cool stuff" that I shared with you on my Inspiration Post at the end of last month.


I cut the ends off of the piece, and used more Amazing Casting Resin
to attach the metal to my molded piece. 

I WOULD CHANGE THIS!

When I do this again, I will put the clothes pin piece
on BEFORE I paint the whole piece.


This way worked OK, but when I poured the layer of resin onto the back, a little bit dripped onto the front, and the whole thing would have been simpler if I painted my rusty look AFTER all the resin was poured.


When the second layer of resin was set, I painted the back of the piece in black. I threaded the vintage fabric measuring tape through some chain and the clothes pin spring.


  I also paired it with a mix of other thrifted chains and jewelry that I had handy.


Here is the original, and my piece together! I think they look pretty great!


Thanks for reading! If you'd like to keep up with me, and see more of what I'm up to, I'd also love it if you'd visit MY BLOG and Subscribe! I'm still working on other media pieces to put on the necklace, so subscribing will help you ensure you get updates when I share the rest! You can also find me on FACEBOOK! ~ rachel


• • • • • • • • • •

Don't miss a single post!
Please subscribe to our blog on the right side bar:
Twitter at @AmazingCrafting | Facebook at AmazingMoldPutty | YouTube at AmazingMoldPutty
Related Posts Plugin for WordPress, Blogger...