Showing posts with label Orange. Show all posts

Saturday, March 15

Rusted Findings plus #Cre8time make a Mixed Media Vintage Necklace... by Rachel Whetzel


Hello, Creatives and Rust Lovers!! Rachel Whetzel here, to show you how I got started on a vintage item mixed media necklace using Amazing Casting Resin and Amazing Mold Putty by Amazing Crafting Products.

I used this rusty crusty found piece of metal for this piece.


Here's what you'll need to make a necklace of your own:


To start, I molded both sides, one at a time, using Amazing Mold Putty. Please CLICK HERE for more detailed instructions on how to mix Amazing Mold Putty. I used some Copper Alumilite Metallic Powder, dusted into the inside of my mold using a Cotton Swab.


Next, I mixed Amazing Casting Resin, and poured it into the molds. Please CLICK HERE for more detailed instructions on mixing and preparing Amazing Casting Resin. I got a little excited, and pulled the pieces before they completely set, so some of the Alumilite Metallic Powder stayed behind in the mold, but that's alright, because of the crusty nature of this piece. Had it been more important, I might have re-poured. 


Once the Amazing Casting Resin was completely set up,
I got busy layering colors onto the pieces using Acrylic Paints.

Black and Orange

Some Creams and Browns

To get the colors to layer into the nooks and crannies, I painted, and then wiped some of the paints off here and there. Still, my colors weren't QUITE popping when it came to the rust. Then I realized that the Alumilite Florescent "FLO" Orange Dye might be just the thing.


I just squeezed a DROP onto a damp paper towel, and dabbed it onto the pieces.


This really made the orange look like rust, but it was still not QUITE dingy enough, so I sprayed a little bit of Walnut Antiquing Spray over them.


That's just about perfect. 

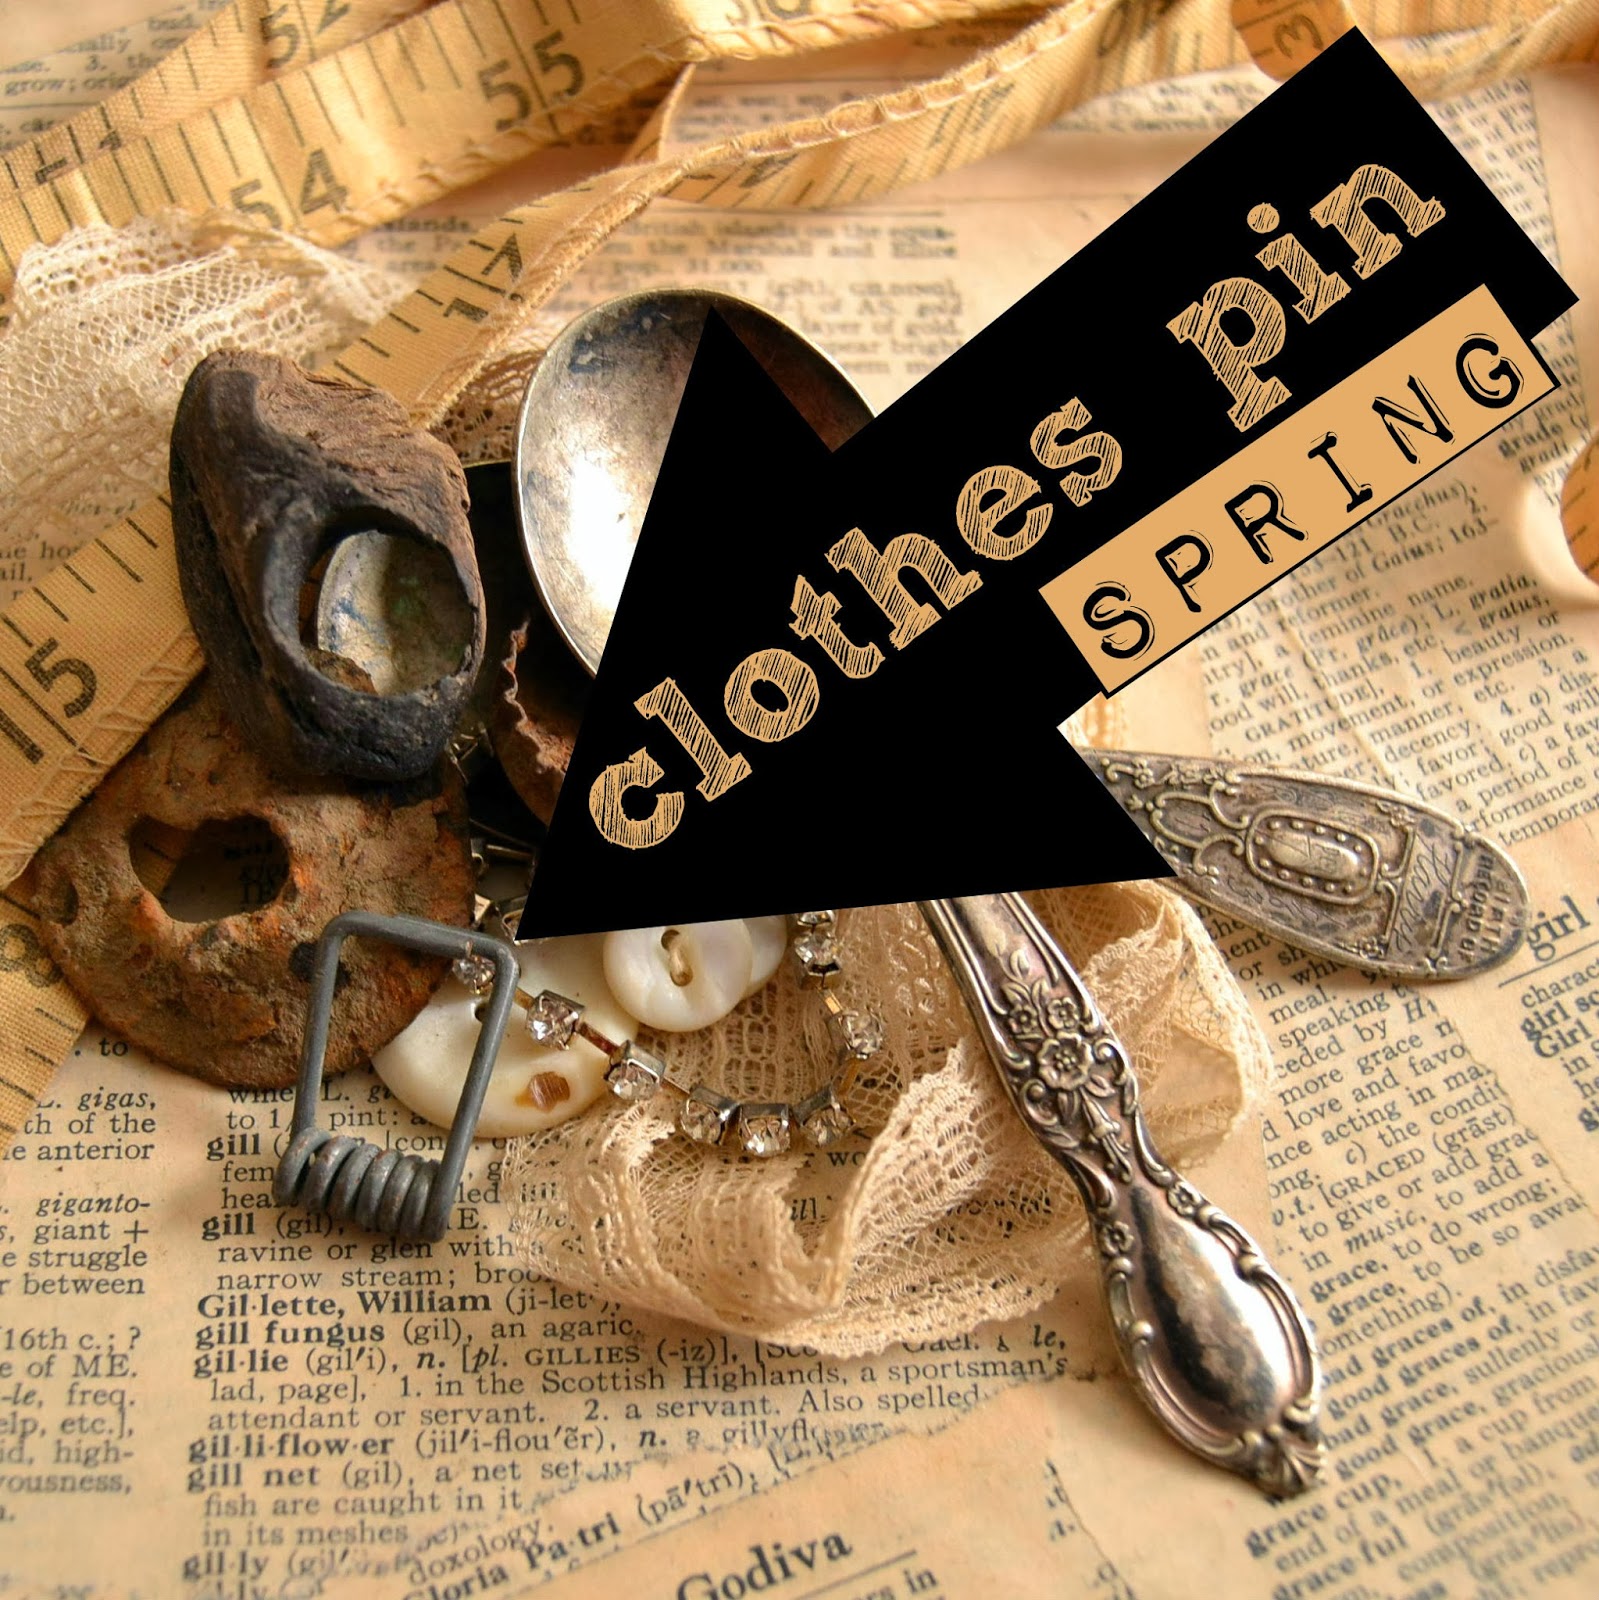
I used the clothes pin spring I shared with you in my "pile o' cool stuff" that I shared with you on my Inspiration Post at the end of last month.

I cut the ends off of the piece, and used more Amazing Casting Resin
to attach the metal to my molded piece. 

I WOULD CHANGE THIS!

When I do this again, I will put the clothes pin piece
on BEFORE I paint the whole piece.


This way worked OK, but when I poured the layer of resin onto the back, a little bit dripped onto the front, and the whole thing would have been simpler if I painted my rusty look AFTER all the resin was poured.


When the second layer of resin was set, I painted the back of the piece in black. I threaded the vintage fabric measuring tape through some chain and the clothes pin spring.


  I also paired it with a mix of other thrifted chains and jewelry that I had handy.


Here is the original, and my piece together! I think they look pretty great!


Thanks for reading! If you'd like to keep up with me, and see more of what I'm up to, I'd also love it if you'd visit MY BLOG and Subscribe! I'm still working on other media pieces to put on the necklace, so subscribing will help you ensure you get updates when I share the rest! You can also find me on FACEBOOK! ~ rachel


• • • • • • • • • •

Don't miss a single post!
Please subscribe to our blog on the right side bar:
Twitter at @AmazingCrafting | Facebook at AmazingMoldPutty | YouTube at AmazingMoldPutty

Saturday, September 14

EYES are WATCHING! DIY Googly Eye Light Switch Plate Cover by Michelle Frae Cummings


Hi everyone! Michelle here with another great tutorial that you can use for Halloween or just for fun!

Products used:


Mix ample, but equal amounts of the the Amazing Mold Putty until no white streaks appear. Flatten out to a rectangle shape and a add a small ball of putty in the center for where the plates holes are. Press plate in place, pushing the extra putty out through the holes. Let set about 10 minutes. Remove plate and patch up any rough spots with extra mixed putty (this also adds textures for the resin colors). Trim where needed and stick your wire into the putty for the screws. You'll want to build up those holes with a little extra putty as shown. Add some coils of putty to the walls of the mold and press in place with the popsicle stick provided from the resin mix. Let harden completely before adding resin. 


Using the measuring cups and popsicle stick provided, mix thoroughly 1 Tablespoon each of parts "A" and "B" of the Amazing Casting Resin and 5 drops of the Alumilite Fluorescent Orange Dye. Pour into the mold. Most of the resin will spill into the sides and only cover parts of the plate. This is OK. 


Let the first color set while you mix the next color.

For the green, mix thoroughly 1 dram (alternate measurement on measuring cups provided with resin) each of parts "A" and "B" of the Amazing Casting Resin and 3 drops of Alumilite Fluorescent Green Dye. 

Carefully pour, drip by drip onto the areas not covered by the orange resin. 


Quickly place your googly eyes onto the tacky resin before it cures. I put a little bit of adhesive on the end of a wooden skewer to use as a googly-eye-picker-upper. :)


Next mix thoroughly 2 Tablespoons each parts "A" and "B" of Amazing Clear Cast Resin and fill in the mold, making sure to cover every googly eye. Let this set at least 8 hours in a undisturbed spot. Remove from mold and trim off any sharp points.

Find a place in your house where it can be used often enjoyed!

What kind of Spooky Lightswitch Plate will you
cast and mold using Amazing Casting Products?


Thanks for coming by! Please visit my blog, Faerie Dust Dreams 
for more creative inspiration. ~ Michelle Frae Cummings

...........................................

How about a 20% Coupon to shop
Use coupon code { celebrate } at

Coupon Expires September 30, 2013.
...........................................

Don't miss a single post!
Please subscribe to our blog via email or bloglovin' on the right side bar:
Twitter at @AmazingCrafting | Facebook at AmazingMoldPutty | YouTube at AmazingMoldPutty

Tuesday, August 20

HOOT - HOOT! Add some Character to your Message Board... AMAZING Inspiration by Michelle Frae Cummings


Have you ever wished that you had something more exciting for push pins? Some thing just as pretty to look at as the art you are pinning? I did! I love owls and was bored with my plain flat push pins.


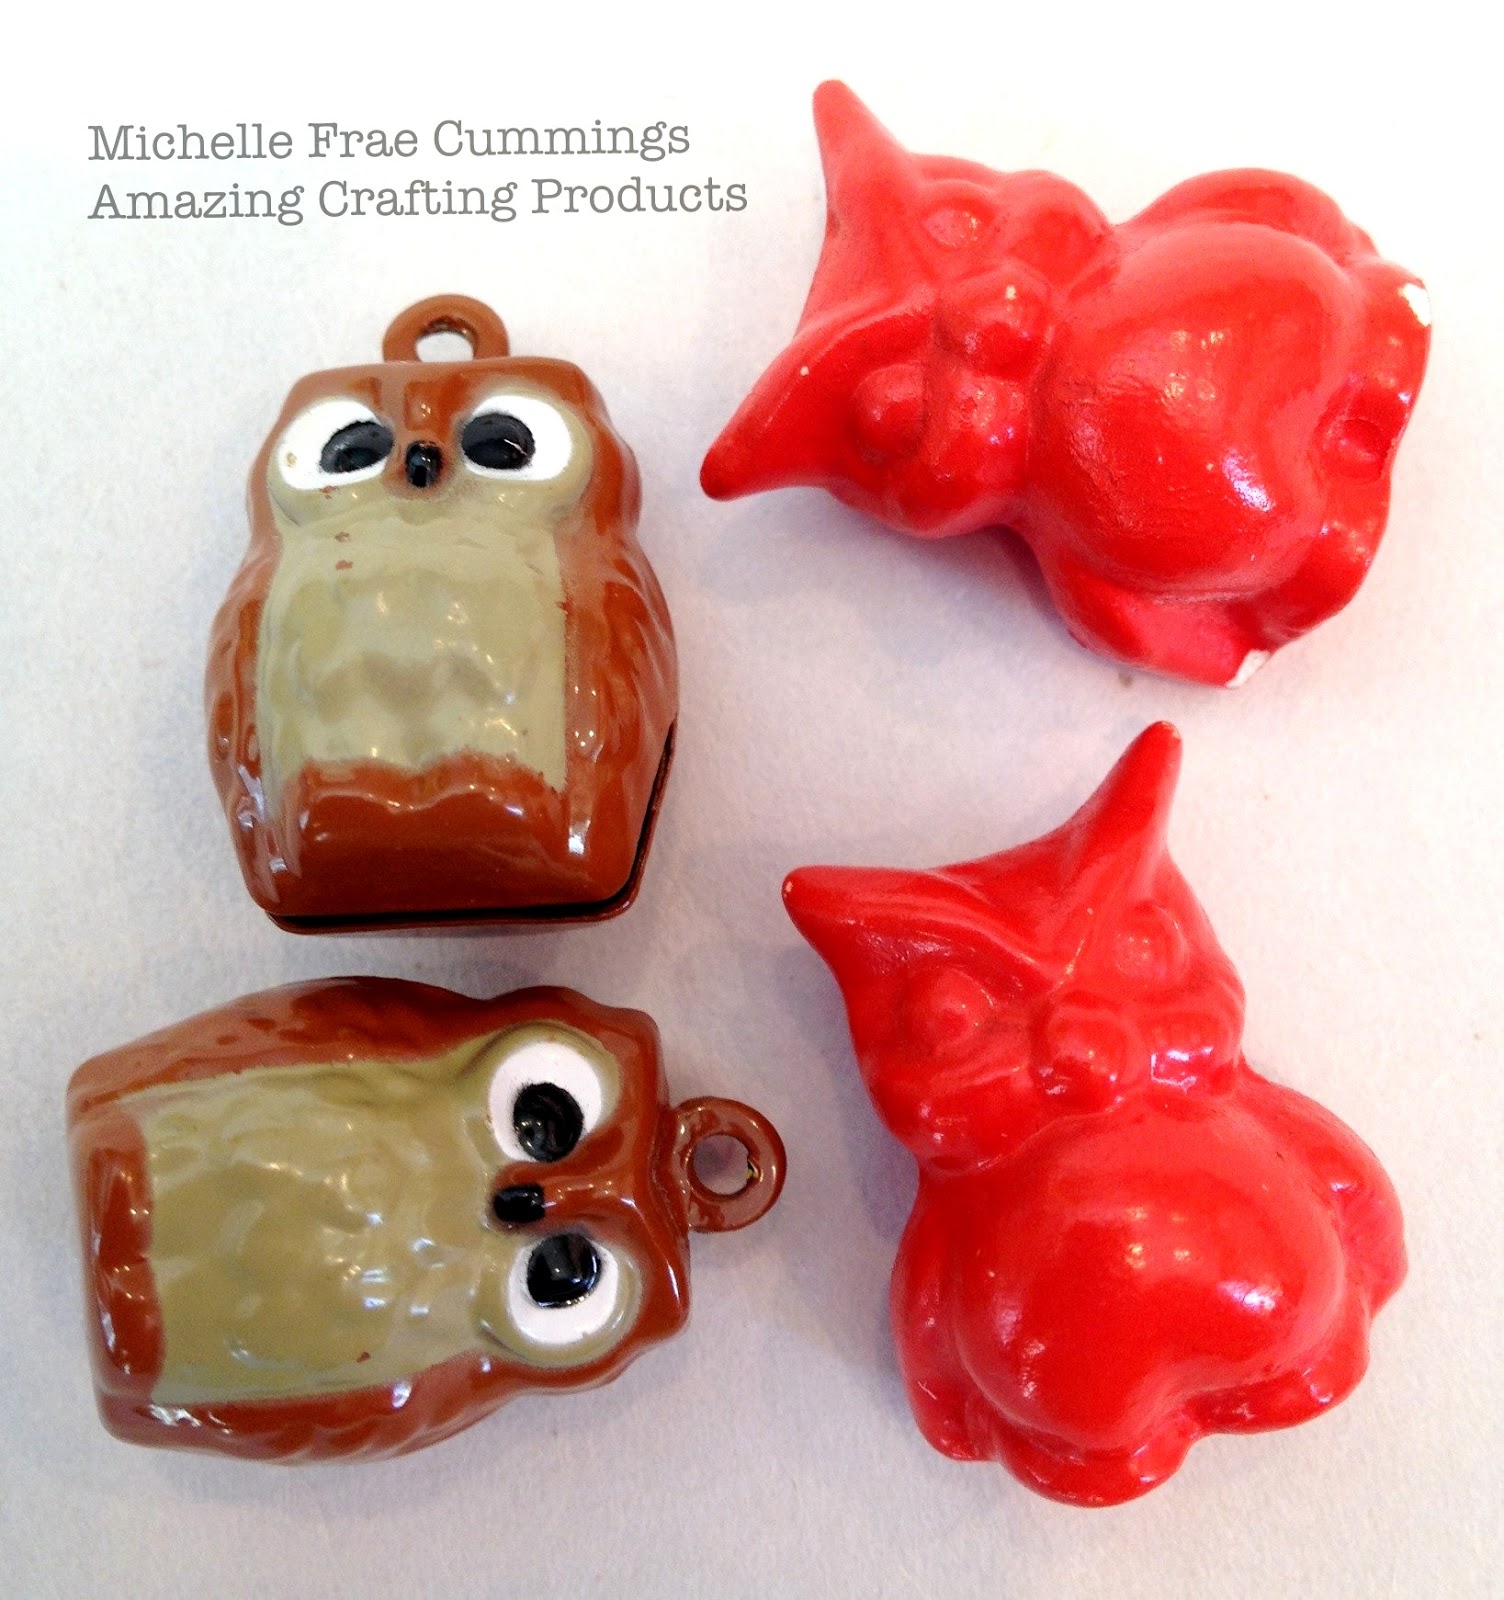
So I made up some push pins from some small vintage owl keepsakes.


Small vintage owls like these bells and figurines work nicely. 

I used Amazing Mold Putty, Amazing Casting Resin, and the new Violet, fluorescent green and fluorescent orange Alumilite Dyes. From start to finish, making these owl push pins took no more than 30 minutes! After the resin owls were cured, I simply glued the flat part of the push pins onto the backs of the owls with E-6000.

So easy!


How would you customize your pushpins

Thanks for coming by! Please visit my blog, Faerie Dust Dreams 
for more creative inspiration. ~ Michelle Frae Cummings
.................................

Don't miss a single post!
Please subscribe to our blog via email or bloglovin' on the right side bar:
Twitter at @AmazingCrafting | Facebook at AmazingMoldPutty | YouTube at AmazingMoldPutty

Wednesday, August 14

Ohhh the Possibilities with these Amazing Colors... AMAZING Inspiration from Brenda Burfeind

Brenda here again and I cannot tell you how excited I am about the NEW colors that Amazing Crafting Products just came out with. I got to play for a little while yesterday and I can honestly say I am in LOVE. I didn't get to test ALL the new colors, but love the outcome of what I did try. My all time favorite color is Purple and they just came out with an amazing Violet, SO beautiful. They also came out with 4 neon colors:


I know I will be creating something for my son
with the Fluorescent Green, his favorite color. 


But, here is just a tiny sampling of what's to come.


1. Fluorescent Green (Flo Green) domino cast with Amazing Clear Cast Resin. It's not quite cured yet as it does take about 24 hours, but can you just see the potential in NEON?

2. Fluorescent Green (Flo Green) ornate piece cast with Amazing Casting Resin (see the color difference by using clear cast vs resin since that is a white based product?) The color possibilities are endless.


4. Fluorescent Orange (Flo Orange) cast with Amazing Casting Resin. I can't wait to try it with the Amazing Clear Cast Resin to bring out that NEON effect.

5. Fluorescent Orange (Flo Orange) cast with Amazing Casting Resin and highlighted with gold Rub 'n Buff®, (there again, bringing new color to an existing color).

6. Alumilite Violet Dye leaf cast with Amazing Casting Resin and washed with white pearl acrylic paint with more color highlighted.

So you can see how you can achieve SO many different colors using either the Amazing Casting Resin or the Amazing Clear Cast Resin. 

I hope I've given you a little look into how colors can be changed up with a bit of creativity and a bit of imagination. 
Thank you for joining me today and remember... "Creativity is a State of Mind". ~ Brenda
...........................................


Join us each Monday for Mold Rubber Mondays – where we will share projects and inspiration using this fabulous new product available at Amazing Crafting Products!


What to do??? CLICK HERE to jump to post with all the details.
You can't win if you don't play.
...........................................

Don't forget to subscribe to our blog on the right side bar:
Twitter at @AmazingCrafting | Pinterest at AmazingCrafting | YouTube at AmazingMoldPutty
Related Posts Plugin for WordPress, Blogger...