Recently for dinner we had chicken, and what do you have left when all the chicken is gone? Bones... LOL! A while back, Susan our fearless leader made a necklace using a wishbone and if you missed her tutorial you can view it
HERE. I thought that was so cool, but I have yet to come across a non-broken wishbone. One of these days I will because that necklace is awesome.
Anyway, after I cleaned off all the chicken off the bones I kept one, scrapped off all the meat and boiled it and ran it through my dishwasher. I knew I was making a mold of it and I wanted to make sure it was clean. My Hubby found it in the silverware section of the dishwasher and said, "Let me guess, you want to mold this?" He knows me way too well, LOL.
I then brushed in some Copper and Pewter
Alumidust.
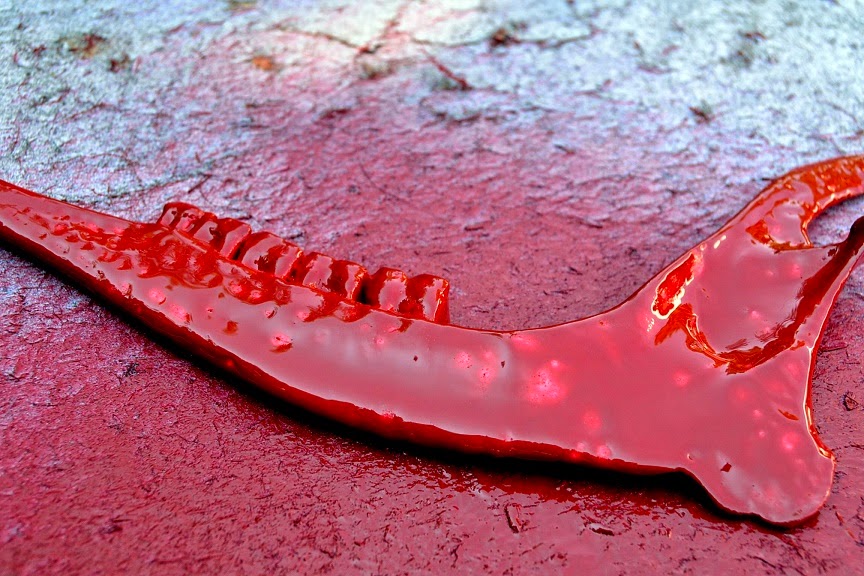
Mixed up my
Amazing Casting Resin with a bit of the Pewter
Alumidust again and poured my molds. I also took some wire and placed them into the resin while it was curing and held them there with my makeshift clothespin holders. This works very, very well.
I loved the outcome of the bones and knew I was making a necklace.
After adding some beads, baubles and chains I was very happy with my necklace – but there is one problem with these bones.
Since they are one dimensional, they don't lay flat against my chest while I am wearing it. The bones want to roll around and the backside of them is flat and not very pretty since I molded them in
Amazing Mold Putty.
So... what do you do then?
I hot glued my bone to a piece of cardboard and took a piece
of recycled plastic and taped around it to create my mold box.
After mixing up my
Amazing Mold Rubber, I poured it right into that cylinder and let it cure for 24 hours. Depending on where you live and the humidity, curing times vary {between 4 and 24 hours}. The more humid the climate, the faster the cure time will be {
CLICK HERE to view mixing and preparation}.
Once the
Amazing Mold Rubber was cured, I pulled of my tape, undid my cylinder and tried pulling my bone out... but it didn't work. I took my Xacto knife and cut down the one side and gently pried it open and pulled my bones out. I was a bit nervous about what would happen when I poured my resin, but I'll get to that in a minute.
I did the same thing I did with the mold putty by painting the inside of the mold with Copper and Pewter
Alumidust and mixed up a batch of
Amazing Casting Resin with a bit more of the Pewter Alumidust and poured.
The
Amazing Mold Rubber actually kinda adheres back to itself, so I didn't have any resin leakage. Again, I took a piece of wire and placed it into my mold holding it in place with a clothespin.
When cured, I demolded my bone and I was extremely happy with the outcome.
After it was all cured, I also painted some "magic" onto it...
wait for it...
Now, I am not a very good photographer and I promise you the next picture could be better, but I could not figure out how to get my camera to pick up the "glow" without a flash and it didn't want to take the picture without a flash. Once I finally got a "descent" picture it was a bit blurry, but I PROMISE, it glows in the dark and it's AMAZING!
Here you can see the bones in the daylight. I just love the look and you can see the difference of the bones, and the wonderful detail captured on the backside -vs- frontside.
I will probably take apart my necklace and use the "flat" bones to make some Halloween cards, or maybe Over the Hill/Old cards, LOL.
Anyway, I hope this gives you a little insight on how the differences are with the
Amazing Mold Rubber -vs- the
Amazing Mold Putty. Both are great products, but you really need to think about what you want to mold and how you want the final outcome to be.
Thanks for stopping by today! Please leave a comment below
and let me know what you think of my tutorial –
and I would also love to hear...
What "odd" item you would mold?
Until next time, have a great day!
• • • • • • • • • • • • • •
Don't forget to subscribe to our blog on the right side bar:


.jpg)


.jpg)