Showing posts with label Kids. Show all posts

Friday, September 22

#Cre8time for All Ages... Make it Artsy Episode 211

Hello Amazing Crafters!! Cre8time can be enjoyed by all ages. Get ready to be inspired with the latest episode of Make It Artsythe TV show for makers and crafters – featuring tips, techniques and projects for makers, crafters and artists! 

Ready for a new episode of Make It Artsy?!


CLICK HERE to view this week's episode

Inspire a young maker with kid-friendly art projects. Folk artist Mystele Kirkeeng paints a portrait of a cup inspired by various designs. Studio artist Cynthia Thornton paints and assembles articulated paper dolls. Jewelry expert Candie Cooper tops things off with a beautiful beaded crown. Jane Dunnewold shares another art tip.
Bookmark or PIN the Make It Artsy Website
http://makeitartsy.com

Make It Artsy launched September 29, 2016 on Public Television stations across the country! Look for it on your local PBS channel – all new episodes from series 200 are now airing. If you can't find it on your local programming, you can view this episode online by clicking this link: Series 200, Episode 211 - Kid Friendly.


Make It Artsy is a show dedicated to the crafter, maker and artist! A series celebrates that maker spirit and enthusiasm that extends to every part of life. It’s more than crafting, more than art or scrapbooking; this is an all-encompassing show for any one that loves to make “things”. From mixed-media to metalsmithing, using tools from saws to sewing machines, and materials from paper to wood; today’s most creative “makers” join host Julie Fei Fan Balzer and unleash a new look for crafting with a touch of industrial style.


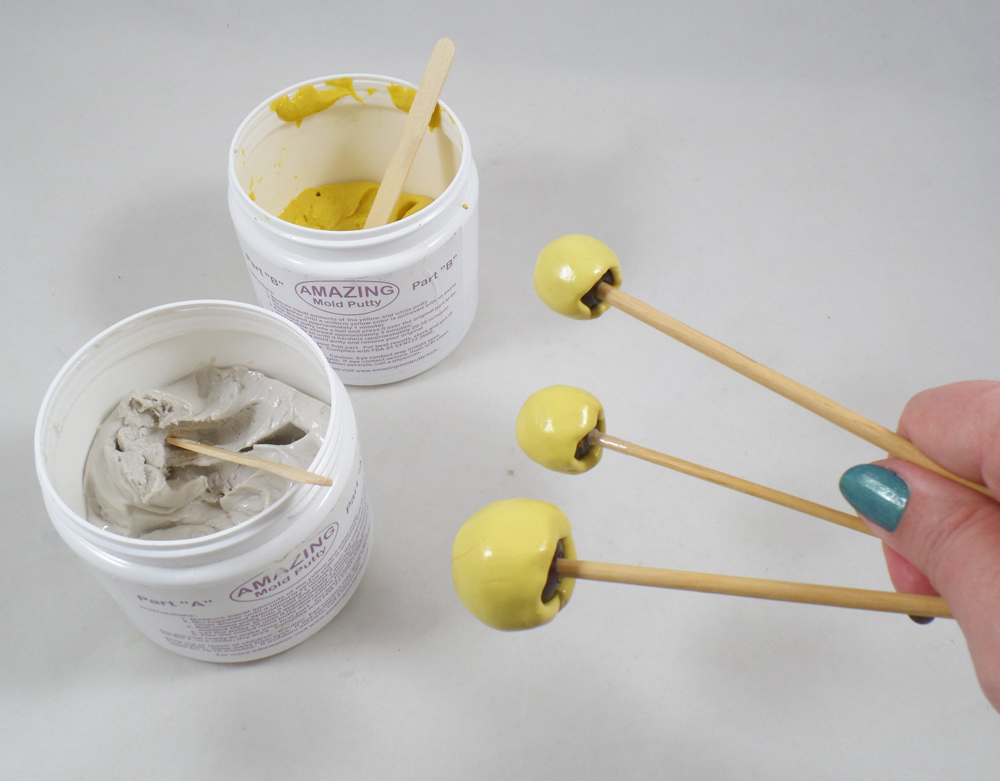
Amazing Casting Products by Alumilite Corp. is proud to be one of these fabulous group of companies partnering with Make it Artsy. Stay tuned for upcoming Series 200 episodes with projects featuring some our amazing friends using Alumilite's AMAZING products! Don't worry... we'll be sharing each new episode right here as they become available so you can tune in.

• • • • • • • • • • • • • • • • •

Don't forget to subscribe to our blog on the right side bar:
Twitter at AmazingCasting | Facebook at AmazingMoldPutty | YouTube at AmazingMoldPutty

Friday, February 19

#Cre8time for a Swim in an Upcycled Sea... AMAZING Inspiration by Tracy Alden


Hello! Tracy here with another Amazing Casting Products inspiration post! Recently I have been inspired by community clean-up projects and how to upcycle plastic. Having already seen many beautiful upcycled plastic soda bottle jellyfish sculptures, I wanted to try a version with water bottles.

My first learning curve was finding out using a candle isn't always the best; it can cause the plastic to light on fire, uneven melting and of course make the project not very child friendly.

I found out using a heat gun was a better way to control the melting of the plastic and older children can join in with the crafting with adult supervision. However even with using a heat gun the plastic would curl, fold over and make all kinds of lumpy and rather un-jellyfish shapes.

I realized when using a heat gun I needed to create a base for the plastic bottles to mold to while being shaped. This is where Amazing Mold Putty came to my rescue!


I started off with 3 over-sized glass beads, small, medium and large. I pushed the beads on wood dowels cut to 12 inches.


While I could heat and mold the plastic water bottles over the beads I would risk the plastic shrinking to the glass so tight it couldn't be removed and the glass beads overheating from the heatgun. I needed to make a heat tolerant base that was flexible and would retain the round shape. I mixed up some Amazing Mold Putty and applied a small amount to each bead, covering the majority of the bead.


Once cured I placed each Amazing Mold Putty coated bead into a heat tolerant cup and filled it with glass pebbles. The cup with pebbles would act as a temporary base, to stick the now finished round molds in, that would not shift while the plastic bottles were being heated.


With a sharp pair of scissors I cut off the top nozzle of each bottle, and then cut each bottle bottom off; they will become the bell top of the jellyfish and the sides, cut like fringe, would become the tentacles. I tinted the plastic with alcohol inks but there are many different pigments and paints you can use to tint the plastic.
*Depending on the shape of the plastic bottles you might find you will need to cut them in a different manner; there is no right or wrong way, it is all about having fun!


Using a pair of tweezers I placed one of the plastic bottle bottoms on the largest of the round molds and heated it with a heat gun. I was careful to rotate the plastic to make sure all of the plastic was heated and would shrink down into jellyfish bell shape.


Using a pair of tweezers I placed one of the plastic bottle sides on the medium size round mold and heated it with a heat gun. I heated the top first, shrinking the plastic and making it snug around the Amazing Mold Putty. I then grasped each cut piece of plastic with the tweezers, twisting to create tentacles.


I then placed both the tentacle and bell shaped plastic pieces together on the small round mold and heated them one final time to create the final shape.


The bell and tentacle pieces can be attached together with glue or eye-pins, as I did to create tropical party ornaments. If you drilled a large enough hole through the bell of each jellyfish, then thread on the tentacles, you can make them into string light covers!

What AMAZING arts and crafts can you create?

Please share them on the user GALLERY on the Amazing Crafting Products Website!

Visit my blog Art Resurrected for more craft tutorials!

Until next time, safe travels! ~ Tracy

• • • • • • • • • • • • • • • • •

Don't forget to subscribe to our blog on the right side bar:
Twitter at AmazingCasting | Facebook at AmazingMoldPutty | YouTube at AmazingMoldPutty

Thursday, February 11

#Cre8time Love for Nature... DIY Painted Rocks by Melissa Johnson


Hello everyone! Today I am sharing a fun and easy Valentine's project that you can even include the kids in (I did!).


We have had some beautiful weather here in Texas, so we decided to take this project outside. I had the kids gather up some rocks with flat surfaces from our yard and we washed them in some soapy water.


Next, we painted on our rocks using Mod Podge
to create hearts and other designs.


Then we added some very fine glitter over the Mod Podge.


After my daughter and I painted our designs, I mixed up some Amazing Clear Cast Resin to coat the top of the rocks and make the glitter really sparkle!

 
It was so much fun that my son even got involved! 


We set them out to dry overnight on a plastic garbage bag.

And here are the finished painted rocks :)

 
The resin coating makes the glitter POP!


What Valentine's goodies have
you made with your kids?

Make something that makes you happy :) ~ Melissa Johnson
For more of my mixed media projects, please visit my blog.

• • • • • • • • • • • • • •

Don't forget to subscribe to our blog on the right side bar:
Twitter at AmazingCasting | Facebook at AmazingMoldPutty | YouTube at AmazingMoldPutty

Wednesday, October 14

#Cre8time Upcyling Transformations... Ice Pack to #Sugarskull Blank by Brenda Burfeind


Hello crafties! Brenda here from Creativity is a State of Mind and I'm excited to show you something cute with today's post. I've been trying to get ready for Halloween and while digging through my Halloween stash, I found this ice pack I had received last year! I have no need for ice packs, so in my Halloween crafty stash is went. Well, when I found it this year I had a little lightbulb moment.


I had to freeze the ice pack because if I tried molding it while it was jelly I wasn't sure how it would form. After it was frozen, I created a mold of it by pressing it into a prepared batch of Amazing Mold Putty {CLICK HERE to view mixing/preparation}.


I created the piece using Amazing Casting Resin
{CLICK HERE to see mixing instructions}.


After about 5 minutes the piece was cured and I drew my design with a pencil right onto the resin. That's what I so love about these resin pieces also... you can draw and color directly onto them!


Then I had fun coloring it in with my markers of all sorts.

I think I will put a magnet on the backside and have a new embellishment for my refrigerator! I know I'm not that good on coloring but I plan to make a couple more of these blanks and giving them out on Halloween to the neighborhood trick-or-treaters with some candy of course!

I hope you've enjoyed my post today and I can't wait to show you something I have in the works for next time.
Thanks for stopping by and until next time, Brenda saying "see you soon"!

Visit my blog, Creativity is a State of Mind to see some more of my creations.

• • • • • • • • • • • • • •

Don't forget to subscribe to our blog on the right side bar:
Twitter at AmazingCasting | Facebook at AmazingMoldPutty | YouTube at AmazingMoldPutty

Friday, August 9

What an AMAZING Ice Storm! Commemorative Plaque Tutorial by Brenda Lee Burfeind


Good day all, Brenda here again with an Amazing photo plaque. Last April we had an ice storm that lasted 6 days. We were without power, heat and water for 4 of those days and it was COLD. We lost quite a few limbs from a lot of our trees and we even lost half of one tree. The entire town looked like a war zone. During the storm though there was some beauty to it as you will see in a moment. I took a bunch of pictures of all the stages of the storm and found this one to be a beautiful shot.


Somehow I wanted to remember this in a way that the picture just doesn't wind up in a photo album. Eventually I will add it to my scrapbook, but for now I wanted a reminder of how "cold" it was while I'm baking the heat right now.

As I said before, we lost a bunch of limbs and when most of the ice was gone, hubby started to cut up those limbs and we will use them for firewood eventually. While he was sawing his heart out, an idea popped into my head and asked if he would please cut up a few "slabs" of the limbs. 

So let's get started:


I "painted" a mixture of the Amazing Casting Resin onto the slab of wood to seal it and to add a bit of "white". After that dried which only took about 5 minutes I "painted" another layer of the Amazing Clear Cast Resin over the top of that. 


I have a pair of "twig" barrettes that I knew I could use to make a mold with the Amazing Mold Putty. Hubby suggested I use real ones from the tree, but these worked just fine. 


I printed out the picture tore the edges and sealed it to my plaque with Amazing Clear Cast Resin. In my stash of "stuff" as I like to call it - I found these crystal like looking things and sprinkled them over the Amazing Clear Cast Resin and let it dry completely about 24 hours. Believe me, I have it all, just ask hubby. He recently told me we needed to add onto the house just to accommodate my crafting obsession - okay by me :)


Once that dried (another 24 hours) I dabbed a bit of Metallic White Acrylic paint over the "crystals" and added the twigs that I had bent slightly and added another layer of Amazing Clear Cast Resin.


This now has 3 layers of Amazing Clear Cast Resin. 


I add some "snow" with my white puffy paint around the edges and on the twig and here is my finished masterpiece.


All I need to do now is add a picture hanger to the back,
and I will hang it next to the window facing this lovely tree. 


What event and items would you use to make
a commemorative plaque with Amazing Crafting Products?

Please leave a comment below and also share your creations

To check out my inspiration, I'd love for you to stop by and see me at my blog "Creativity is a State of Mind". Till next time ~ Brenda Lee Burfeind

.................................
__________________________________________
.................................

Want to SOCIALize? Please follow Amazing Crafting Products on
Twitter at @AmazingCrafting and on Pinterest HERE -or- join us on our Facebook page.

Thursday, June 13

Multi-Colored Resin Bangles... by Michelle Frae Cummings


Now that School is out and Summer is "officially" here, I knew I needed to spruce up my jewelry collection so I made up some fun colorful bangles!

To start, I mixed up some Amazing Mold Putty, and pressed it on the outside of a old plastic bangle mold that I found at a garage sale. The inside of the mold had someone's resin mishap and was unusable. Then I added some more mixed putty to the inside of the mold. 


Before letting set completely, I flipped it over to look
for any creases or air pockets I could fix. 


After about 10 minutes, the mold was ready for resin.

Using the measuring cups provided, I poured "A" and "B" Amazing Casting Resin. Then I added about 3 drops of Alumilite dye to the "A" resin. I do this because once you mix "A" and "B", you have a short window to thoroughly mix and pour before the resin begins to set. I mix the resin and dye with the popsicle stick provided, scraping the sides as I work. Then I quickly pour both into a paper dixie cup, again mixing quickly, before creasing the corner of the cup to serve as a spout.


I pour as close to the molds opening to avoid resin drips. If dripping occurs, quickly change sides. Make sure to leave room in the molds to add colors. Let each color set before adding a new color. I clean each cup out quickly with a baby wipe and then a dry napkin.

Then I'm ready for the next color batch. 

It takes approximately 15 minutes for each color to set. 


When your molds are filled and the resin is hard to touch, you may pop them out and begin carving off the rough edges with the the open blade of precision scissors. This is easiest to do when your bangles are fresh from the mold because the resin is still not completely cured. Hold the scissors the same way you would curl ribbon for a present. Go all around, inside and out until you have a smooth edge. If you have waited too long and the resin is much harder, keep working at it with the scissors, it will just take a bit longer. 


Once you have finished with all your bangles, place them on a bit of wire mesh or a old baking rack outside. Spray evenly on  both sides with a gloss sealer/finisher. Let dry until it's no longer tacky. 


Then enjoy your bangles and have a colorful summer!


For these bangles I used Red, Yellow, Blue and Green Alumilite Dye.

To achieve the white, I simply left the Amazing Casting Resin to set, uncolored.


Thanks for coming by!

You can see more INSPIRATION using Amazing Crafting Products by Alumilite Corporation on my blog: Faerie Dust Dreams.

~ Michelle Frae Cummings


.................................
__________________________________________

Use this COUPON to shop at the Amazing Mold Putty
website HERE and receive 25% OFF your purchase.
Please use coupon code " summerhaus " {no quotations}.
Coupon expires June 30, 2013.
__________________________________________
.................................

Thanks for stopping by and have a great day!

Don't forget to subscribe to our blog on the right side bar:
Twitter at AmazingCrafting | Facebook at AmazingMoldPutty | YouTube at AmazingMoldPutty
Related Posts Plugin for WordPress, Blogger...