Showing posts with label Ocean. Show all posts

Friday, July 14

Voyage Beneath the #Cre8time Waves! DIY Trinket Box by Lyn Gill


Hi everyone! It's Lyn here again from LynzCraftz – join me on a Cre8time journey beneath the waves with this super fun project. My "Voyage Beneath the Waves" trinket box started out as an old aquarium embellishment that had ceased to function.


I molded the underwater explorer with Amazing Mold Putty and then filled with Amazing Casting Resin and set aside to cure. CLICK HERE to view how to create a mold with Amazing Mold Putty, and CLICK HERE to view mixing/preparation for the quick and easy-to-use Amazing Casting Resin.


After de-molding, I painted him with acrylic paints. 
He turned out nice – I think!


Anyway... I took a small wooden hinged box (from the craft store) and began to set the scene. I painted the box blue and added some stenciling with texture paste in the form of bubbles.


Then the box got a few more layers of acrylic paint in some underwater colors. I finished off the box with hand sculpted seaweed {using Super Sculpey }, some pearls, rhinestones, and sand mixed with an acrylic matte medium. 


What an underwater scene! This makes a great little jewelry box or gift box for something special! Amazing Mold Putty is so easy-to-use, and you can mold almost anything you can think of! Then use some Amazing Casting Resin to make something fun to use in your next project!

What will you mold next?

Well that's it for today – thank you so much for stopping by... 
Till Next Time! Lyn

As usual, you can find more of my work on my blog LynzCraftz
or on YouTube LynzCraftz, or my Facebook page LynzCraftz.

• • • • • • • • • • • • • • • • •

Don't forget to subscribe to our blog on the right side bar:
Twitter at AmazingCasting | Facebook at AmazingMoldPutty | YouTube at AmazingMoldPutty

Monday, April 11

#Cre8time on a Curve! AMAZING Altered Bottle
by Lyn Gill


Hi everyone Lyn here from LynzCraftz and I've got a super fun project to share with you today – trash to treasure style! An altered wine bottle turned into a beautiful underwater Mermaid Treasure.


I molded this frame using Amazing Mold Rubber in my previous altered box project {CLICK HERE if you missed it}.


I started with the Amazing Casting Resin components for this project and formed some of them around the bottle after they had set up but while they were still curing.


You can check out a simple tutorial on this here Pouring Amazing Casting Resin Tips – while not my original idea it's a brilliant tip. 


Then using some alcohol inks, polymer clay and sand texture paste, I created the background. I added the curved frame and gave it all some paint... acrylic of course. The frame has a lovely vintage mermaid image that I used some patina on. The I draped some chain, glass beads and some more Amazing Casting Resin charms from.


I love anything underwater/ocean themed
so this was a natural for me and so much fun! 

Ever wanted to curve your resin?
Try it, it's easy!

I want to thank you all for joining me
here today at Amazing Casting Products!
Till Next Time! ~ Lyn

You can check out my other works on my Blog LynzCraftz,
my YouTube channel LynCraftz or on my Facebook page LynzCraftz.

• • • • • • • • • • • • • • • • •

Don't forget to subscribe to our blog on the right side bar:
Twitter at AmazingCasting | Facebook at AmazingMoldPutty | YouTube at AmazingMoldPutty

Monday, September 16

GOING CRABBING!!! DIY Crab Claws with AMAZING Mold Rubber by Rachel Whetzel

Hey, AMAZING CREATIVES!! It's Rachel here, and I am SO THRILLED to be sharing the newest addition to the Amazing Crafting Products line!! 

I recently shared with you all here, my experience trying to use Amazing Mold Putty to mold a crab's claw. It didn't go well, but when Amazing Crafting Products came out with Amazing Mold RUBBER, I realized my chances of success were GOOD. 


Here's a reminder of the difference between molds made with Amazing Mold PUTTY (bottom) and Amazing Mold RUBBER (top).


What you'll need to create YOUR Crab Claw:

• A Crab Claw (I got mine beach combing on the Oregon Coast) 
• Krylon Spray paint 
• Acrylic Craft paints (I use Folk Art)

You can find the complete directions for pouring Amazing Mold Rubber HERE. When I started my mold, I made a frame for it, using foam core board, but when I went to pour the rubber, it was clear my mold was too large. 


So I quickly switched to a red solo cup! 


Once the mold was set, I realized that even the solo cup was possibly too large, and that I could have made a mold with much thinner distance between the walls, to help with the peeling of the mold. One of the HUGE advantages of Amazing Mold Rubber is the ability to pull and bend it more easily than Amazing Mold Putty. This makes it very easy to pull off the mold from resin without the mold tearing. However, because my walls were so thick, I had to cut the side to get to the claw. That made it easy to get my piece out, and the flexibility of the mold makes the rubber fit back together so well, that I didn't have any seams to deal with on the finished resin piece! 

After the piece was free, I spray painted the claw with a base coat of orange.


Next, I put a coat of cream over the top of the orange. Then I wiped some of it off, and added more, etc. until I had the color pattern I wanted. Then I added some black into the crevices of the piece to add dimension and age to the piece. 


Here's the piece, front and back! 


I am SO thrilled with the options that Amazing Mold Rubber will create for me now! I can't wait to use it to create MORE 3D molds and pieces for my art! 

What ideas does the NEW
Amazing Mold Rubber give YOU?! 

Leave us a comment here, and tells us what you've been inspired to try! 

I would love for you to visit me at my "house" too!! Thank you so much for reading!! rachel

...........................................

Here's your chance to get 20% discount
including the new Amazing Mold Rubber!!!
Use coupon code { celebrate } at

Coupon Expires September 30, 2013.
........................................... 

Don't miss a single post!
Please subscribe to our blog via Newtorked Blogs,
bloglovin' or email on the right side bar:
Twitter at @AmazingCrafting | Facebook at AmazingMoldPutty | YouTube at AmazingMoldPutty

Thursday, May 30

Seaside Inspired Ornaments... AMAZING Inspiration by Michelle Frae Cummings


Hi Everyone, Michelle here to show you some Seaside Inspiration made from Amazing Crafting Products! We decided to keep up our tree from last Christmas because with the lights on, it adds a nice glow to our living room.

I had also always wanted a seaside inspired tree with glittery sea shells and mermaid ornaments!

Now that Summer is here, I decided it was the right time to start decorating and made up these easy ornaments from sea shells and plastic toys. 


Here, you can view how I made the molds and poured the resin. I used the following Amazing Crafting Products for these ornaments: Amazing Mold PuttyAmazing Casting Resin; also Silver and Pearlescent Alumilite Powders.


I simply brushed the powders into the molds before pouring the resin and added a bit of wire before the ornament had set so I would have a instant hook. 


What are you creating for your summer seasonal decor?

Thank you so much for coming by to see my Inspiration. Please feel free to visit my blog for more idea's! ~ Michelle Frae Cummings

.................................
__________________________________________

Don't forget!! We have a COUPON to shop at the Amazing Mold Putty
website HERE and receive 20% OFF your purchase.
Please use coupon code " amazingmay " {no quotations}.
Coupon expires May 31, 2013.
__________________________________________
.................................

Want to SOCIALize? Please join us on our Facebook page or follow

Saturday, April 20

AMAZING Twisted Metal Art with Rachel Whetzel


Hello AMAZING fans!! Rachel Whetzel here!! I'm here today, to show you how I most recently used Amazing Mold Putty and Amazing Casting Resin to create a piece of art work. I'll also share a little bit about what happens when you have a plan, and it doesn't go the way you hoped. Here's a peek at what I made!


and the piece as a whole


To create your piece like this, you'll need the following:
Various pieces to mold! I used: A starfish, Frame Piece, and a Key.
Thrifted fabric
Craft Paint (I prefer Folk Art Acrylic)
Dictionary pages
Elmer's glue
Clear Gesso
String
Vintage spoon
Drift wood
Amazing Mold Putty
Amazing Casting Resin

First, you'll need to mold your pieces. For this piece, I had an idea... and I wanted to use some of the molds I had made before. I reused the molds from Frame Piece, and a Key. For a recap of how to mix-up a batch of Amazing Mold Putty {CLICK HERE}.


I also wanted to try and mold a starfish.


One of the things I had planned to do, was to use stamps on the Amazing Casting Resin during the stage when it has set, but is still pliable. I wanted to get the look of stamped metal on my keys. I thought I would try both metal and rubber stamps.


It turned out, neither worked for me... the soft resin "healed" and my metal stamps weren't strong enough to make an imprint once the resin was more firm. I didn't let that set back stop me though! While I was working with the soft, early set resin, I had an idea. I'll tell you about that in a bit. I'm getting ahead of myself.

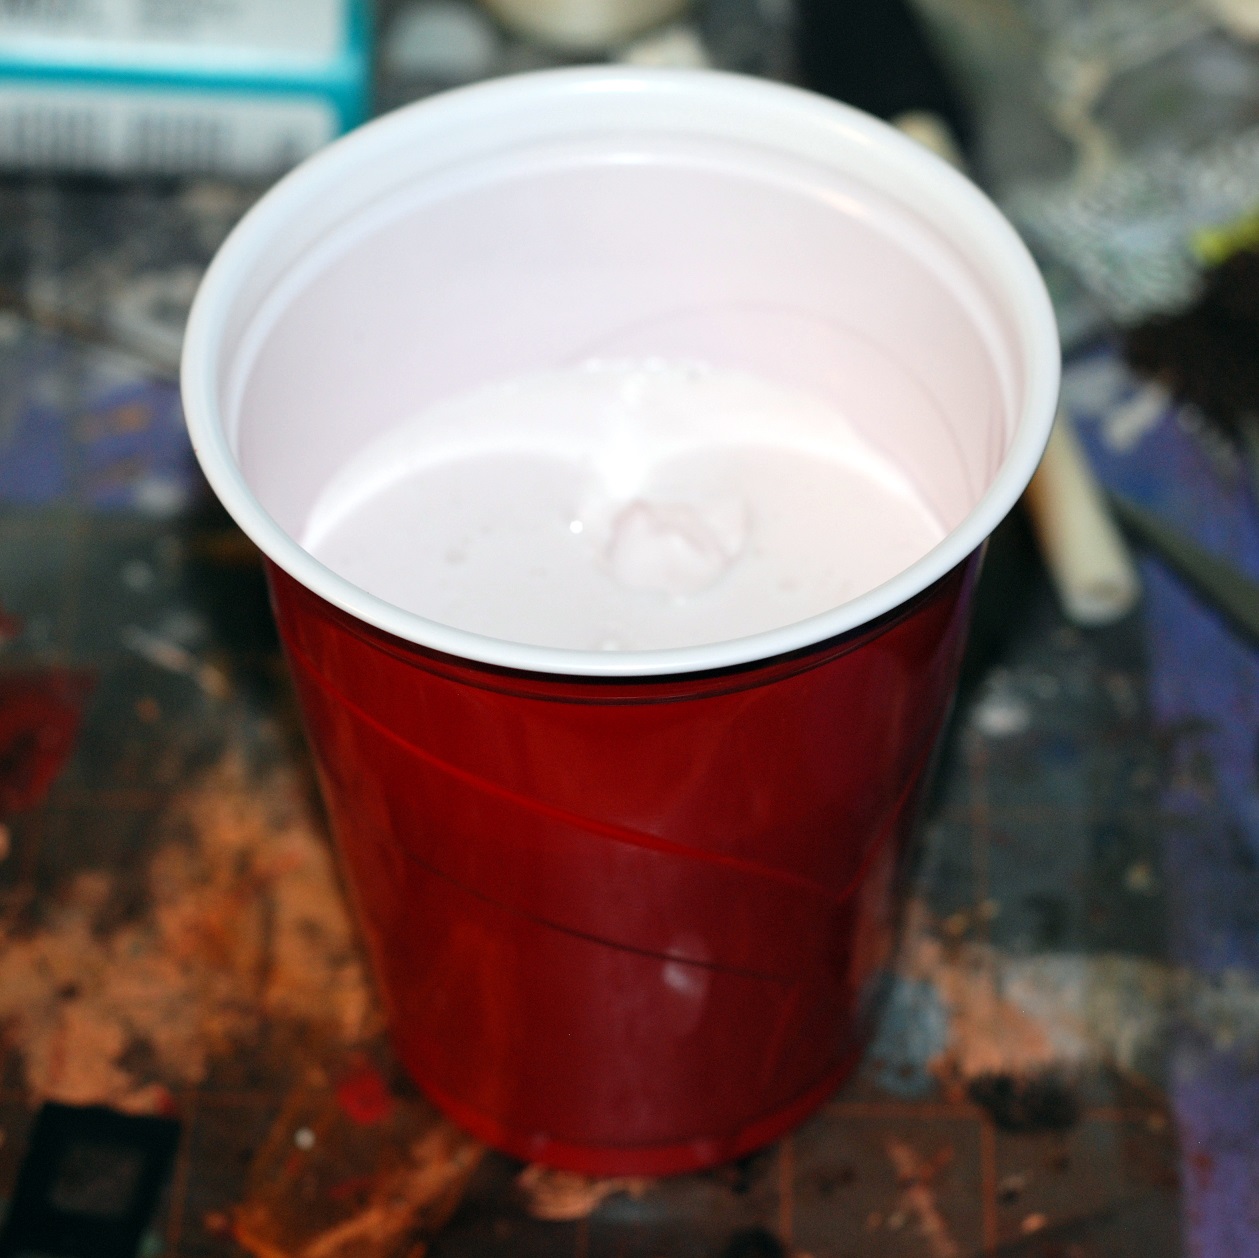
Pour your molds, and watch them as the resin starts to set. Amazing Casting Resin starts out clear, and the turns while as it cures. Once your piece is completely white in the mold, you can pull it out.


At this stage, (the early set) you can bend the pieces. Which is what I decided to do with my keys once I realized I wouldn't be able to stamp them like I wanted. I got to thinking about how neat it would look for KEYS to be bent!! Thing is, what caused the stamps not to work, also makes it tricky to bend Amazing Casting Resin and have it STAY that way until it's fully cured. So I used tape.


Once the resin cured, there was no bending it back!! Here is a picture of the key I ended up using, on the piece. You can see the bend in the key!


I spray painted the Frame and Keys black for their base coats, but I wanted to take advantage of the white base for my starfish. I painted the starfish orange, and wiped off much of the paint from the ridges on the piece. However, Amazing Mold Putty captures details SO WELL, that my molded piece was a rough as the original, and taking paint off to the white base wasn't working as well as I wanted, so I used some white paint and my finger tip, and rubbed white over the top of the piece. Worked like a charm!


While my starfish was drying, I cut my background fabric, and glued Dictionary pages to it. Once the glue was dry, I used clear Gesso over the pages and fabric, and let it dry. Next, I dripped paint down the pages. When I dripped the paint, I needed a firm support for the piece and the fabric, so I used a clip board.


Once the paint was dry, I got to work assembling the pieces...


Here's another angle, so you can see how the bent key looks.


I'm so pleased with how this came out, and I LOVE it when I come up against things not working quite as planned... It's even better when those bumps turn into something really cool!!


Do you have some metal you would like to twist up?

If you create something inspired by my project, please leave a comment with a link here, so I can come and visit to see! I would love for you to visit me at my "house" too!! Thank you so much for reading!! ~ rachel
.................................
__________________________________________
.................................

Want to SOCIALize? Please follow Amazing Crafting Products on Twitter at @AmazingCrafting and on Pinterest HERE -or- join us on our Facebook page.

Sunday, March 31

Summer Table Setting

Hi all!  For my project this month, I decided to concentrate on summertime table settings. With spring in the air and my husband readying the back yard pond and fountains and patio for guests, I wanted to create some fun new napkin rings.  So out came my Amazing Mold Putty and Amazing Casting Resin.


To start, I had to search for something to use as a base.  I chose the cardboard center of a (or spool) of a roll of ribbon.  Then, to give it some texture and depth I used my glue gun to add some stings of glue all over it.


Next I mixed my Amazing Mold Putty part "A" and part "B" in equal parts
(see website via the link for detailed instructions).


Next, I made molds of this and some other items to use on my napkin ring.


Once my putty was set (about 10 minutes - or when you can scrape the side with your fingernail and it doesn't come off).  The detail I was able to get in my mold was really quite amazing. With all of the mold I've created, I still wasn't sure this would work, but just look at the next picture to see how detailed you can actually get with your putty.


Is this cool or what?

Next, I used my Amazing Casting Resin to mold my pieces.


Now, I'm not gonna lie, the ring itself took a little work to get out, but it was totally worth it. Once I popped the pieces out I glued them together and then painted them solid black. 


I went over the black with a blue green color, then a seafoam green. I finished it off with some antique gold rub.


What do you think? I love how this looks like some high end metal napkin ring that I might have bought in downtown Laguna Beach; but really I made it lickety split in my craft room.  Now I just need to make 7 more!  Thanks for stopping by and checking out my project.  Please leave me a comment and let me know what you think.  Don't forget to hop over to the Amazing Mold Putty website and check out their truly Amazing products!

~ Make Today Count
Wendy
Related Posts Plugin for WordPress, Blogger...