Showing posts with label birthday. Show all posts

Friday, July 21

Happy Bird-day!! An Amazing #Cre8time Transformation by Maria Soto


Hi there! Happy BIRD-day! Maria here today to start off the weekend with a fun Cre8time project! You never know when or where inspiration will strike – this project was hatched from Easter!

Some time ago after Easter, I went shopping and noticed these cute tin bird containers that were on clearance. They were filled with some type of hard candy, but all I could think about is how I wanted to make a mold out of the container!!! So I bought two and went home with lots of tasty Easter candy.


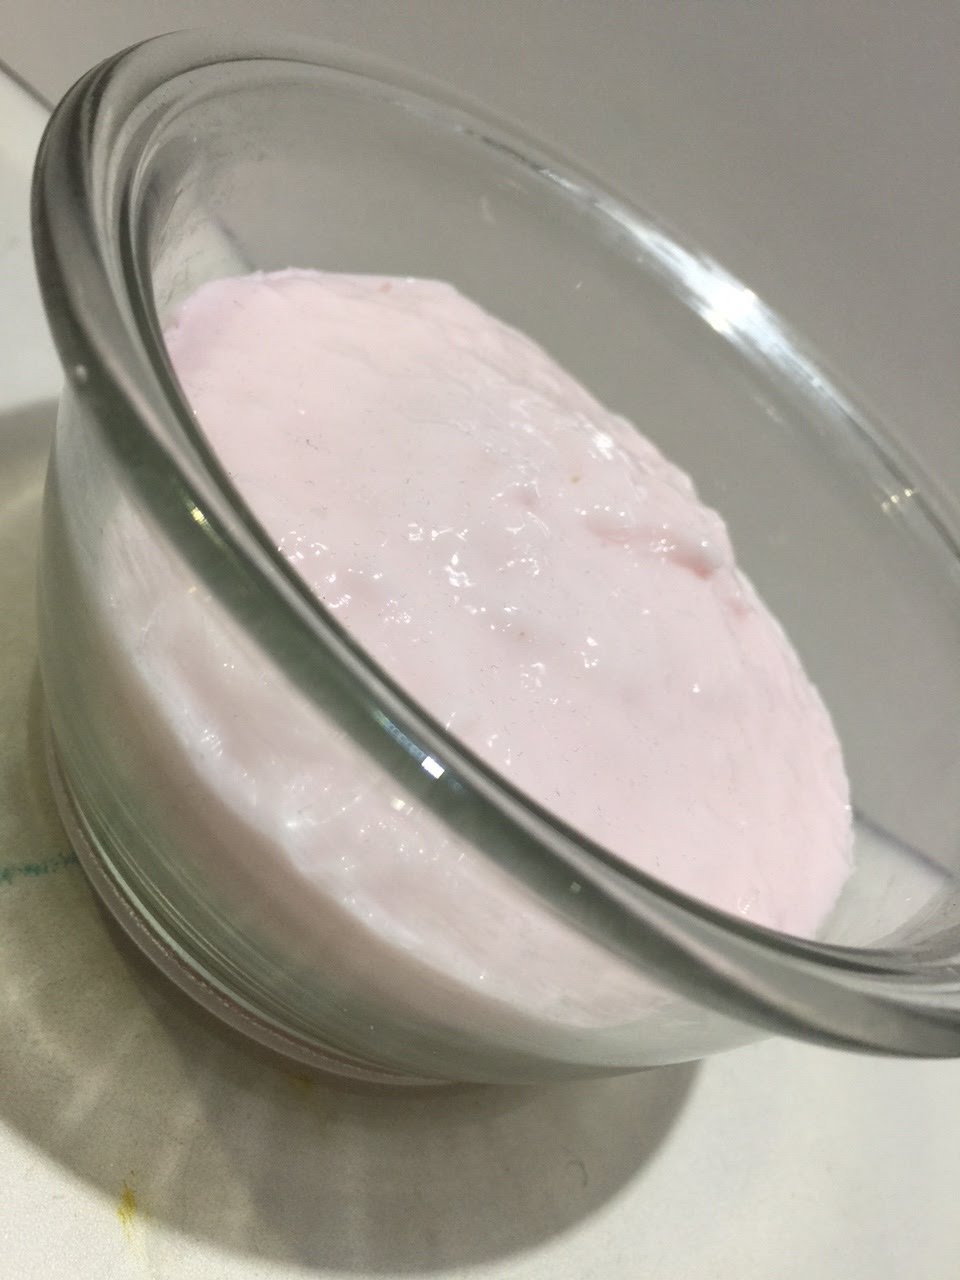
I used Amazing Mold Putty for making a mold of my fun bird tin.
CLICK HERE to view instructions for making a mold.


In about 10-15 minutes, my mold is ready to use! Amazing Mold Putty is truly amazing – it works fast and it captures lots of detail, too!


I plan on hand-painting this birdie, so I decided to use Amazing Casting Resin to make my first piece. Follow the easy 1:1 instructions for mixing this resin -AND- keep in mind that it begins to cure very quickly {CLICK HERE to view mixing/preparation}.

**A TIP** This is a fairly large mold, and with larger volumes you will feel it getting hot faster... so make sure your mold is ready for it. Larger pours of Amazing Casting Resin cure quicker than smaller ones will. Keep an extra mold on hand in case you mixed too much resin – you don't want to waste this product.


I used a pencil to draw some patterns to get an idea of what designs I wanted. I could just ink these lines in with a black, gold or silver permanent pen and this would make a lovely ornament. But I plan to add some color!


I always like to paint my pieces with white acrylic first. I find it allows me to use any type of paints I want on top afterward.


For this project, I used an assortment of DecoArt Patio Paints;
simply because I love the bright colors.


Now the fun starts – I get to paint, paint, paint! First I painted the base coat, all green. I just had too much fun painting this little birdie! Once I got started I got carried away, then suddenly all the painting was done {sorry I don't have any photos to share}. 


Then I added some little clear acrylic drops to add more dimension, then used pens to add detail to the bird – giving a bit more color, illusion of dimension to the piece.


Here's a close-up of the head and tail to show the transparency
of the drops – they make the colors underneath POP.


I felt this little bird needed something else, so I glued some green ribbon to the back for hanging. Since I had all these small pieces of foil paper from Rinea, I thought, "why not give this pretty bird a fun party hat"... and here I give you the finished piece!

You are a little party animal,
you little birdie!


I hope I have inspired you to have "FUN" with these amazing products. I always do, they allow me to get really creative, they allow me to imagine and create!

What would you reimagine using
these Amazing products? 

Thanks for visiting! I invite you to stop over to my blog, "What is Creativity"
 at http://chuy-creativity.blogspot.com to see more of my creations. ~ Maria Soto

• • • • • • • • • • • • • • • • •

Don't forget to subscribe to our blog on the right side bar:
Twitter at AmazingCasting | Facebook at AmazingMoldPutty | YouTube at AmazingMoldPutty

Saturday, November 7

A #Cre8time #Pumpkin Birthday Celebration...
by Susan M. Brown {sbartist}


Greetings Amazing – welcome to day four of PUMPKIN WEEK! Susan here to share another amazing mini pumpkin project using Amazing Mold Rubber, Amazing Remelt, and Amazing Casting Resin... inspired by donuts with pink icing and sprinkles.


The other day when casting molds in Amazing Mold Rubber, I made molds of three different mini pumpkins {please CLICK HERE to view mixing/preparation}. This is how I made a mold of the smallest of the teeny weeny pumpkins – it's not pretty and I had to do a little extra work to make this mold usable. 

As I was pouring multiple molds, I saved this one for last as it required the least amount of mold rubber to surround item. I figured since it was starting to thicken up really FAST {it's still super humid summer time here in South Florida}, my pumpkin would stay submerged... NOT!! Before putting the pumpkin in the mold rubber, I dipped the top with the stem into the liquid silicone and let all the airbubbles dissipate before fulling submerging into container. So I had to sit there and keep pushing it back down and dragging the liquid silicone over the top.

**A TIP** Don't use a SILICONE spatula in liquid silicone – if you don't clean it off immediately, it fuses to it. My nice purple spatula now has a bumpy pink tip ;(...


I had a couple sections of cut up molds submerged to keep the pumpkin from settling all the way to the bottom. I had it setting upside down so the stem would be at the top of the mold and I cut a nice size "X" at the top gently to free the pumpkin from the mold. Since the mold is all bumpy at the top, I need to backfill to make it level. I could do this with another pour of Amazing Mold Rubber... but since I had a mold fail, I'm fresh out of the pink magical goop. So I am going to do this in a jiffy with Amazing Remelt.


I melt down some Amazing Remelt in the microwave and pour on top of Amazing Mold Rubber, filling the bowl to the top. I set this in the refrigerator for a bit to solidify quickly. I was busy messing about with my other molds that were all ready in less than 2 hours {it's really humid here} so I wasn't paying much attention to how long I left it in the fridge {sorry}.


So now my mold is level and the Amazing Remelt formed exactly to the shape of the Amazing Mold Rubber mold... and it doesn't stick to it permanently. When I'm done casting resin, this can be cut up, remelted and reused for something else!


I attached a mini binder clip to one of the sections of the "X" cut at top of mold, prepared a small batch of Amazing Casting Resin and then poured into the mold. I set aside to cure for about 20 minutes. I let cool a bit and removed first casting from the mold. The detail is so AMAZING!!! But I have a couple large air bubbles that were trapped in the mold – I forgot to poke around inside with a toothpick before the resin solidified. No worries... this baby won't go to waste! I filled the holes with some air dry clay and sanded back the edges – all fixed.


First I gave the entire resin pumpkin a coat of clear gesso, since the paint I wanted to use wasn't a bit too fluid for this purpose. An easy fix! Once dry I rubbed on some Ranger Distress Paint in Cracked Pistachio {a lovely teal green}... I'm in LOVE!!


When dry, I mixed another small batch of Amazing Casting Resin colored with some Cotton Candy Alumidust. I poured some off into molds and saved the rest for topping my pumpkin. This is what I did... I waited for the resin to start to get thick and I dipped the pumpkin into it a couple times right as it was about to solidify. As it started to turn opaque, I turned it upright and sprinkled a rainbow mix of seed beads to serve as sprinkles {I mixed these myself from my 30 odd colors of seed beads}. This is so adorable... but it needs a little something, right?!


I waited for resin to fully cure and gently rubbed off seed beads. They came off pretty easy. I mixed up another batch of Amazing Casting Resin with the Cotton Candy Alumidust and dipped again. When cured, I poked a little hole into the top of the pumpkin to accept a piece of wire and wirewrapped a stem to hold a candle and attached a glass leaf bead {a suggestion from fellow amazing creative Tracy}.

Now this pumpkin is ready for the celebration – I've got lots of November birthdays to celebrate this month and this will be a fun little giftie for my gal pals.

What will you transform into
Objects d'Arte with
Amazing Casting Products??

Please leave a comment below to share! If you would like to see more of my creations, please visit my blog sbartist : painting in the dark by clicking here. ~ Susan
. . . . . . . . . . . . . .

Want to Socialize with Amazing Casting Products?
Twitter at @AmazingCasting | Facebook at AmazingMoldPutty | YouTube at AmazingMoldPutty
Related Posts Plugin for WordPress, Blogger...