Showing posts with label holiday decor. Show all posts

Thursday, December 7

Trimming the #Cre8time Tree... by Michele Kosciolek


Hello fellow creatives! Michele here today and I am super exciting to be sharing with you today, my very first project as an Amazing Casting Products Creative Team member!!! Today I am sharing a quick Christmas ornament I made to use as a gift topper.


I started by creating a shape to mold using some various wood pieces.


Then I used Amazing Mold Putty to mold my wood piece. I sprayed a tiny bit of Mold Release Spray just to be sure the wood wouldn't stick. Follow the package directions for the amount of time to let the putty cure {CLICK HERE to view mixing/preparation}.


Look how great that piece molded!!!


Next I brushed bronze Alumilite Metallic Powder in the numbers and antlers.


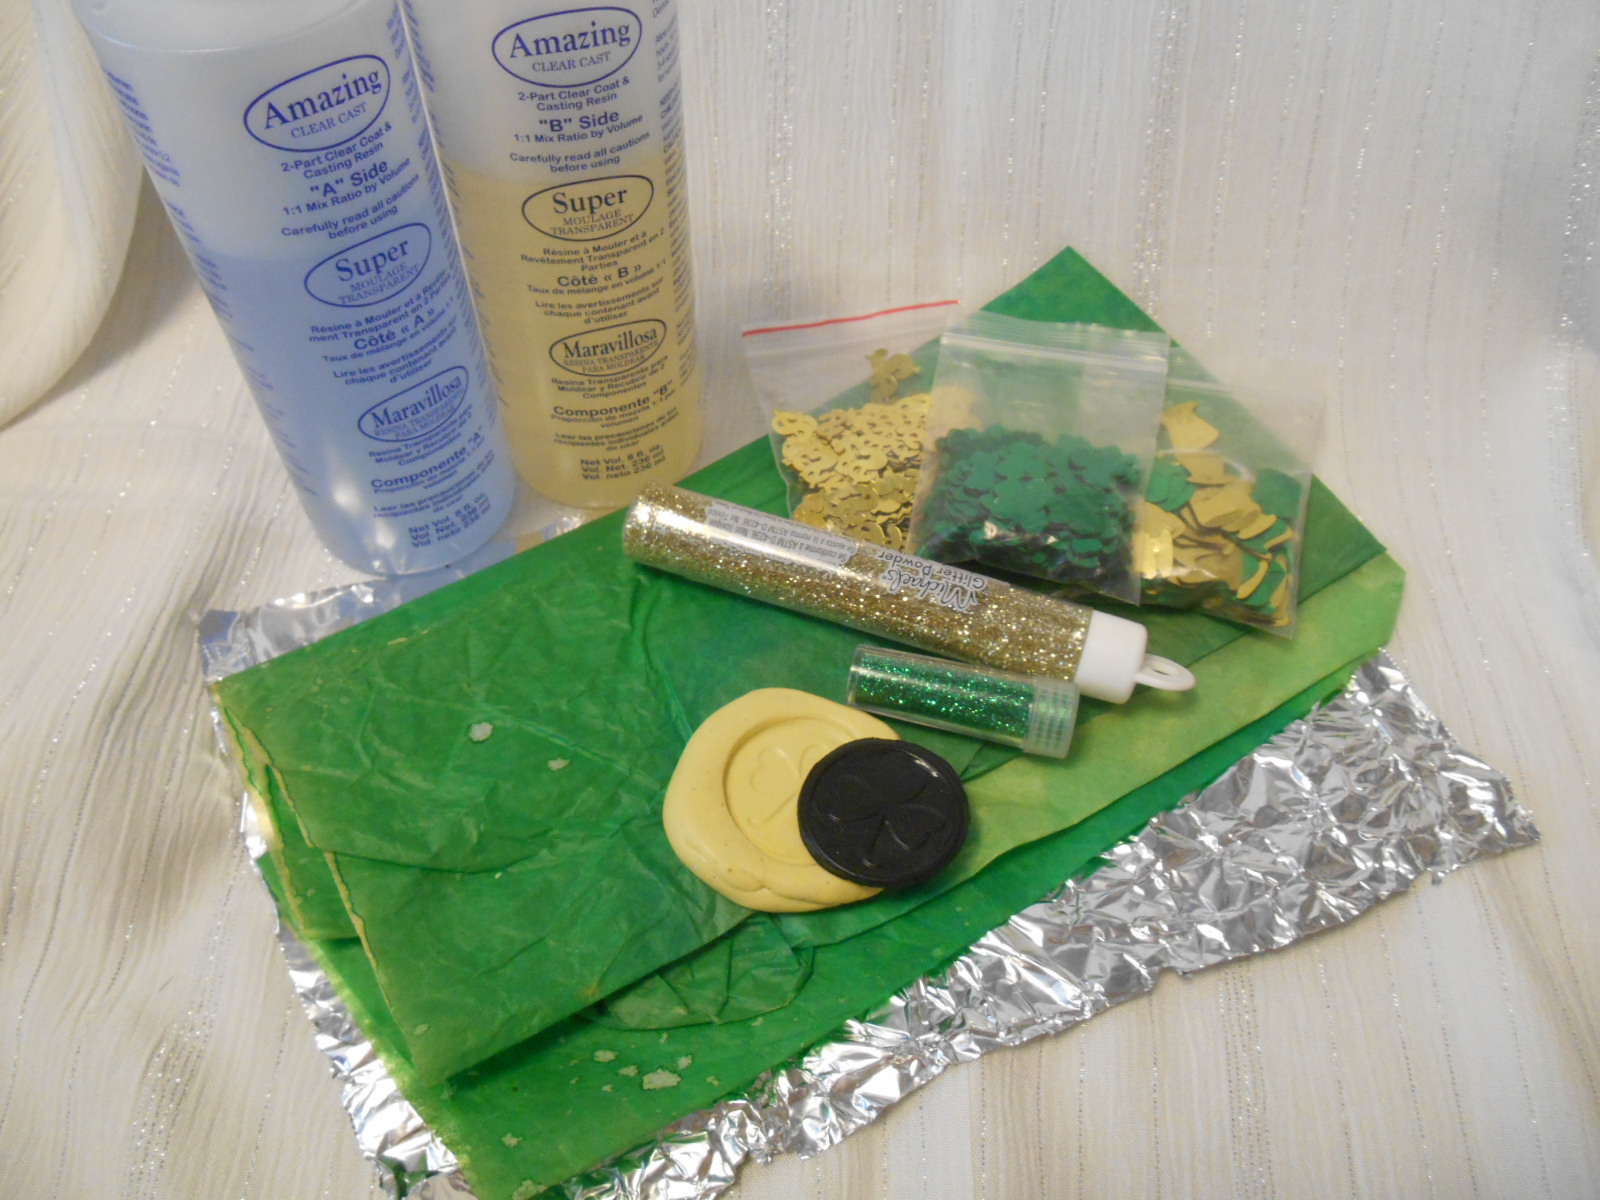
I mixed some Amazing Clear Cast Resin according to the package directions and poured in the mold {CLICK HERE to view mixing/preparation}. It is always a good idea to have other molds handy in case you have any resin let so it doesn't go to waste!!!


A bit more package directions to follow for cure time and viola!!! Look how great it looks popped right out of the mold.


I used my Crop-o-Dile to punch a hole for a bit of sparkly ribbon to hang the ornament from... easy peasy!!


Oh my I just love holiday creating and boy oh boy these Amazing Casting Products make it so easy!!!


This will be perfect from package to tree.


And that metallic bronze is gorgeous!


Thanks so much for taking a peak at my first post!
I look forward to sharing so much more inspiration with you!!!

What kind of handmade
ornaments are you making?

Until next time... ~ Michele

For more projects and inspiration please visit my blog "Stuff by Belle"
or follow on Facebook: https://www.facebook.com/michele.kosciolek

• • • • • • • • • • • • 

Don't forget to subscribe to our blog on the right side bar:
Twitter at AmazingCasting | Facebook at AmazingMoldPutty | YouTube at AmazingMoldPutty

Monday, December 26

#Cre8time Resin Play... Quick and Easy Melted Snowman Gift Tags by Tanya Ruffin


Spruce up your gift wrapping with an adorable melted snowman gift tag!


I wanted to make some cute, kid friendly, name tags for my Christmas gifts and thought a melted snowman would be quick and flat enough that I would be able to write the "to" and "from" on... and be oh-so-adorable. In south Louisiana, the only snowmen we have are melted ones anyway! 

In my stash I have a small bag of mini top hats. No idea why I bought them, clearance I assume. I have had them for several years and darn it – it is time to use them!!

Supplies:
  

Mix up some Amazing Casting Resin (follow directions based on how many snowmen you want to make). I made two the first time so I mixed 15 ML of each part ( using the measuring cup in the box) and scooped up some pearl Alumidust on the end of a craft stick and mixed them all together.


On a silicone mat, pour out 3 puddles of resin for each snowman – each one getting larger than the last. On the smallest one, set the top hat and the beads into the resin. Let cure {this is at about 20 minutes}.


Some of mine ran together, so I picked up the resin before it completely cured and simply cut them apart with scissors. You can reshape your pieces at this point. 


I used Allene's Tacky Glue to secure all the pieces together.

Tada!


If you made these tiny enough you could make them into pins or even earrings!

How do you embellish your gifts?

You can Craft Your Own Way!


Please visit my site to see more of my inspiring
creations at www.tanyaRuffin.com

• • • • • • • • • • • • • • • • •

Don't forget to subscribe to our blog on the right side bar:
Twitter at AmazingCasting | Facebook at AmazingMoldPutty | YouTube at AmazingMoldPutty

Thursday, October 13

One Skull or Two... #Cre8time Creepy Cocktails with Alumilite

With Halloween right around the corner... our Cre8time party planning and holiday decor is in full swing. Today we have a creepy-cool project to share featuring a product from Alumilite that can be used to create food-safe silicone molds – custom skull ice cube mold using Alumilite Plat 10.

Alumilite is the company who produces all of the Amazing Casting Products you all know and LOVE – and also products for DIY fishing lures and rock climbing holds... and much more!


This project starts with two plastic skull party favors. To create an ice cube mold, one would want to make many cubes at a time. So first a mold will be made to cast these two skulls in order to make 12 blank masters which can be done with Amazing Mold Rubber and Amazing Casting Resin.

Watch to see more of this amazing process...


If you have trouble viewing video, please CLICK HERE.


After creating twelve resin skull blanks, these are mounted into a new mold box where the Plat 10 silicone is poured to create a new custom skull ice cube mold. This is so creepy cool!

Plat 10 is a platinum based silicone mold making rubber that when cured yields a soft and pliable 10A rubber. Plat 10 complies with FDA 21 CFR 177.2600 and can be used for making molds for delicate castings including chocolate, fondant, sugar... and ice cubes, too!


The Alumilite yellow Plat 10 Mold is FDA Compliant... meaning this is food safe! This is so AMAZING!!! With this product you can have the detail and versatility of Amazing Mold Rubber {not FDA compliant}, but with a silicone product that is FOOD-SAFE.

How would embellish your cocktails?

Thanks for visiting! CLICK HERE to view more videos on how you
can utilize Amazing Casting Products in your creations.

• • • • • • • • • • • • • • • • •

Don't forget to subscribe to our blog on the right side bar:
Twitter at AmazingCasting | Facebook at AmazingMoldPutty | YouTube at AmazingMoldPutty

Wednesday, March 9

With a Bit of #Cre8time Luck! St. Patrick's Day Decor by Lyn Gill


Hi everyone! Lyn here again with a fun and easy project just in time for St. Patrick's Day. This project makes a perfect table decoration or you can hang it on the wall. Just a garage sale frame, a few bits of table scatter, a couple of Amazing Casting Resin embellishments and you're ready to go!


First I made a mold of a plastic coin with Amazing Mold Putty and then filled it with Amazing Casting Resin with a bit of Alumilite Dye in black.


I then started with some left over tissue paper (from Christmas...LOL) that I sprinkled with a bit of alcohol to make the dots. Then I stamped and embossed it with some gold embossing powder.


Now for the good part – first off I did this on aluminum foil not only to protect my table, but also to give the piece another layer of Sparkle... I love Sparkle! Then I placed the tissue paper, onto which I drizzled some Amazing Clear Cast Resin and added some of the table scatter, glitter and then topped it with the picture frame glass – then let it cure.

What a great way to display your favorite piece of St. Patty's Day jewelry!

What type of party decorations
can you create with
Amazing Casting Products?
Give it a Try!

Thanks for joining us today here at Amazing Casting Products...
 Till Next Time! ~ Lyn

You can also find my work on my Blog at LynzCraftz,
on Facebook LynCraftz or on YouTube LynCraftz!
• • • • • • • • • • • • • • • • •

All month long we are celebrating our favorite
molding product in all its YELLOW glory...
Amazing Mold Putty!!


Tune in via Instagram and on our Facebook Page for games and giveaways for your chance to win some AMAZING Casting Products! The more you play along and share... the more chances you have to win!!! Use the hashtag #MoldPuttyMadness when sharing.

• • • • • • • • • • • • • • • • •

Don't forget to subscribe to our blog on the right side bar:
Twitter at AmazingCasting | Facebook at AmazingMoldPutty | YouTube at AmazingMoldPutty

Tuesday, March 8

How to Catch a #Cre8time Leprechaun... by Bridget Cordero


What does St. Patrick’s Day mean to you? Coming from an Irish family, it was a celebration with corned beef, potatoes, carrots and cabbage along with decorations of horseshoes, Leprechauns and shamrocks. It is said that Leprechauns were fairy sized shoemakers and if captured by a human they could grant that person 3 wishes for their freedom. 


For the upcoming holiday I’ve created a leprechaun hat and
used resin embellishments to decorate the piece.


First I created the hat with felt and cardboard. Knowing I needed a gold buckle, I found an old key ring that I took apart and molded. I used Amazing Mold Putty to create the mold of the buckle. It worked beautifully. CLICK HERE to view mixing and preparation. 


Then I grabbed a paint brush and brushed the Alumilite Gold Metallic Powder around the mold. I mixed up some Amazing Casting Resin and poured it into my mold. As this was curing I worked on creating the other embellishments I needed for my hat.


I did not have green dye... so I mixed Alumilite Yellow and
Blue dyes with the resin to get green shamrocks. 


I then poured the mixture into molds and waited for them to cure. The dye colors mixed together made the perfect green. CLICK HERE to view mixing/preparation of Amazing Casting Resin.

To make the horseshoe I molded an old Christmas ornament that I found (see mold picture above for the original). I brushed Alumilite Copper Metallic Powder into the mold as I did with the buckle, poured in some Amazing Casting Resin and waited for it to cure. I embellished the horseshoe with my handmade shamrock and also some small green resin leprechaun feet that I made (using same process as the shamrock). 


Once all my pieces were done I embellished the hat with them!!

How do you decorate using
Amazing Casting Products?

Thanks everyone for stopping by! Be sure to check out all the other designers on this blog.
If you’d like to see more of my creations, please stop by my YouTube Channel at https://www.youtube.com/user/BsAlteredDesigns 
Happy crafting! ~ Bridget

• • • • • • • • • • • • • • • • •

All month long we are celebrating our favorite
molding product in all its YELLOW glory...
Amazing Mold Putty!!


Tune in via Instagram and on our Facebook Page for games and giveaways for your chance to win some AMAZING Casting Products! The more you play along and share... the more chances you have  to win!!! Use the hashtag #MoldPuttyMadness when sharing.

• • • • • • • • • • • • • • • • •

Don't forget to subscribe to our blog on the right side bar:
Twitter at AmazingCasting | Facebook at AmazingMoldPutty | YouTube at AmazingMoldPutty

Tuesday, December 17

All is Merry and Bright... Vintage Ornaments using Frog Dog Studio and Amazing Crafting Products


We are excited to announce Frog Dog Studio – as our new partner "in crafting". This new creative collaboration opens the door WIDE open to many new and exciting projects utilizing both Amazing Crafting Products products and the great supplies found at FrogDogStudio.com including their monthly mixed media kits. Our goal is to inspire you to create with us... as we all have FUN "in the making!"

Today is the first of these collaborative projects. Today brings a project from Frog Dog Studio Designer Sue CarrollShe has created some beautiful vintage holiday decor using the December Frog Dog Studio Kit and Amazing Crafting Products.


Sue Carroll has captured all the sparkle and wonder of Christmas using the December Frog Dog Studio Kit, Amazing Mold PuttyAmazing Clear Cast Resin, Alumilite Silver Metallic Powder and goodies from her stash.

CLICK HERE to jump over
to see the full HOW-TO.


We also SPIED another little holiday project at Frog Dog Studio by Carroll
using Amazing Mold Putty and Amazing Casting Resin {CLICK HERE}.

Thanks for stopping by and have a fabulously creative day!  Sb :)
.................................

Don't forget our CHRISTMAS WISH GIVEAWAY

a Rafflecopter giveaway

Monday, November 25

Happy Thanksgivukkah!!! Make an Autumn Themed Menorah with Isabel Villarreal


I look forward to any occasion that allows me to break out the crafting supplies and whip up some hand made decor deliciousness. When my boyfriend informed me that this year Hanukkah would be falling on the same day as Thanksgiving I almost fainted. How often do I get a chance to combine 2 holidays...it's a dream come true! I immediately broke out the Amazing Mold Rubber and got to work on an Autumn inspired Menorah that would begin as a part of a centerpiece for our Thanksgiving meal table setting and then he would later light in observance of Hanukkah.


To start my project I went out and bought a simple inexpensive metal menorah. Simple works fine for this project since I would be covering a lot of the surface. I had a few random buttons and wood findings that I thought I might be able to use so I glued them onto a small plastic plate with a dot of hot glue to keep them from moving around as the Amazing Mold Rubber set. Amazing Mold Rubber is mixed 1 part catalyst to 10 parts base (10:1). CLICK HERE to view a video of how to mix Amazing Mold Rubber. For me it's usually easiest to mix a large batch and create as many molds as possible at once, so I prepared a few other objects to mold at the same time. After mixing I poured the Amazing Mold Rubber into each of my containers and left them all to set overnight. 


I woke early the next morning, but the molds were still not solid enough so went about my morning routine and left them for a bit longer. It took about 12 hours for the molds to set completely. When I turned the clear plastic plate over, I could see that Amazing Mold Rubber had cured perfectly.


I took a few minutes to trim away any excess rubber and the end result was a beautiful mold with amazing detail that I could use again and again in my crafting adventures.


I wanted my molded pieces to have earthy colors so my next step was to color my molds using Alumilite Metallic Powders. These powders are great – a small amount goes a very long way! Using various sized brushed I dusted my molds with Bronze, Pearlescent, Gunmetal, Copper and Gold and did a little blending for different variations of color. When I fished the coloring I mixed up some Amazing Casting Resin by combining equal parts of "A" and "B" and stirring until the mixture is clear.


Amazing Casting Resin sets in about 10 minutes. You can see here that as the Amazing Casting Resin sets it begins to turn a solid white color. The finished pieces will have the metallic color on the front and solid white on the back.


While my resin pieces were setting I cut some strips of satin fabric with a Green and Brown floral pattern. First I used some Chocolate Brown binding to go around the width of the Menorah. This would create a solid base of color and also provide a place for me to anchor the fabric strips once I started to wind them around the metal frame.


My molded Autumn pieces turned out beautifully! I arranged my cast resin pieces around the fabric wrapped metal frame and attached them to the fabric with some hot glue. The Menorah you see is only 8" tall, so each decorative piece is about an inch tall or less. Thank you, Amazing Mold Rubber for making it super easy to get incredible detail in even the smallest cast pieces. My boyfriend and I are looking forward to making this a gorgeous part of our Thanksgivukkah celebration.

What holiday creations will you make


I'd love to see what you create! Please upload and share your creations to our
user GALLERY on the Amazing Mold Putty Website for all the world to see.
...........................................

Don't miss a single post!
Please subscribe to our blog on the right side bar:
Twitter at @AmazingCrafting | Facebook at AmazingMoldPutty | YouTube at AmazingMoldPutty
Related Posts Plugin for WordPress, Blogger...