So today we're going to make some back ground stamps....
Are ya ready?
First, gather your supplies...
Grab a blob of each A & B...make sure they are the same size (don't worry, you can eye-ball it!!). If you want your stamp to be the size of the embossing folder, you'll need to use more
putty than I did.
Squish parts A & B together until no swirls of either color show.
See, no swirls!
Put your mixed
Mold Putty on the table (I always work on a Ranger craft sheet),
and flatten it out with the brayer.
Stick your flattened
Mold Putty on the open embossing folder,
and GENTLY squish it down with your fingers.
Turn folder over and look to see that the
Mold Putty is down in the design... If not, or if there's lots of bubbles, GENTLY squish it down a little more. If it's good, give it a LIGHT roll over with the brayer.
Let sit for about 5 minutes and remove from embossing folder.
Since you're using a thin sheet of
Mold Putty, it will set FAST!!!
Trim with scissors.
Here's a polka-dot one! I love this, and it is going into my art journaling supply box!!
YEAH!
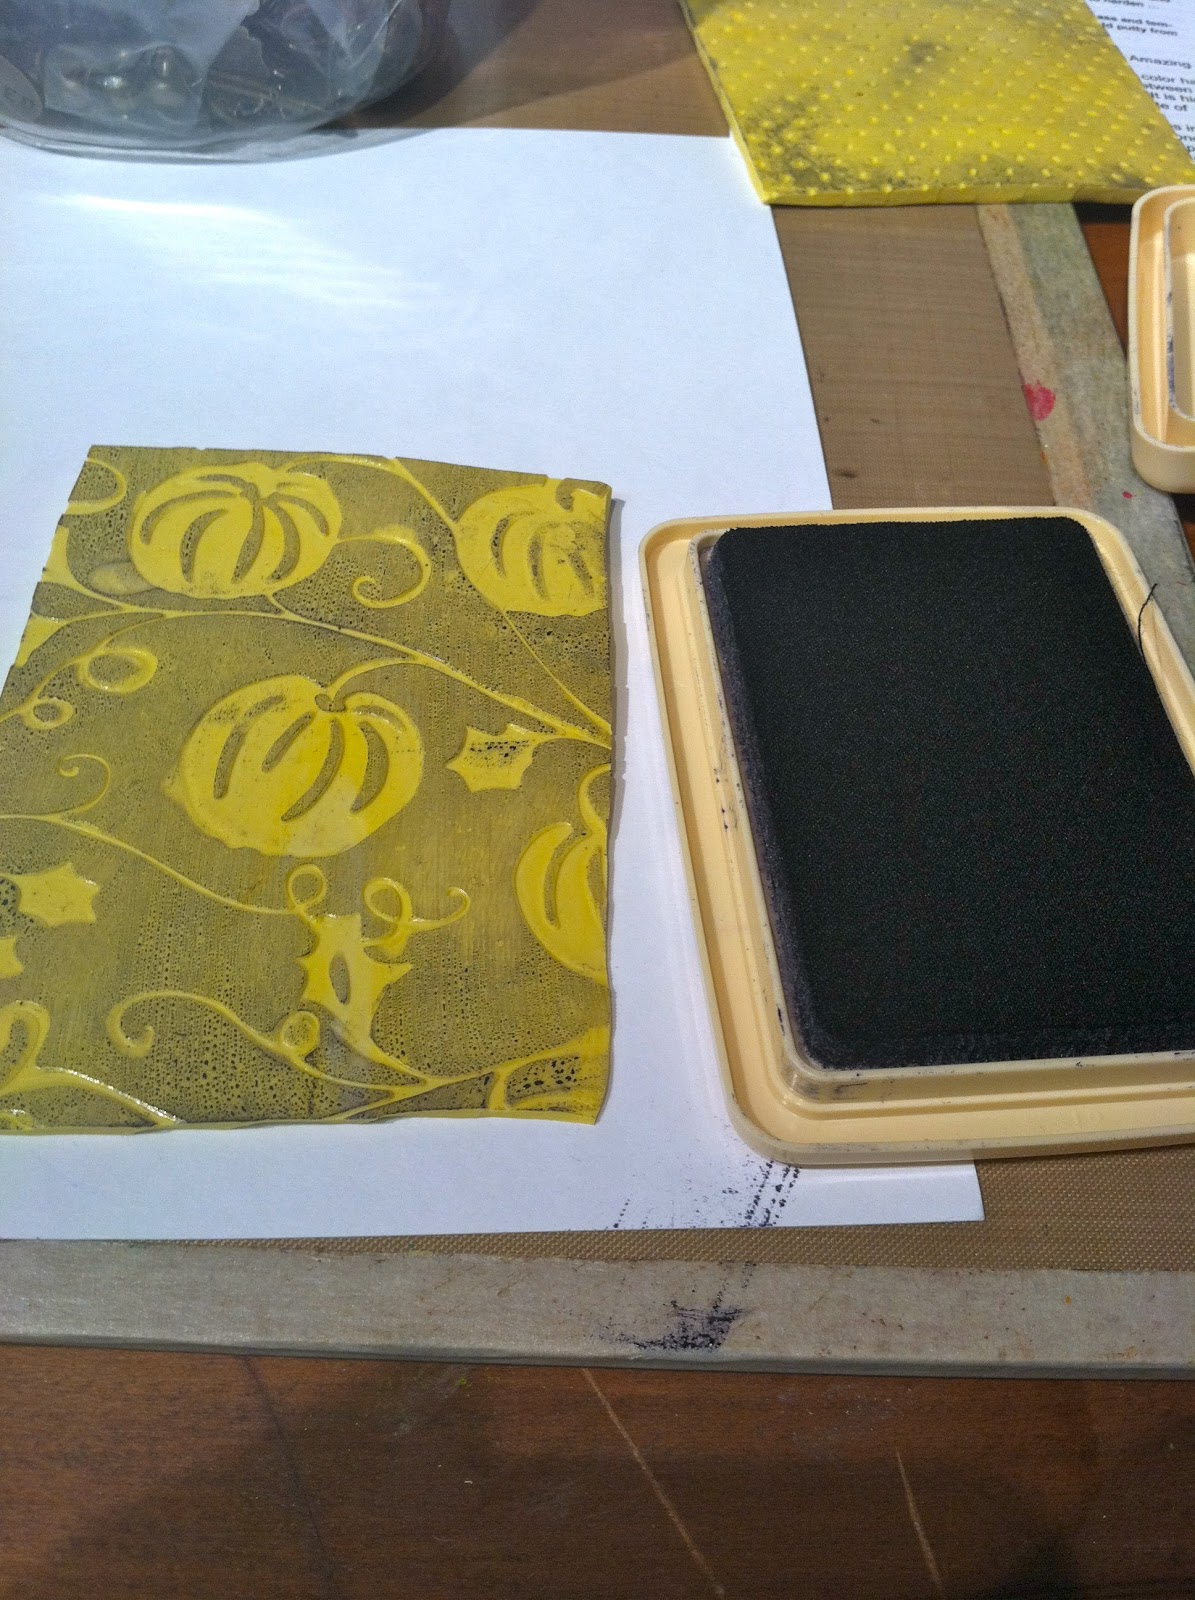
Ink up your rubbery stamp.
Flip stamp over, and very gently run a brayer across it.
HOW COOL IS THAT!??! :)
And here's your wiener of the day...
Sammy on the wood pile, checking it out.
Have a great day!!