Showing posts with label ornaments. Show all posts

Monday, March 26

#Cre8time Egg Decorating... AMAZING Easter Ornaments by Tracy Krueger

Hello, it's Tracy here! Being that Easter is right around the corner, I was trying to think of a quick and fun Egg decorating project. My kids are grown so we don't decorate real eggs anymore.


Then the simplest idea came to me! I have a mold that I had made out of a cut piece of brass (to make a Christmas ornament) and it has an Egg shape. I first mixed two equal parts of Amazing Casting Resin and poured it into my mold to give it a "egg base". I just love watching the Casting Resin cure... don't you :-)


After this base egg cured (I gave it about 15 minutes), I gathered three of my Alumilite Dyes that would be good for Easter – Blue, Purple and Yellow. I poured out very small equal portions of Amazing Casting Resin and squeezed out a tiny drop of each color into part "A" of the resin, then stirred color completely before adding part "B". CLICK HERE to view mixing/preparation.


The first color I mixed up was the yellow, and poured
random lines on top of my white cured resin.


As the yellow was curing, I was thinking "there has to be a better way to have more control over the colored resin". Awhile back I bought a bunch of disposable pipettes, so after the yellow cured, I mixed up the blue dyed resin and used the pipette to draw where I wanted my colored resin to go. It worked beautifully! I just love how I got some green where the blue was over the yellow.


Now I just had purple left. I mixed it up and used another pipette to squeeze the purple where I wanted. As always I kept a spare mold around to pour the extra resin in.


Once I was done applying the three resin colors, I let the whole thing cure for a couple of hours to make sure everything was set totally.


I took it out of the mold and trimmed the back a little, then drilled a hole in the top. I grabbed my sari ribbons and cut a small piece of a greenish/blue colored one.


I really like how this turned out.
It has kind of a watercolor look about it.


Isn't it fun that you can mix up your Holidays and make decorations for both?! I had quite a few more ideas, but have had a hard time getting them to come to fruition. I'll be back soon to share a few of my bad EGGS. 

How are you decorating for Easter?

Have fun! ~ Tracy

You can find more of my work on my Blog:
http://tracykrueger-nine.blogspot.com/2017/

• • • • • • • • • • • • • • • • •


Don't forget to subscribe to our blog on the right side bar:
Twitter at AmazingCasting | Facebook at AmazingMoldPutty | YouTube at AmazingMoldPutty

Saturday, December 23

#Cre8time Peace on Earth... Polymer Clay Dove Ornaments by Tracy Alden


Hello! Tracy here with another tutorial using Amazing Casting Products! Around the holidays I often find myself making last minute gifts to complete a package or basket... and this year was no exception. Harking back to the traditional theme of doves as a symbol of peace and goodwill, I decided to create "Peace on Earth" Dove ornaments. 

Supplies: 


Using a pasta machine (devoted to craft use only) set on the thickest setting, I conditioned some polymer clay. I stacked two pieces of the now smooth clay on a ceramic tile and rolled an acrylic roller over the stack to make them stick to each other. 

I drew a simple dove outline on a piece of parchment paper, then placed the paper on top of the clay. I traced the dove outline with a stylus to transfer the image.


Using a craft knife I cut out the dove shape, being careful around the edges to not tear the clay. I then smoothed out any uneven cuts in the clay with a stylus. 


Instead of stamping images into the clay (like I have done with these tag ornaments), I create a free form pattern of swirls and dots as a decorative element on the clay dove. Using a small diameter stylus I gently press into the clay – drawing on the clay, not going too deep but just enough to get a visible pattern. 


I bake the clay dove on the tile as per the manufacturers instructions. Using an emory board, I carefully sand any uneven raised surfaces created in the drawing process, without removing the dove from the tile.

Now the fun begins... 


I condition more polymer clay and create a clay wall around the cured clay dove piece. To make sure I was creating a tight seal with the clay to the tile, I press the clay in place with a metal stylus. I don't need to bake this clay – it is just serving as a wall to contain mold-making material, Amazing Remelt.


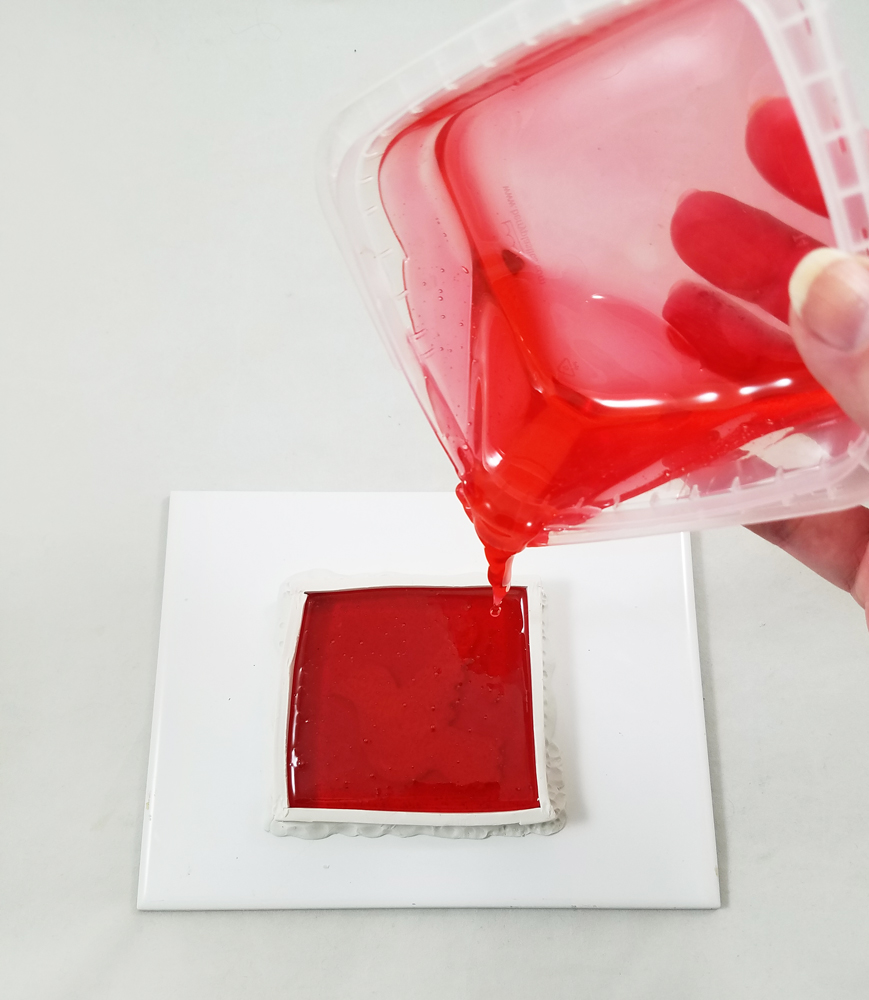
I sprayed the piece lightly with cooking spray to act as a mold release. I heat the Amazing Remelt in the microwave, in the container it comes in (click here to view preparation). I pour the heated Remelt into prepared piece on the tile from a 12 -15 inch distance – this distance gives the Remelt a chance to release more bubbles before cooling.


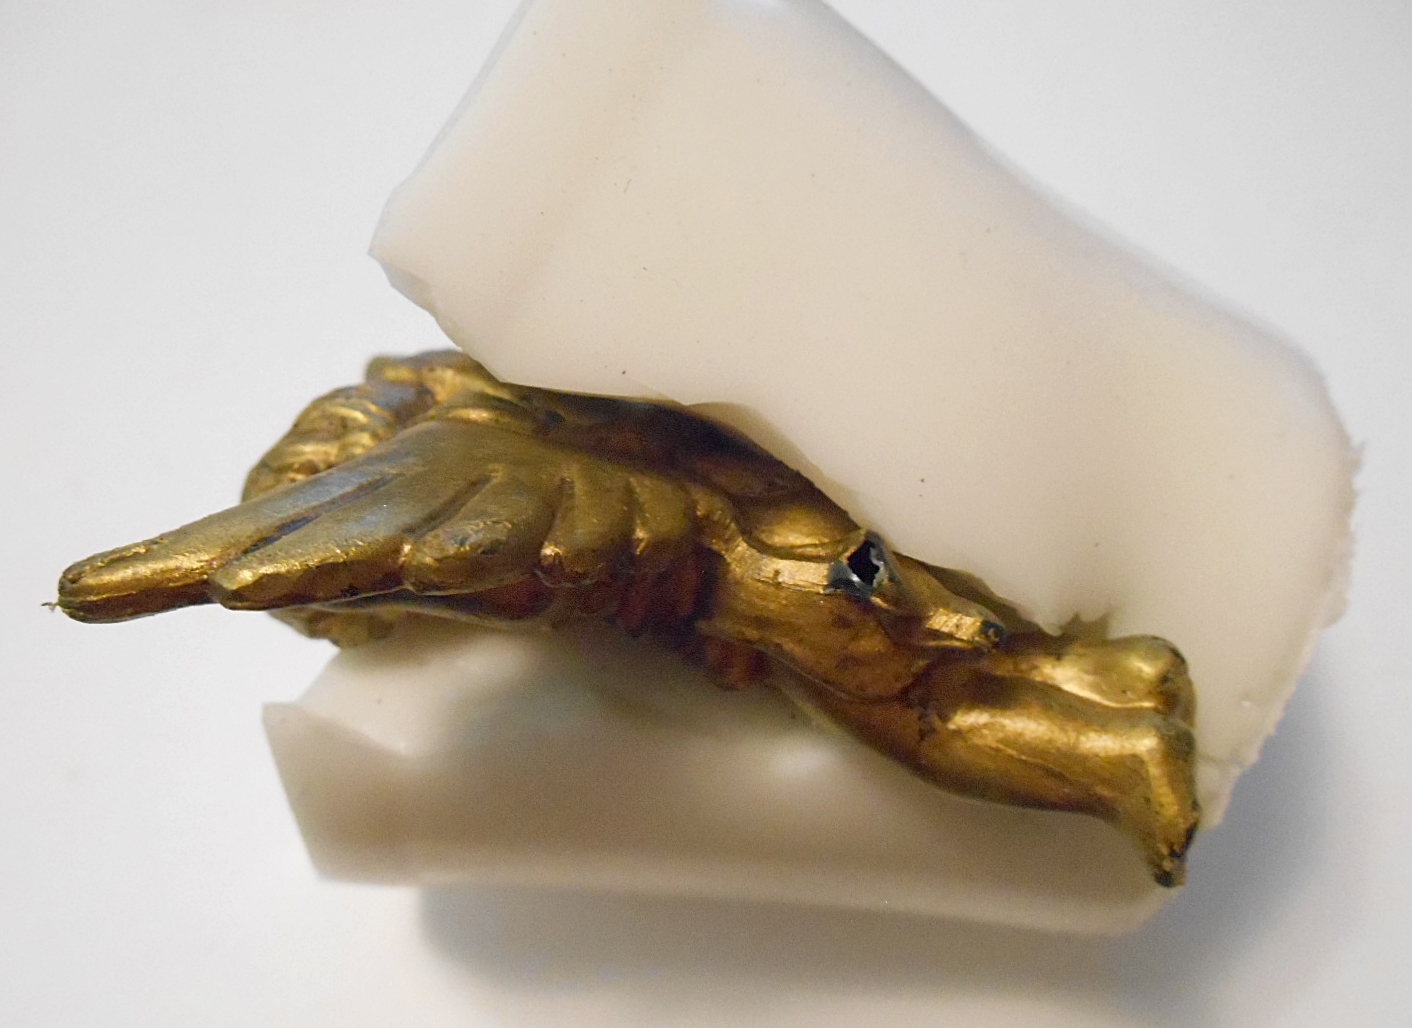
I let the Amazing Remelt cool until no longer tacky or warm. When completely hardened, I carefully remove the tape, clay and the original from the Remelt mold.

Now to make more...


I condition the polymer clay, making sure the clay was soft and warm enough to be pushed into the mold. I push the clay into the mold tight, using an acrylic roller to push the clay further into the mold – making sure the clay gets into the tiny embossed details.


I carefully place the mold, with the polymer clay still inside, face down on a ceramic tile, then gently peel back the mold leaving polymer clay piece stuck to the tile. I refill the mold with more polymer clay and repeat this process again and again until I have plenty of doves. 


I made holes in the clay doves with a stylus which will be for adding ribbon hangers later. I applied two to three shades of Alumidust to each clay dove and then baked the polymer pieces to cure.


These shimmering clay doves are ready to hang
on the tree or put a finishing touch on gift baskets. 

What AMAZING arts and crafts can you create?

Visit my blog Art Resurrected for more craft tutorials!

Happy Holidays and until next time, safe travels! ~ Tracy

• • • • • • • • • • • • • • • • •

Don't forget to subscribe to our blog on the right side bar:
Twitter at AmazingCasting | Facebook at AmazingMoldPutty | YouTube at AmazingMoldPutty

Thursday, December 7

Trimming the #Cre8time Tree... by Michele Kosciolek


Hello fellow creatives! Michele here today and I am super exciting to be sharing with you today, my very first project as an Amazing Casting Products Creative Team member!!! Today I am sharing a quick Christmas ornament I made to use as a gift topper.


I started by creating a shape to mold using some various wood pieces.


Then I used Amazing Mold Putty to mold my wood piece. I sprayed a tiny bit of Mold Release Spray just to be sure the wood wouldn't stick. Follow the package directions for the amount of time to let the putty cure {CLICK HERE to view mixing/preparation}.


Look how great that piece molded!!!


Next I brushed bronze Alumilite Metallic Powder in the numbers and antlers.


I mixed some Amazing Clear Cast Resin according to the package directions and poured in the mold {CLICK HERE to view mixing/preparation}. It is always a good idea to have other molds handy in case you have any resin let so it doesn't go to waste!!!


A bit more package directions to follow for cure time and viola!!! Look how great it looks popped right out of the mold.


I used my Crop-o-Dile to punch a hole for a bit of sparkly ribbon to hang the ornament from... easy peasy!!


Oh my I just love holiday creating and boy oh boy these Amazing Casting Products make it so easy!!!


This will be perfect from package to tree.


And that metallic bronze is gorgeous!


Thanks so much for taking a peak at my first post!
I look forward to sharing so much more inspiration with you!!!

What kind of handmade
ornaments are you making?

Until next time... ~ Michele

For more projects and inspiration please visit my blog "Stuff by Belle"
or follow on Facebook: https://www.facebook.com/michele.kosciolek

• • • • • • • • • • • • 

Don't forget to subscribe to our blog on the right side bar:
Twitter at AmazingCasting | Facebook at AmazingMoldPutty | YouTube at AmazingMoldPutty

Tuesday, December 27

#Cre8time Transformations... from Resin Castoffs to Amazing Adornments by Aimée Wheaton


Is it a jar topper or a funky little tree?!! Who knows? The options are endless when you keep your castoffs and use them in unconventional ways. I started rummaging through my box of castoffs and had to think outside the box for something to create and came up with this little idea.


I will say first off I created all these pieces over time, they were made from mixing equal parts of Amazing Casting Resin that I mixed too much of. Some were dyed with Alumilite Dyes and others were just left white.


The only non-resin piece is the wooden tree shaped item. I took my hot glue gun and glued them all together with the wood piece being on top.


Here it is all glued. Next I took some gold acrylic and painted the whole thing. I added silver glitter while it was wet.


I had this fleur-de-lis that wasn't in the best shape, so I added some glue and then sprinkled it with purple glitter, then glued it to the front of the stacked golden tree.


So pretty!! Makes a perfect topper for my stash of vintage buttons!


Here's another idea for you!


I took another castoff that I had created... drilled a hole in the top to loop wire through and started painting! Again this was created with a dyed resin castoff.


Where this piece started from – a violet dyed resin heart.
To this I added different colors of acrylic paint.


I added some glitter and this little amazing pendant I created with Amazing Clear Cast Resin and glitter. I also hot glued an antique button in the center of the heart.


I'm glad I kept all of these castoffs and trinkets.
I really liked how they turned out!!

Do you keep your resin 
castoffs for future use?

Feel free to stop by my FB page to see the latest with me.

To see more of my work please visit my new blog "Life Glitter Makeup"
and also at the Aimée Wheaton Art and Design website.

Till next time! Xoxo Aimée

• • • • • • • • • • • • • • • • •

Don't forget to subscribe to our blog on the right side bar:
Twitter at AmazingCasting | Facebook at AmazingMoldPutty | YouTube at AmazingMoldPutty

Thursday, September 8

Tis the Season for #Cre8time... Christmas Tree Ornament REDUX by Lyn Gill


Hi All! Lyn Gill here again with an Amazing Mold Rubber project for you. First of all I know it's not quite time to start Christmas projects, but I always wait till the last minute to think about how I'm going to decorate my tree. This year I decided to start early... LOL! 

I started with an old hollow decoration from a wreath I had dismantled. He's cute but I wasn't too wild about the color. I needed to make many of them so Amazing Mold Rubber was the answer. 


In a disposable plastic cup I molded the little cherub with the Amazing Mold Rubber and let it set up. CLICK HERE to view mixing/preparation.


As you can see I sliced the side of the mold to aid in release. Before pouring resin, I wrapped a rubber band around outside of mold to keep mold closed tight. I filled the mold with Amazing Casting Resin and let it set up. He turned out so cute! I was actually shocked when I de-molded him!


Original...


Amazing!

Now he's adorable isn't he?! I painted him a lovely Turquoise color then added some crackle glaze and a bit of clear glitter on the wings. 

What will you mold with
The possibilities are endless!

Well thanks so much for stopping by today... 
Till Next Time! ~ Lyn

You can also find me on my Blog LynzCraftz, 
on my  Facebook page LynzCraftz, 
or on my YouTube channel LynzCraftz.

• • • • • • • • • • • • • • • • •

Don't forget to subscribe to our blog on the right side bar:
Twitter at AmazingCasting | Facebook at AmazingMoldPutty | YouTube at AmazingMoldPutty
Related Posts Plugin for WordPress, Blogger...