Monday, November 30

#Cre8time Cabinet Updo... the KEY to Amazing Drawers by Bridget Cordero


Hey Everyone. Recently I purchased new organizational drawers for my craft space and they needed drawer pulls. So I saw this key hanging in my daughter's house and decided that's what I want for drawer pulls. I do need to make 30 of these but for now one set is done and working with Amazing Casting Products it's so easy to mix up a batch of Amazing Casting Resin, pour it and go do something else crafty while it sets. 


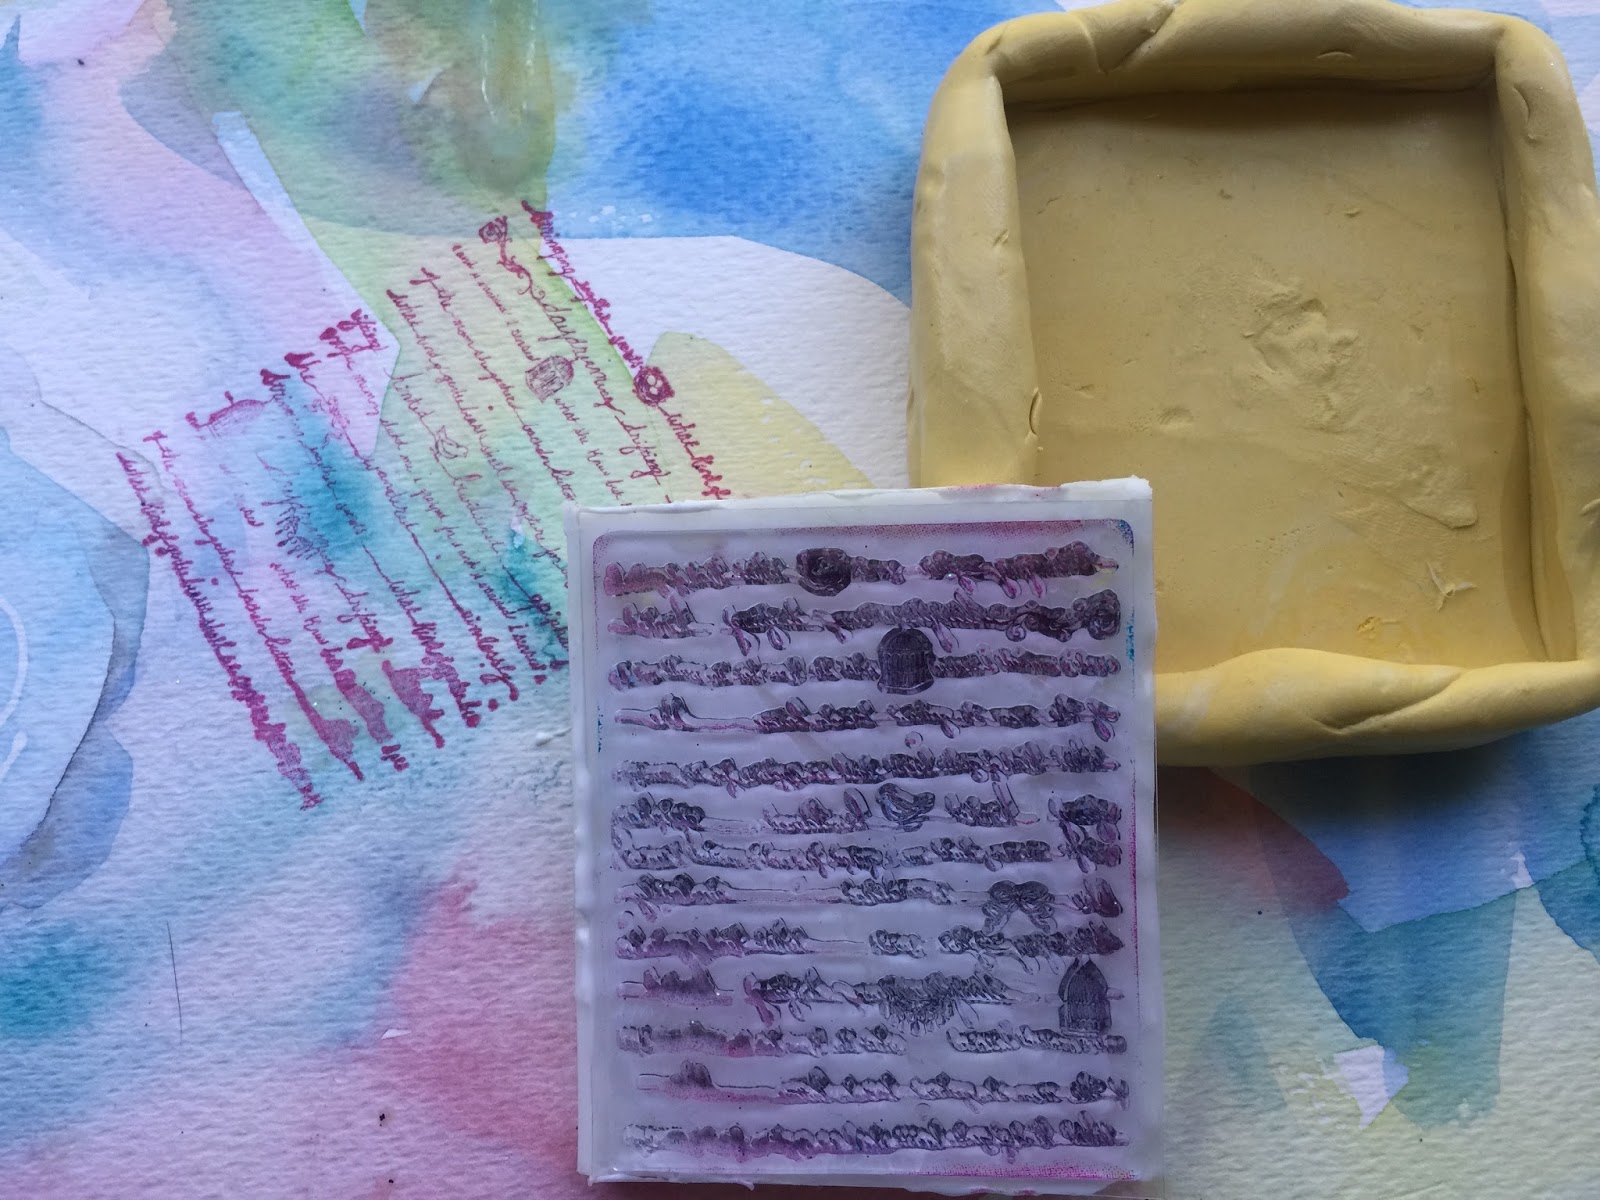
So first I had to mold this key by using the Amazing Mold Putty. I took equal parts of the yellow and white putty and kneaded it together. Then I took the key and pressed it into the mold putty. Once this has hardened I removed the key. Next I used the Bronze Alumilite Metallic Powder and a dry paint brush to brush some onto the mold.


I then mixed up the Amazing Casting Resin and added some Alumilite Black Dye so my key would be black with the bronze tint just like the original key. Once this is all mixed together, I poured it into my mold.


I then poked holes in the bottom of these small cups so the screw would stand up straight as it is curing in the mold. When cured, I removed the cups, mixed up a little more Amazing Casting Resin and poured it into the mold to give the screws a more secure hold.


While this is setting up I needed to make more spacers. These will go onto the screw to allow more room between the drawer and the pull. To do this I mixed up some Amazing Mold Rubber (one scoop of catalyst (the pink liquid) to every 2 ounces of the mold rubber {CLICK HERE to view mixing/preparation}. Once I had the spacers (the white ones in photo) secured to a small cup, I poured the mold rubber. After this had set I mixed up the Amazing Casting Resin with the black Alumilite Dye and poured into these molds. I made so any because I will need 60 of these spacers. 


After assembling the spacers and nuts onto the screws this is how the drawer pull looks. I could not be more excited about these. It was so much fun to customize my craft storage.


They look amazing on my drawers! Now to finish the handles for 24 more drawers. Happy Crafting!


For a more details on how I created these
Please CLICK HERE to
watch the video. Enjoy! :)

Thanks for stopping by!
If you’d like to see more of my creations,
please stop by my YouTube Channel

• • • • • • • • •

Don't forget to subscribe to our blog on the right side bar:
Twitter at AmazingCasting | Facebook at AmazingMoldPutty | YouTube at AmazingMoldPutty

Thursday, November 26

Thankful for #Cre8time... by Melissa Johnson


Hi everyone! In honor of Thanksgiving, I wanted to create some cute fall leaves to use in my table decor for the holiday. 


I created the leaf using Super Sculpey Clay and my set of carving tools. Once the clay was baked, I used my Amazing Mold Putty to mold the leaf shape.


I cast the leaf with Amazing Clear Cast Resin, and colored it with a combination of gold Alumidust and Alumilite red dye


I finished by adding some orange paint and a little vintage brown ink to give it a little more depth, and added some stamping and twine. This would be great on a table setting laid on top of a plate with a pretty cloth napkin under it, as place cards, or maybe several strung along some branches for a centerpiece. 


Have a Happy Thanksgiving!

Make something that makes you happy :) ~ Melissa Johnson
For more of my mixed media projects, please visit my blog.

• • • • • • • • • • • • • •

Don't forget to subscribe to our blog on the right side bar:
Twitter at AmazingCasting | Facebook at AmazingMoldPutty | YouTube at AmazingMoldPutty

Wednesday, November 25

Have a Happy Holidays! Enjoy #MerryMoldMaking with a MoldPutty.com Coupon

http://www.moldputty.com/store/pg/88-Products.aspx

Hello Amazing Crafters - this is a special announcement! We have a special coupon for you to shop on the MoldPutty.com website. Perfect for gift-giving, stocking up or just treating yourself to some fun new mixed-media goodness...
Please use coupon code
HOLIDAY2015 
at checkout.
{valid Nov. 27 through Nov. 30} 
ALSO enjoy $7.50 flat rate shipping on all
U.S. DOMESTIC orders through 12/31/2015.

Amazing Casting Products is a family of
five (5) AMAZING products
 making moldmaking and casting easy.

Follow Amazing Casting Products
on your favorite Social Media channels:


• • • • • • • • • • • • • •

Don't forget to subscribe to our blog on the right side bar:
Twitter at AmazingCasting | Facebook at AmazingMoldPutty | YouTube at AmazingMoldPutty

Tuesday, November 24

Having a #Stamping BLOCK - No Problem!! #Cre8time Quick Fix by Aimée Wheaton


This inspiration post came out of me being a cheapskate when it comes to flat/unmounted stamps. I never could justify buying the acrylic blocks to mount them on and have a bunch of them that I rarely use because they are unmounted. It hit me that I could make my own mounts using products I have already! YAY! A creative solution that is an easy fix.


I had a blank rubber sheet that I could carve for stamps but it was the perfect size to mold using our Amazing Mold Putty so that is what I used.


I sized it to the unmounted stamp and then mixed up a batch of Amazing Mold Putty to form around it {CLICK HERE to view mixing/preparation}.


Mix and pour the Amazing Casting Resin because it cures fast and is white...


and then glued down the stamp! It was a perfect fit
and takes about 20 minutes from start to finish!


YAY! Look how easy that was!

Hope you all have an amazing Thanksgiving Break!

What cool fix can you make
with Amazing Mold Putty
and Amazing Casting Resin?

Feel free to stop by my FB page to see the latest with me.
To see more of my work please visit my new blog "Life Glitter Makeup"
and also at the Aimée Wheaton Art and Design website.

Till next time! Xoxo Aimée

• • • • • • • • • • • • • •

Don't forget to subscribe to our blog on the right side bar:
Twitter at AmazingCasting | Facebook at AmazingMoldPutty | YouTube at AmazingMoldPutty

Monday, November 23

Put a CORK in IT... #Cre8time Wine and Cheese Decor by Brenda Burfeind


Brenda from Creativity is a State of Mind here today. I want to show you something I created for a display at work. I recently got a job at a wine store where we only sell South Dakota wines. My boss found out that I like to decorate and make things and has asked me to make the displays. While I am having fun doing this, it's hard to figure out what I should do with the limited "fun" things she has for me to work with. Off to my grandkids' play sets I go ...

I knew they had a wedge of cheese in their dishes set and Amazing Mold Rubber was going to do the trick. I pulled out a butter dish I had and hot glued my wedge of cheese in it.


I added scrap bits and pieces of cured mold rubber that I keep for bigger projects. You just need to surround your piece with them so you don't have to use so much of the mixed up mold rubber.


Then I mixed up my Amazing Mold Rubber following the manufacturers directions {you can see a video tutorial here}. It set up in about 6 hours. Set up times vary by humidity.


After the mold had cured, I mixed up a batch of Amazing Clear Cast Resin with some of the Yellow Alumilite Dye, then poured it into my mold {you can see mixing instructions here}. I wanted to have a void in my resin piece, so I created a wedge of Amazing Mold Putty in the shape of a point.


I strung the wedged piece and hung it from a paintbrush
just high enough to give a void inside the resin as it cured.


and now I have a cute holder for a wine bottle stopper – plus since I made it with Amazing Clear Cast Resin... it's food safe too!


Here is the display I created for the store. I think my boss will like it!


I hope you've enjoyed my faux cheese wedge
tutorial created with Amazing Casting Products.

The possibilities are endless!

Thanks for coming and viewing my tutorial and please leave
a comment and let me know what you think.
 
I hope you will hop over to my blog, Creativity is a State of Mind
 sometime and check out the fun things I've created.

Until next time, ~ Brenda

• • • • • • • • • • • • • •

Don't forget to subscribe to our blog on the right side bar:
Twitter at AmazingCasting | Facebook at AmazingMoldPutty | YouTube at AmazingMoldPutty

Friday, November 20

#Cre8time Play in #Polymer Waves of Blue...
by Lyn Gill

Hi Lyn Gill here again with a project I've had on my mind for a while. The thought of 2 or more resin disks floating together for a pendant... now how to accomplish it? I started this project off with a simple design, created my pieces to mold from polymer clay and got to it!


Using some clay cutters I created this simple design of a hammered metal look for the outer ring and lined waves for the inner disk, then molded them with Amazing Mold Putty {CLICK HERE to view mixing/preparation}.


I dusted the inside of the mold with the Alumilite Gun Metal Metallic Powder and mixed a small amount in with my resin mix. I used Amazing Casting Resin for this part {CLICK HERE to view mixing/preparation.


I love the shimmery look of this part... LOL.


I mixed up the Amazing Clear Cast Resin with some of the Blue Alumilite Dye and poured it into the outer mold {CLICK HERE to view mixing/preparation}. With the last little bit of resin in the cup, I poured a wave of blue onto the inner disk. I waited until it was a little thicker before pouring it. Then I let these set overnight.


After some sanding and cleanup here's the result – a super fun and interesting pendant! Maybe a little Summery, but I'm always dreaming of Summer... LOL.


What a mix Amazing Casting Products carries to bring your imagination to life!

Thank you so much for joining me today.
You can check out more of my work on my blog.

Happy Thanksgiving!

As always I'm on http://lynzcraftz.blogspot.com/ and other social media – my YouTube Channel at LynzCraftz and on my Facebook Page LynzCraftz.

• • • • • • • • • • • • 

Don't forget to subscribe to our blog on the right side bar:
Twitter at AmazingCasting | Facebook at AmazingMoldPutty | YouTube at AmazingMoldPutty

Thursday, November 19

It's Time for #TBT... Join us for #ACPThrowback November Edition

Hello Amazing Crafters!! It's time for another edition of #AmazingCastingProduct's Throwback Thursday!! Every third Thursday of the month, we share links and projects that YOU share on line! There is no need for these projects to be NEW, because this is all about the throwback, so share some throwbacks from YOUR studios and workspaces! We want to see what YOU create. We hope you'll take the time to visit the links shared here, and enjoy all the awesome projects out there!


Revisit our posts from THIS MONTH, in 2013
See them all by clicking HERE.

http://amazingmoldputty.blogspot.com/2014/11/cre8time-fall-fun-with-amazing-remelt.html


INSTAGRAM

• • • • • • • • • • •

Have any projects you want
to share for the next
#ACPthrowback Third Thursday
on December 17, 2015?

Post them to our Facebook page, Pinterest, and on Twitter! We'll be on the hunt for your projects with the hashtag #ACPThrowBack, (you can even go back into your past pins and add this pin to help us find you!) and share ALL your projects using the hashtag #AmazingCastingProducts!!

• • • • • • • • • • •
 
Don't forget to subscribe to our blog on the right side bar:
Twitter at AmazingCrafting | Facebook at AmazingMoldPutty | YouTube at AmazingMoldPutty

Twinkle, Twinkle Little Star... #Cre8time Resin Suncatchers by Bridget Cordero


As everyone prepares for Thanksgiving I'm still having a hard time letting go of summer and the warm, sunny weather. So to keep the sun shining through I created these cute sun catchers using Amazing Remelt, Amazing Clear Cast Resin and some bling.


To get started I found two metal cookie cutters, a star and a moon and melted some Amazing Remelt in the microwave. It takes about 2 minutes to melt one container – but this will also depend on your microwave. I normally start off at 1 minute and go from there.


Once liquefied I placed the cookie cutters into the
dish and put it in the freezer to harden.


When the Amazing Remelt was completely hardened I removed the cookie cutters and the center Remelt pieces. The negative voids will be my mold for the Amazing Clear Cast Resin.


I laid a piece of deli paper under my mold and sprayed it with mold release. I then made up a batch of Amazing Clear Cast Resin and poured it into the mold {CLICK HERE to view mixing/preparation}. As it was curing I sprinkled glitter, micro beads and shaped glitter into the resin.


After they cured about 24 hours, I popped them from the molds and decorated the tops of them with bling and eyelashes on the moons. Then I drilled a hole and laced with thread to hang them.


What cookie cutter shapes will you
transform into suncatchers?

I appreciate you checking out my project! If you’d like
to see more of my creations, please stop by my YouTube Channel

• • • • • • • • •

Don't forget to subscribe to our blog on the right side bar:
Twitter at AmazingCasting | Facebook at AmazingMoldPutty | YouTube at AmazingMoldPutty

Tuesday, November 17

Geared up for #Cre8time... adding Dimension to #mixedmedia Collage by Brenda Burfeind

Good day friends! Brenda here again from Creativity is a State of Mind. Today I am hoping to inspire you by adding some texture with a mold. I am always looking for fun ways to create. I knew I wanted some texture on a piece I was doing and I just sort of ran with it. I wasn't sure if my idea would work, but I'm very pleased with how it turned out.


Turn this mold that I created with Amazing Mold Putty...


... into this!

Bet you'll never guess what else I've used for this fun mixed media collage. To see more details and the full tutorial, I hope you will jump over to my blog.

How do you take your mixed-media
Cre8time to a new dimension?

Thanks for stopping by and until next time, Brenda saying "see you soon"!

Visit my blog, Creativity is a State of Mind to see some more of my creations.

• • • • • • • • • • • • • •

Don't forget to subscribe to our blog on the right side bar:
Twitter at AmazingCasting | Facebook at AmazingMoldPutty | YouTube at AmazingMoldPutty
Related Posts Plugin for WordPress, Blogger...