
TWISTED
Its that time of year when all of us ladies hope we will receive something special for Valentines Day. But sadly, not all of us will receive the diamonds and bling we desire.
So to help you cure your bling bling blues, I'll show you how you can make your very own earrings with a TWIST!
.JPG)
Supplies
- Amazing Mold Putty
- Plastic triangle (I cut mine from a large plastic lid)
- Allumilite Dye
- Amazing 5 minute Casting Resin
- Jewellery findings Earrings
- bling
- stir pots and stir sticks
- sanding files
Step 1
- Cut your triangle piece about 6" long by 1.5" at the top out of plastic
- Mix equal parts of A & B of the Amazing Mold Putty to form a ball thats one solid color
(about 1-2 minutes)

Step 2
- Lay the plastic triangle shape into your mold and let this harden.
(about 10 minutes)
- Remove the plastic shape. Your mold should look like the one below.

Step 3
- Pour equal parts of the 5 minute casting resin into seperate containers.
- Mix red dye into Part A of the resin and stir well.
- Combine the two resins and stir for about 1 minute.
- Pour resin into triangle mold.

Step 4
- Pour your resin into your mold and let this set ONLY until it release from the edges.
You still want your resin to be pliable, warm to the touch, but NOT sticky.
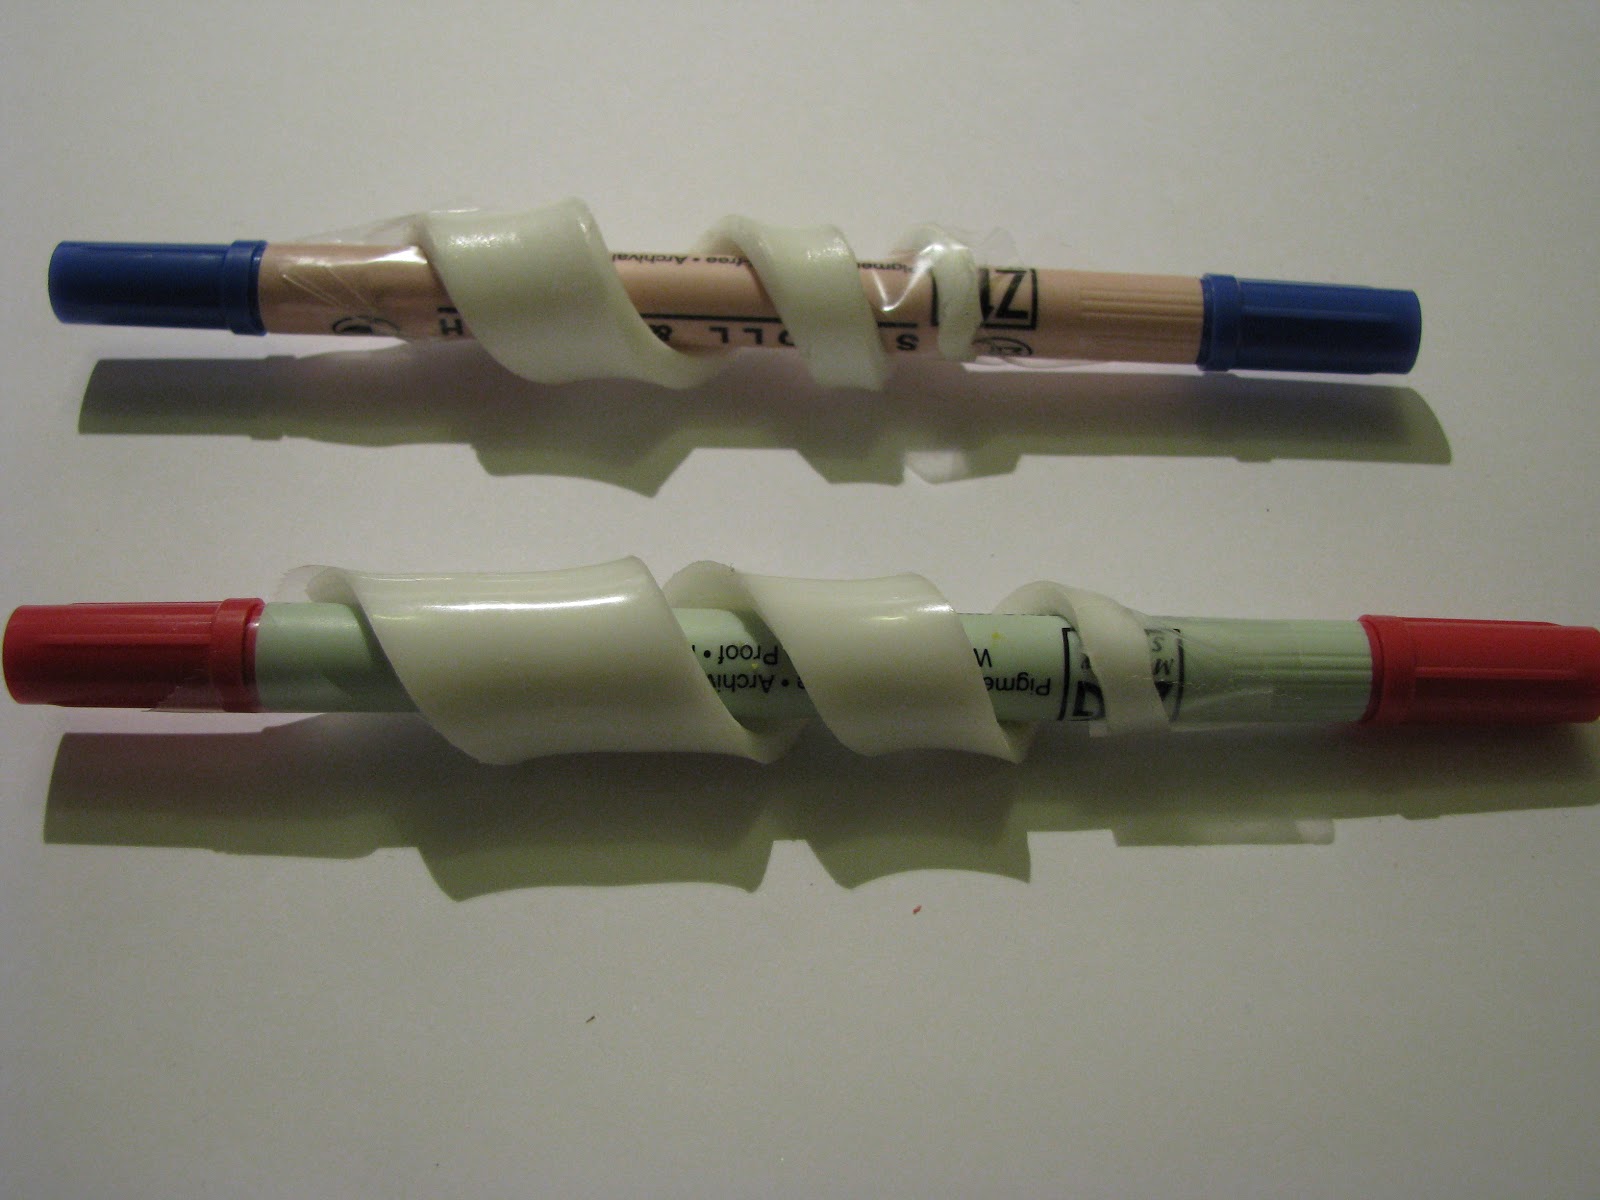
- When you can handle the resin, twist the resin around a narrow pen.
NOT TO TIGHT - PLACE TAPE AT BOTH ENDS TO HOLD DURING DRYING TIME!
Step 5
- To complete the earrings you might need to sand off any rough edges.
- Drill a hole in the top of the earring to attach your earring loops.
- Add bling (I glued my bling on with 3D Crystal Lacquer)
.jpg)
Surprisingly, these are light weight and durable. You can make them in any color and would make a GREAT GIFT. I hope you will make a pair of these for yourself. I can't wait to see them everywhere!!

Great job Lee! Awesome :)
ReplyDeletelove this idea, I have got to try it!
ReplyDelete