Part 2: The Stamp
To read Part 1 – click here.
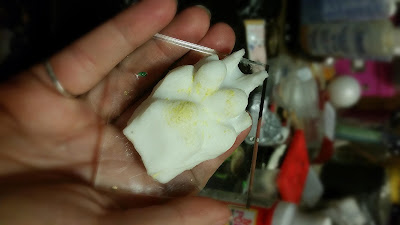
Now that you have your second mold you are going use the UMR mold release and spray several coats inside your silicone mold.
After they mold release dries, mix a small amount of Amazing Mold Rubber (follow the directions on the box for mixing small amounts). Pour into mold and allow to cure.
Don't try to de-mold too soon. Let it cure overnight.
The gently pull the rubber out of the mold. You may have some areas where the silicone mold sticks to the rubber. But if you used the mold release it shouldn't be too bad.
THIS IS WHY WE DIDN'T USE OUR ORIGINAL MOLD!!!!
If you don't use a mold release or not enough mold release, the Amazing Mold Rubber will fuse to the Amazing Mold Putty making a solid rubber block.
Tape your rubber paw to an acrylic block.
Ink up with a permanent ink.
Make your print.
It may take a few tries to get a good print.
I scanned my print into the computer to make some background paper.
I also printed a laser print of my beloved Lily and mod podged it to a vase.
I used the paw print paper to fill in some of the empty space
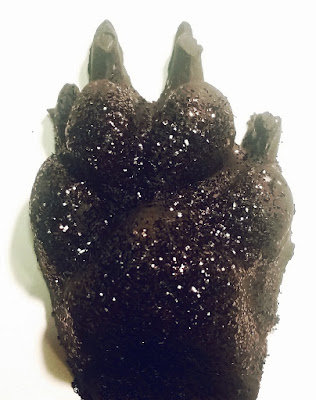
and embellished with the black glittered resin paw.
What rubber stamps can you make
with Amazing Mold Rubber?
Go Craft Your Own Way!
~ Tanya
• • • • • • • • • • • • • • • • •
Don't forget to subscribe to our blog on the right side bar:
Twitter at AmazingCasting | Facebook at AmazingMoldPutty | YouTube at AmazingMoldPutty


No comments:
Post a Comment