Hello!
Tracy with another home decor creation using
Amazing Casting Products! I am getting a early start on Halloween crafting inspiration by reading books on vintage Halloween crafts and poems. I saw the lovely postcards of the late 1800s and I thought why not put a modern spin on it?
Supplies:
I started with removing the glass and back panel of an old 8x10 photo frame. I scrubbed the frame clean and painted the back and front of the frame with 2 coats of Multi Surface Chalk Paint. I let the paint dry overnight.
I cleaned the glass panel and put it back into the frame. I glued the glass in place to make sure it wouldn't shift while I worked on it and so resin wouldn't leak around the edges later. I was careful to have a solid line of glue all the way around the frame and let it dry completely.
Using a stipple pattern, I applied a coat of
Liquitex Gloss Varnish to the edges of the glass. Before the varnish dried I sprinkled on black and crystal glitter. The glitter will add a wonderful shimmer to the piece later on.
Using a cosmetic sponge I stippled on blue, purple, white, and wheat acrylic paints in broken puffy lines to mimic the look of stormy clouds. I wasn't worried about it being perfect as this was just the start of the layers of colors I would apply.
then rubbed on blue and purple
Alumidust and let dry.
I mixed up some
Amazing Clear Cast Resin, making up 3 of the mini measuring cups (that come with the resin kit) to coat the entire back surface of the painted glass panel.
Before the
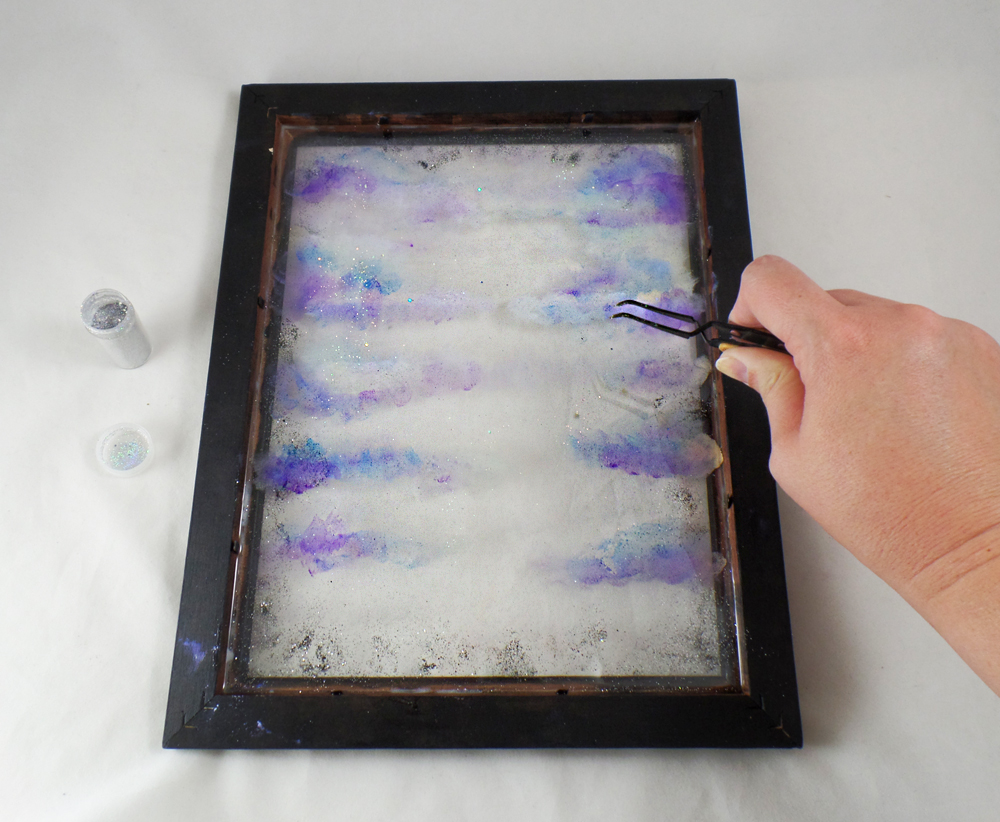
Amazing Clear Cast Resin cured I sprinkled some silver halo glitter on it, to give the illusion of twinkling stars. I then let the resin layer cure to firm state, about 4 hours in warm weather.
Using acrylic paint I painted simple circle to be the moon
in the scene I was creating. I let the paint dry completely.
I mixed up a mini cup of
Amazing Clear Cast Resin with a few drops of Blue
Alumilite Dye, pouring that resin in the outer edge of the glass. I then mixed up another batch of resin with Purple
Alumilite Dye, pouring that right inside the blue ring of resin. The next batch of resin was mixed with a very small amount of Purple
Alumilite Dye and some Pearlescent
Alumilite Metallic Powder and poured inside the two other resin rings as seen in the photo.
I let the resin rest for a few minutes, giving it a chance to level and blend a little. I then dragged a stir stick back and forth gently the mix the colors. I picked up the frame carefully, tilting slightly back and forth to make sure all the resin colors had a nice color blur. I let the resin set for 30 minutes.
I sprinkled on some crystal glitter and Pearlescent
Alumilite Metallic Powder on top of the resin. Since I did not over-saturate the the resin with dye, it was slightly transparent, allowing this final layer of glitter to be seen from the front of the glass. I let the resin cure competently.
Before I put the back panel back onto the frame I put a layer of Aluminium Foil on the now cured resin. The foil will make the resin colors pop more and the glitter reflect light better.
With the back panel on I flipped over the frame to see the scene I had created. I felt the clouds needed some extra detail so I stippled on more acrylic paint lightly over the cloud portions only and let dry.
to seal the piece and let it cure completely.
With all the layers or resin and paint, it has a subtle
luminosity and play of light perfect for Halloween decor!
I glued on some twigs to mimic the look of old trees
and small paper sentiment to finish the piece!
What AMAZING arts and crafts can you create?
Until next time, safe travels! ~ Tracy
• • • • • • • • • • • • • • • • •
Don't forget to subscribe to our blog on the right side bar: