Showing posts sorted by relevance for query pumpkin. Sort by date Show all posts

Friday, October 31

A Pumpkin and Her #Cre8time Ghoulish Grin...
by Tracy Alden


Happy Halloween! Tracy here with another Amazing Crafting Products tutorial! For my family, the daylight hours of Halloween means getting all of the decos and food ready for all the ghost and goblins later! Carving and decorating pumpkins is a major part of this frightfully fun time! While I carve real pumpkins for the porch, I often get a new foam pumpkin each year to be part of our ever growing pumpkin patch yard haunt. This year I wanted to try a very different look by making resin teeth for a grinning pumpkin!

Supplies: 
  • Amazing Mold Putty
  • Amazing Casting Resin
  • Acrylic Paint 
  • Paint or Foam Brush 
  • Craft Knife 
  • Polymer clay 
  • Hot Glue Gun and Glue Sticks 
  • Craft Pumpkin – Foam or Paper Maché 
  • Emery Board 
  • Clear Stamp Acrylic Blocks 


I started with a basic medium sized craft foam pumpkin, cleaned the surface well and sketched out a face lightly in pencil.


Using craft pumpkin carving tools, I carefully carved the pumpkin. I went over all of the carved edges with an emery board to remove any jagged and uneven edges.


For the teeth I cut polymer clay into thick triangles with a thin stem, basically an arrow shape. The point is what will become the teeth and the shaft of the arrow is cut thinner than the teeth so it will fit into the mouth of the pumpkin. I added a little bit of texture by dragging a toothpick over the teeth and then baked them on a ceramic tile. 


After I baked the polymer clay, I lightly sanded and trimmed the edges of the pieces with a craft knife and an emery board. As you can see in this photo the tooth is twice the width of the stem portion.


I placed the polymer clay originals flat side down on Clear Stamp Acrylic Blocks and mixed up some Amazing Mold Putty {CLICK HERE to view mixing/preparation}. I place the originals on Acrylic Blocks to see if the molding putty is plumb to the piece and to make sure there is no creases forming when placing the molding putty on the piece. 


Once the molds were fully cured I mixed up a batch of Amazing Casting Resin and poured it into the tooth molds {CLICK HERE to view mixing/preparation}.


Once the resin pieces were fully cured, I lightly sanded and trimmed the edges of the pieces with a craft knife and an emery board. I then used a sponge to apply orange acrylic paint to the resin teeth.


Using a damp paper towel I applied black paint to the foam pumpkin's eyes, ears and mouth openings, giving it a spooky appearance.


Carefully I glued the teeth into the mouth of the pumpkin, putting glue only on the stem of each tooth and pressed firmly against the inside of the pumpkin, making sure the triangle portion of the teeth were sitting on the lip of the mouth. 


Using a paint brush I applied black acrylic paint to the teeth and the edge of the smile, to make the teeth blend better with the pumpkin.


With the addition of fellow pumpkins, leaves and lights, I now have a wonderful new spooky addition to the haunted pumpkin patch! 

What AMAZING arts and crafts can you create?


Visit my blog Art Resurrected for more craft tutorials!

Until next time, safe travels! ~ Tracy

• • • • • • • • • • • • • • • • •

Don't forget to subscribe to our blog on the right side bar:
Twitter at AmazingCrafting | Facebook at AmazingMoldPutty | YouTube at AmazingMoldPutty

Thursday, October 27

It's the great pumpkin

Since I was asked to be a part of the Amazing Mold Putty team I have been looking for things to mold anywhere and everywhere from junk drawers to the dollar stores in my area.  I love to decorate for the holidays, but one that I don't have a lot of items to decorate with is Thanksgiving and I've been trying to change that.    Recently I was at one of them and found these styrofoam pumpkins, but wasn't really excited over decorating with them.  Then, I remembered I could use one to make a mold and make my own pumpkin and they quickly went into my shopping cart. 

I began by combining the two colors of Amazing Mold Putty according to the directions.  Next, I molded the putty around the pumpkin to create my mold.  I started at the stem of the pumpkin and made sure that the putty was thick enough so that I could push the stem directly into it and then worked the rest of the putty around the pumpkin making sure to capture the great details of the pumpkin sections. 

This is what the mold looked like when I finished it.  It's the bottom of the pumpkin you are seeing in the picture.  I allowed it to dry (approximately 20 minutes) this way according to the package directions and the unmolded the pumpkin by flexing the mold and carefully working the pumpkin out through the opening.


Using the Amazing Casting Resin, I measured 4 parts of solution A and poured it into a disposable container and then measured 4 parts of solution b and added it to solution A.  I, then, stirred it until it was well combined with no streaks according to the directions.  Once this was done, I poured it into the pumpking mold; filling it to the top of the mold.  After 3 minutes you will start to see it turn white.  After 10 minutes you will have a new molded piece that looks like the one on the left once you remove it from the mold. The pumpkin on the right is the styrofoam pumpkin in the picture.
After giving it a light sanding, I painted and highlighted the pumpkin using acrylic paint to give it some color. Once the paint had dried, I tied the ribbon around the stem and punched 2 leaves from cardstock using a leaf paper punch and glued them to the ribbon. 


I now have a new decoration that I can use on our Thanksgiving table and if I'd like to have some more to add with it or to use for place cards on the table all I have to do is make some more resin and pour it into the reusable mold until I have enough pumpkins.  It's a great way to make holiday decorations of your own that can be personalized just the way you want them.  Now how fun is that?

Monday, November 2

I'm Going #Cre8time Pumpkin Crazy... by Susan M. Brown {sbartist}


Greetings Amazing – welcome to the first day of PUMPKIN WEEK! Susan here with another amazing adventure in mold-making with Amazing Mold Rubber and some itty bitty pretty resin cast pumpkins.


For the past week or so I have been having an obsession with mini pumpkins. We had a Trader Joes open up in my area and they had a huge bin of itty bitty pumpkins... for under $1 each. I selected several for moldmaking projects... unfortunately one didn't make it before I could preserve it in a mold or resin. Off to cast my remaining three. This was an adventure and also a learning experience – I am the first to admit that I get a bit carried away in the excitement of creating which sometimes goes a bit awry in the process.


LESSON number 1: don't pour Amazing Mold Rubber into a glass container which has a neck for a screw on lid -or- a metal storage tin. Both seem like they would be great for a mold box... BUT they aren't when pouring a large/deep mold. You won't be able to get them out. I was able to pry the mold out of the tin with a screwdriver, but I had to destroy the tin in doing so. To remove my mold from my glass container, I had to cut the mold out in sections – which took forever and made more work for me to make it functional.


This is half of the mold from the bottom of my glass container. You can see all the cuts from stabbing around my pumpkin to attempt to cut a ring away from the edges. For all the cutting and wrangling, it was really surprising that my pumpkin didn't get cut in the process.


The top section of my first attempt had lots of air bubbles and one large air pocket trapped at the stem base. I will use this as a learning experience and try again. The bottom section of the pumpkin came out perfect, so I can salvage that with some repair work.


I selected an open tapered glass bowl and mixed up a batch of Amazing Mold Putty. I pressed the mold putty into the bottom of the bowl, then pressed the good section of pumpkin mold into the mold putty – pressing the edges flush all the way around. I let this cure for about 20 minutes.


I need to make this a two-part mold, so I applied rubber to rubber mold release with a paintbrush. I let it dry, then repeated with two more applications. I also applied this to the stem of the pumpkin. I made another small batch of Amazing Mold Putty and pressed it around the tip of the stem. When cured I removed it and trimmed it straight across so it didn't rest on the pumpkin. When I pour the next layer of Amazing Mold Rubber, this stem mold will set into the liquid silicone and fuse together... plus if my pumpkin decides it wants to float {as my other subject did} I will easily be able to hold it down without getting all messy.


I prepared a full kit of Amazing Mold Rubber and poured around pumpkin, filling container to top. Please CLICK HERE to view mixing/preparation. I cut up sections of the bad mold {even the bad molds can be reused as displacement filler} and placed into the liquid silicone around the outer edges. I poured the remaining mixture into two other molds needing filling. I finally have a mold completed that I had started months ago by pouring my leftover mold rubber into.


When cured I have a pretty little two-toned rubber container -  LOL! I carved a triangle into the side to use as a registration when I pour resin and put the sections back together.


I applied Alumilite Bronze and Copper Metallic Powders to the mold with a paintbrush creating an ombré effect. A little bit goes a long way. **A TIP** Dump away any loose or excess powder as it will cause air bubbles on surface when resin cures.


I prepared two separate small batches of Amazing Casting Resin, pouring one in each section of the mold. I let each cure. The bottom of the mold was nearly full and the top section with stem was approximately 2/3 full. I mixed a third small batch to fill each section and topped off each section. I waited for the resin to flash {where it changes from clear to opaque white}. This happened pretty quick as the previous resin pours were pretty warm from the curing process.


When the resin started turning white, I aligned the sections of the mold and flipped the top section over the bottom, then pressed together. This is a messy way of doing a two-part mold but it's effective. I made three different pumpkin molds so stay tuned and I'll share some other filling techniques.


I let this set to cool for about a 1/2 hour, then removed
from the mold. OMG... I made a royal pumpkin!!!


A little scraping with my fingernail to remove flashing {excess resin at seam} followed with a quick filing with an emory board and my pumpkin is near perfect. The light sanding exposed the white resin so I give a rub with matching Golden metallic acrylic paint and this little gem can pass for those at Pier One... ready for seasonal home decor or mixed-media arting. This one will become a place card holder for the family Thanksgiving gathering – one down, twenty to go!

What will you transform into
Objects d'Arte with
Amazing Casting Products??

Please leave a comment below to share! If you would like to see more of my creations, please visit my blog sbartist : painting in the dark by clicking here. ~ Susan
. . . . . . . . . . . . . .

Want to Socialize with Amazing Casting Products?
Twitter at @AmazingCasting | Facebook at AmazingMoldPutty | YouTube at AmazingMoldPutty

Saturday, November 7

A #Cre8time #Pumpkin Birthday Celebration...
by Susan M. Brown {sbartist}


Greetings Amazing – welcome to day four of PUMPKIN WEEK! Susan here to share another amazing mini pumpkin project using Amazing Mold Rubber, Amazing Remelt, and Amazing Casting Resin... inspired by donuts with pink icing and sprinkles.


The other day when casting molds in Amazing Mold Rubber, I made molds of three different mini pumpkins {please CLICK HERE to view mixing/preparation}. This is how I made a mold of the smallest of the teeny weeny pumpkins – it's not pretty and I had to do a little extra work to make this mold usable. 

As I was pouring multiple molds, I saved this one for last as it required the least amount of mold rubber to surround item. I figured since it was starting to thicken up really FAST {it's still super humid summer time here in South Florida}, my pumpkin would stay submerged... NOT!! Before putting the pumpkin in the mold rubber, I dipped the top with the stem into the liquid silicone and let all the airbubbles dissipate before fulling submerging into container. So I had to sit there and keep pushing it back down and dragging the liquid silicone over the top.

**A TIP** Don't use a SILICONE spatula in liquid silicone – if you don't clean it off immediately, it fuses to it. My nice purple spatula now has a bumpy pink tip ;(...


I had a couple sections of cut up molds submerged to keep the pumpkin from settling all the way to the bottom. I had it setting upside down so the stem would be at the top of the mold and I cut a nice size "X" at the top gently to free the pumpkin from the mold. Since the mold is all bumpy at the top, I need to backfill to make it level. I could do this with another pour of Amazing Mold Rubber... but since I had a mold fail, I'm fresh out of the pink magical goop. So I am going to do this in a jiffy with Amazing Remelt.


I melt down some Amazing Remelt in the microwave and pour on top of Amazing Mold Rubber, filling the bowl to the top. I set this in the refrigerator for a bit to solidify quickly. I was busy messing about with my other molds that were all ready in less than 2 hours {it's really humid here} so I wasn't paying much attention to how long I left it in the fridge {sorry}.


So now my mold is level and the Amazing Remelt formed exactly to the shape of the Amazing Mold Rubber mold... and it doesn't stick to it permanently. When I'm done casting resin, this can be cut up, remelted and reused for something else!


I attached a mini binder clip to one of the sections of the "X" cut at top of mold, prepared a small batch of Amazing Casting Resin and then poured into the mold. I set aside to cure for about 20 minutes. I let cool a bit and removed first casting from the mold. The detail is so AMAZING!!! But I have a couple large air bubbles that were trapped in the mold – I forgot to poke around inside with a toothpick before the resin solidified. No worries... this baby won't go to waste! I filled the holes with some air dry clay and sanded back the edges – all fixed.


First I gave the entire resin pumpkin a coat of clear gesso, since the paint I wanted to use wasn't a bit too fluid for this purpose. An easy fix! Once dry I rubbed on some Ranger Distress Paint in Cracked Pistachio {a lovely teal green}... I'm in LOVE!!


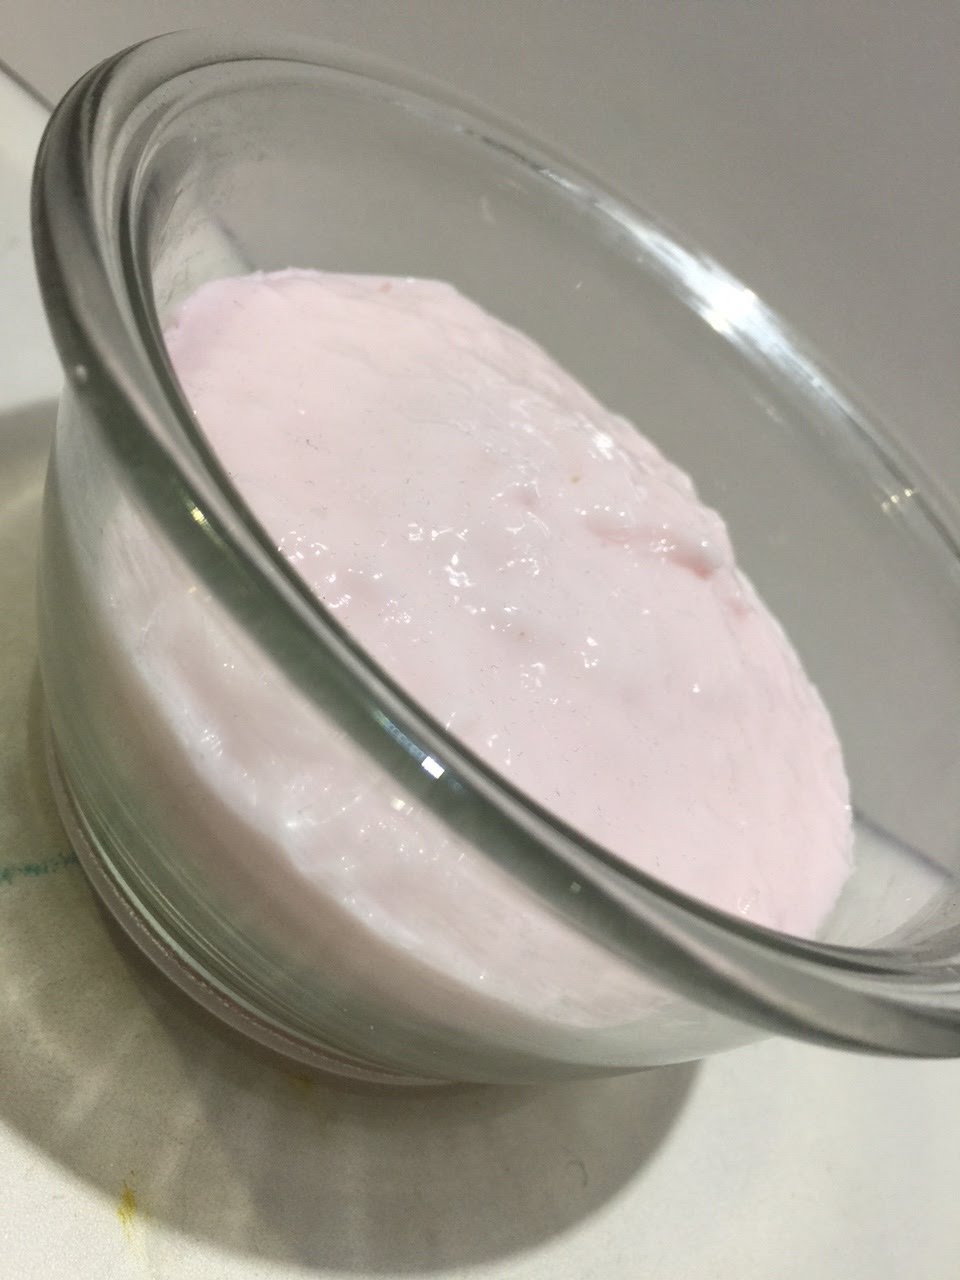
When dry, I mixed another small batch of Amazing Casting Resin colored with some Cotton Candy Alumidust. I poured some off into molds and saved the rest for topping my pumpkin. This is what I did... I waited for the resin to start to get thick and I dipped the pumpkin into it a couple times right as it was about to solidify. As it started to turn opaque, I turned it upright and sprinkled a rainbow mix of seed beads to serve as sprinkles {I mixed these myself from my 30 odd colors of seed beads}. This is so adorable... but it needs a little something, right?!


I waited for resin to fully cure and gently rubbed off seed beads. They came off pretty easy. I mixed up another batch of Amazing Casting Resin with the Cotton Candy Alumidust and dipped again. When cured, I poked a little hole into the top of the pumpkin to accept a piece of wire and wirewrapped a stem to hold a candle and attached a glass leaf bead {a suggestion from fellow amazing creative Tracy}.

Now this pumpkin is ready for the celebration – I've got lots of November birthdays to celebrate this month and this will be a fun little giftie for my gal pals.

What will you transform into
Objects d'Arte with
Amazing Casting Products??

Please leave a comment below to share! If you would like to see more of my creations, please visit my blog sbartist : painting in the dark by clicking here. ~ Susan
. . . . . . . . . . . . . .

Want to Socialize with Amazing Casting Products?
Twitter at @AmazingCasting | Facebook at AmazingMoldPutty | YouTube at AmazingMoldPutty

Monday, August 18

Taking a #Cre8time Trip to the Pumpkin Patch...
a jewelry tutorial by Tracy Alden


Hello! Tracy here with another Amazing Crafting Products tutorial! My inspiration for this craft project came to me while I was watering my pumpkin patch. I grow one each year and love watching the plants start from seeds, grow into the trailing vines, to big beautiful leaves with flowers that eventually grow into lovely pumpkins. I wanted to create that same story of a pumpkin patch with a necklace. I found I had the perfect leaf and flower beads but no pumpkin beads! So with the help of Amazing Mold Rubber I was able to create the beads and make a wonderful necklace.


Supplies: 
  • Amazing Mold Rubber
  • Amazing Clear Cast Resin
  • Alumilite Dyes - Brown and Florescent "FLO" Orange 
  • Ultra Fine Glitter 
  • Mini Clean Deli Cups (such as the ones you get with red pepper flakes in with your pizza) 
  • Toothpicks 
  • Needle and Flat head Nose Pliers 
  • Gold tone jewelry wire (21 gauge), chain and jumprings 
  • Leaf, flower and crystal beads 
  • Craft Knife 
  • Craft Scissors 


I found silver metal beads that had the shape of pumpkins, but the wrong color and look for my pumpkin patch necklace idea. However, I knew I could make a mold of them! I threaded them on the nail head jewelry wire and using jewelry pliers curled the wire over to form a hook.


I carefully poked two holes, opposite each other,
into each mini deli cup and threaded through a toothpick.


I was then able to hang the beads with the wire hooks from the toothpicks, just far enough off the bottom of the cup to allow for mold rubber to flow under the beads.


Carefully following the instructions {CLICK HERE to view} – I mixed up the Amazing Mold Rubber and slowly poured the Mold Rubber around the beads hanging off the tooth picks. I had to do this very slowly as to make sure the beads did not shift position. Thankfully since the beads were metal they were not inclined to float in the Mold Rubber. I covered the beads with Mold Rubber all the way to the top of each bead and let the Mold Rubber cure.


Using a craft knife I cut "X" shaped slits on the top of the molds to remove the beads. After I have extracted all of the beads, I cut and trimmed the Amazing Mold Rubber in a tiny circle with the craft scissors, to leave room to pour resin into the bead molds. 


Using Flat Head jewelry pliers, I carefully curled one end of 4 pieces of wire as shown in the photo. The curled end of the pieces of wire were placed in the molds and the excess wire bent at a right angle. The curled part acted like an anchor in the resin so I can later make a loop for the bead.


I mixed up a batch of Amazing Clear Cast Resin following the easy to follow instructions and added a few drops of Alumilite Fluorescent "FLO" Orange Dye and one tiny drop of Brown Dye to get the perfect bright pumpkin color I wanted. I added a touch of Ultra Fine Glitter and poured the resin into the bead molds using a stir stick.


Once the resin beads were fully cured I carefully removed them from their molds. The jewelry wire acted like a perfect handle to grab hold of the tiny beads.


Using the needle nose jewelry pliers, I carefully curled the excess wire sticking out of the top of each bead once, making a loop and bent back the last bit of wire over the bead to give the illusion of pumpkin vine.


I placed all of my beads out next to the gold chain, to get an idea of how I wanted the necklace to look. Going right to left: I started with green acrylic leaves; going to tiny yellow crystals for flower buds; to flower beads for the pumpkin blossoms; the green crystals as unripened pumpkins; to the pumpkin resin beads and ending with the brown leaves that all pumpkin patches become.

I threaded the crystal and flower beads onto a jewelry eyepins. Carefully I snipped off the excess wire, and using round nose pliers I rolled the end of the wire into a loop. I repeated this with all of the crystal and flower beads.


I opened up a jumpring with the flat nose pliers and put the jumpring through one of the beads and a necklace link. When I closed the jumpring with the pliers the bead became a beautiful dangle. I repeated this for the rest of the beads, resin, crystal, leaves and flowers.


Now I have a one of kind pumpkin patch
necklace ready to wear for Fall! 

So many different objects could be molded to create
lovely additions to jewelry. The possibilities are endless!

What AMAZING arts and crafts can you create?

Please share them on the user GALLERY on the Amazing Mold Putty Website! 

Visit my blog Art Resurrected for more craft tutorials!
Until next time, safe travels! ~ Tracy
. . . . . . . . . . . . . . . .

Don't miss a single post!
Please subscribe to our blog on the right side bar:
Twitter at @AmazingCrafting | Facebook at AmazingMoldPutty | YouTube at AmazingMoldPutty
Related Posts Plugin for WordPress, Blogger...