Showing posts with label table top art. Show all posts

Thursday, December 10

#Cre8time Custom Artifacts... The Hunter's Knife by Lyn Gill #12DaysofHomeDecor


Hi Lyn here! Are you getting ready for the holiday's? Well I have been and I have a little home decor project to share with you today. I was inspired by my love of nature and all things ancient.


It all started with this broken Native American spear head tip I had found years ago. I knew Amazing Mold Putty would be the perfect to mold it! So I formed the putty around the spear head and quickly stood it up on it's end so that it would form a flat bottom. That way I wouldn't need to support it when I poured in the Amazing Clear Cast Resin.


I mixed some of the Alumilite Brown Dye to the Amazing Clear Cast Resin then poured and waited... LOL – waiting is the hardest part for me! When it was set I formed a handle around the cured blade using Super Sculpey and then I baked it. The Amazing Casting Resin and Amazing Clear Cast do well at Polymer Clay baking temps (around 275ºF). I added little acrylic paint along with a few embellishments and it was finished.

What broken items have you used
to fix, repair or re-use?

I want to thank you for taking the time to stop by today
and sharing in this fun 12 Days of Home Decor with us.

Till Next Time! ~ Lyn 
You can find me on YouTube at LynzCraftz or on my blog LynzCraftz.

• • • • • • • • • • • • 

Don't forget to subscribe to our blog on the right side bar:
Twitter at AmazingCasting | Facebook at AmazingMoldPutty | YouTube at AmazingMoldPutty

Tuesday, August 25

Have an AMAZING Game Night! #DIY Sequence Game Board by Bridget Cordero


I'm destined to be a winner if only at this game. Hi everyone, this game board I have created has been so much fun in our household for a couple years now. Whether you play 2 players or teams your sure to have lots of game nights. It's easy to make, with only a few supplies and Amazing Clear Cast Resin for use as a protective layer as a sealing top coat.


First you will need a deck of cards, scissors or a square punch (I am using my Creative Memories punch) or some kind of cutter to cut the corners of the cards. I cut off both corners of the playing cards. Fortunately, I had a piece of hard board from an old entertainment (it is the piece that goes on the back of the stand so it is very thin perfect for a game board). I knew one day I would use this board. But you can purchase hardboard from a lumber store. I prefer hardboard because it does not warp. In the picture on the right I am preparing the board with some black acrylic paint. You can paint your background any color or just leave it the natural wood color. 


Once the board is dried you want to arrange your corner pieces and glue them down. Making sure you glue from corner to corner of each card piece. 


Once all the pieces are in place and the glue is dried, mix up your Amazing Clear Cast Resin and pour it on the board evenly {CLICK HERE for mixing/preparation}. The first time around I did not tape the sides so I had a lot of spillage over the edge. The picture to the right shows how I used metal tape around the edges to add a second coat.


Once cured you are ready to play! Grab two decks of cards and shuffle, along with some poker chips in two different colors. Deal 7 cards to each player and try to build 5 in a row. Two lines wins the game. 

For more details and to learn how to play the game,
please CLICK HERE to watch the video. Enjoy! :)

I appreciate you checking out my project! If you’d like
to see more of my creations, please stop by my YouTube Channel

• • • • • • • • •

Don't forget to subscribe to our blog on the right side bar:
Twitter at AmazingCrafting | Facebook at AmazingMoldPutty | YouTube at AmazingMoldPutty

Monday, January 5

Rollin'... Rollin... Rollin... down the Aisle for a Junkyard Wedding by Brenda Burfeind


Good day crafters! Brenda here from Creativity is a State of Mind with a unique take for a wedding. My son announced he was getting married right before Thanksgiving and I couldn't be happier for him! His finance is a wonderful gal and very down to earth. I've been playing around with a few projects since they announced their plans and I came up with this fun theme. But first a little bit of background on my soon to be DIL so you understand why I made what I did. She grew up in rural Minnesota with her parents and her older brother. Their parents own a junkyard and live very simple lives. LOVE it! I wanted to incorporate some of her growing up in this project and here we go. 

A while ago we were sorting out some of the kids' toys and I came across this tire. Not sure where it belonged to, but of course the hoarder I am I couldn't throw it away. I had it in my stash and all of a sudden it hit me. Mold it with Amazing Mold Rubber of course. I wasn't sure if it would work but I began to experiment. I added some bubble wrap to the inside of the tire and hot glued it into my plastic dish. Next I mixed up my Amazing Mold Rubber and you can see mixing instructions here. My plastic dish had a tiny hole in it so I added some duck tape to keep the mold rubber from flowing out.


I let it set up for about 12 hours and checked to see if it was hard yet.


This came out fantastic. Even better than I had hoped for.
The plastic bubble wrap even came out whole. 


Next I mixed up my Alumilite Black Dye with the Amazing Casting Resin Part "A", making sure to mix very thoroughly. Then I poured in my Part "B" and mixed again.


My tire came out AMAZING!!!  You can see the molded tire on the left and the original on the right. I could have used more Black Dye – but I'm okay with this since this is just a prototype anyway. 


Then I had these cute little pails left over from my daughter's wedding. I painted it blue and orange (as of right now that's the color scheme). I hot glued the pail onto the tire and and added some flowers that I made from this mold below using Amazing Mold Putty. You can see a previous project I made with this mold here.


This time, however, I mixed the Alumilite Flo Orange Dye into my Amazing Casting Resin rather than dusting the flowers with the Alumidusts. I just wanted a deeper and richer color and the dyes really give you that. I washed some blue acrylic paint over the orange flowers and love the effect. 


I hot glued some nesting as grass and a foam #1 sticker as the table marker. 


Now I am not sure if we will be going with this theme but I do love the idea. 


What custom table decor will you
mold and shape for your wedding?

Thank you for stopping by today and I hope I've inspired you to use something out of the ordinary to compliment a party you might be hosting.

Until next time, happy crafting ~ Brenda
 Please visit my blog, Creativity is a State of Mind
to see more of my creations.

• • • • • • • • • • • • • •
Don't forget to subscribe to our blog on the right side bar:
Twitter at AmazingCrafting | Facebook at AmazingMoldPutty | YouTube at AmazingMoldPutty

Tuesday, March 25

#Cre8time Adventures in Resin Play Fashion a Decorative Tile... by Isabel Villarreal


I usually spend my creative time making things that are useful but this time around I really just wanted to make something for the sake of making instead of making something with a specific purpose. This 5" x 5" decorative tile will be gracing my coffee table but it can also be used as a paperweight or a coaster.


I have a set of flashlight filters from an old military light that my boyfriend got rid of - yes, he actually got rid of something! The filters come in bright colors and just called for something cheerful. I gathered the filters, some random findings and a wooden block and challenged myself to make something happen with these items. My goal is make something I can display on my coffee table.


Of course as soon as I decided to use these items I realized I might want to use them for other creative works so instead of using the originals I used Amazing Mold Putty to create a mold so I could make my own colorful disks and findings for any future ventures. For the findings I got a plastic lid to use as a base for my mold since there were a few different shapes and I wanted to try making a small mold that would accommodate all of the different shapes. I mixed equal parts of "A" and "B" of the Amazing Mold Putty and pressed it into the dish – starting from the center and working my way to the edges. Once the putty was spread equally I pressed the findings and the disk into the putty. I mixed another amount to create the mold of my wooden block, once again starting from the center and working out to cover the edges. After I made sure the edges were covered, I flipped it over and pressed it onto my work surface to flatten out the bottom and left both pieces to set for about 10 minutes.


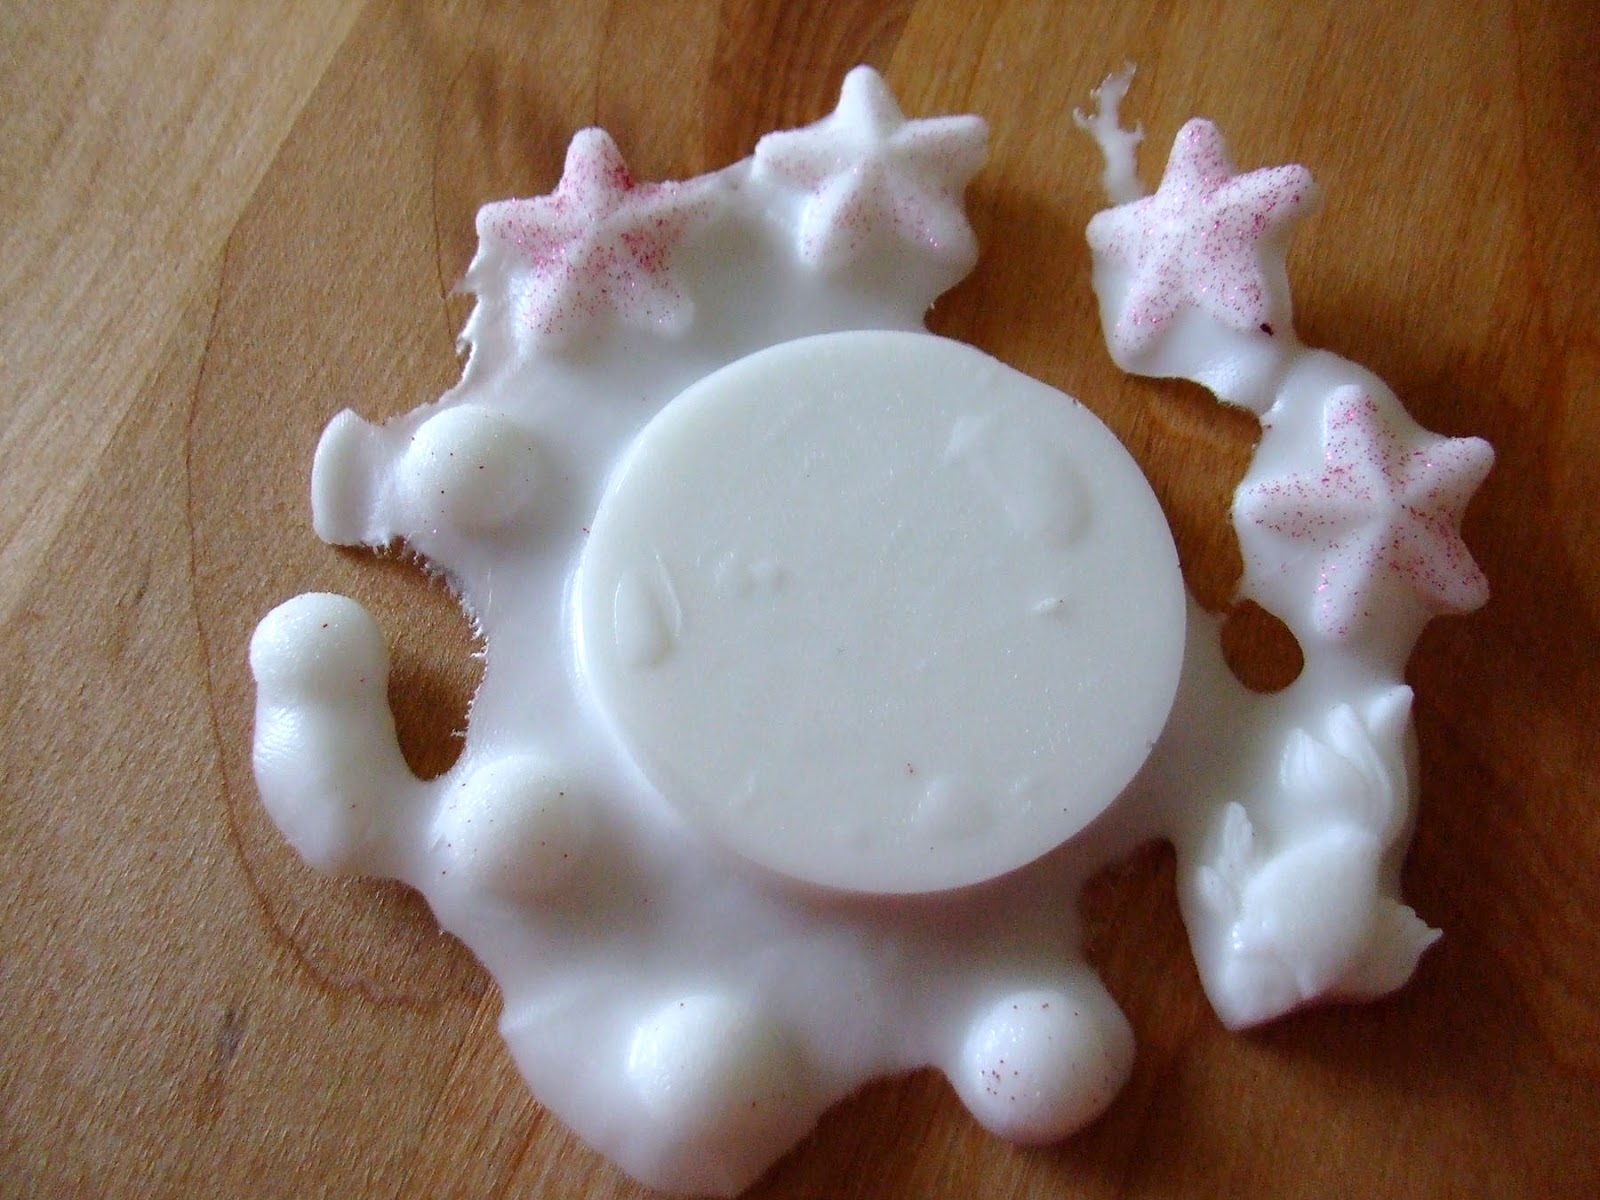
After removing the original pieces from the molds, I noticed there was some glitter that had been left behind in some places. I wasn't able to brush off the glitter and I didn't want to damage the mold by scraping it with my nails so I did the first thing that came to mind... I used Amazing Casting Resin to clean out my mold. Amazing Casting Resin sets and becomes a solid white color in only 10 minutes – so I would be able to do it quickly and not lose my creative momentum. Combining equal parts of "A and "B", I mixed them in a small cup and quickly poured it into my mold. While I gave it a few minutes' setting time, I continued working on my other mold.

For the wooden block mold – I mixed up some Amazing Clear Cast Resin and poured a thin layer. The block mold is about 3/4" deep so I poured a layer that's about 1/8" thick and let it set. I went back to pull off the now solid white Amazing Casting Resin and saw that my experiment worked. The glitter that had been left behind was now removed from my mold and it was ready to use.


For my findings I mixed some Amazing Clear Cast Resin and then added a drop of Alumilite Yellow Dye to the mixture. After pouring it into my mold I left it to set. After 4 hours the resin was not completely set in either mold, but for what I was doing I didn't need it fully set so I went ahead and removed the Yellow findings from the mold. I added another layer of Clear Cast Resin to the block mold and dropped the findings face down into the new layer of  Clear Cast Resin. For some ridiculous reason I used yellow pieces in a yellow mold so I couldn't really see if this was working as I'd hoped. I'd have to wait until the whole piece was complete before I could see the finished product. 


After waiting about 4 hours, I poured yet another layer of Amazing Clear Cast Resin. I'm building up layers so that I can reduce the chances of bubbles developing in the resin as it is setting. Within the third layer I used a toothpick to drag Alumilite Red, Blue, Green and Violet Dyes through the freshly poured resin. I then swirled the colors around in the mold and waited as they moved around. I had very little control over how the colors spread and swirled, since they kept moving around until the resin settled. I let this layer dry overnight.

The next day I poured the final layer in the mold. My last layer would be Amazing Casting Resin  My thinking was that this solid white layer will be the background of the piece and it will show the shapes and colors nicely. I won't know if this actually works until the piece is finished. I'll just have to wait for the last layer to dry. 


I removed the piece from the mold and it was very foggy with rough edges so I used superfine sand paper to smooth out the roughness. My last step was to pour a thin layer of Amazing Clear Cast Resin over the top of the piece. This thin layer of Clear Cast Resin will take away the fogginess of the piece and provide a protective top layer for the tile. Once the layer was poured I dipped a small soft brush in Alumilite Metallic Gold and Copper Powders and splattered the surface of the tile. I went back with a toothpick and traced small overlapping circles over the entire surface of the tile.

This created a really interesting florentine swirl pattern that kept changing slightly as the resin dried. I'm absolutely in love with this piece. It was very exciting for me to create this piece because I was never really sure how it would look when it was done. It almost created itself because of the way the resin settles so this time around it was pure creative adventure for me.

What adventures will you create
with Amazing Crafting Products? 


I'd love to see what you create! Please upload and share your creations to the


• • • • • • • • • • • • • •

.................................
__________________________________________

COUPON
Use this coupon to shop at the Amazing Mold Putty
website HERE and receive 20% OFF your purchase.
Please use coupon code " shamrock " {no quotations}.
Coupon expires March 31, 2014.
__________________________________________
.................................

Don't forget to subscribe to our blog on the right side bar:
Twitter at AmazingCrafting | Facebook at AmazingMoldPutty | YouTube at AmazingMoldPutty
Related Posts Plugin for WordPress, Blogger...