Hello, Creatives and Rust Lovers!! Rachel Whetzel here, to show you how I got started on a vintage item mixed media necklace using Amazing Casting Resin and Amazing Mold Putty by Amazing Crafting Products.
I used this rusty crusty found piece of metal for this piece.
Here's what you'll need to make a necklace of your own:
- Alumilite Metallic Powder (Copper)
- Amazing Mold Putty
- Amazing Casting Resin
- Amazing Clear Cast Resin
- Alumilite Dyes (Florescent "FLO" Orange)
- Acrylic Paints
- Antiquing Spray
- Vintage and Thrifted bits and jewelry
To start, I molded both sides, one at a time, using Amazing Mold Putty. Please CLICK HERE for more detailed instructions on how to mix Amazing Mold Putty. I used some Copper Alumilite Metallic Powder, dusted into the inside of my mold using a Cotton Swab.
Next, I mixed Amazing Casting Resin, and poured it into the molds. Please CLICK HERE for more detailed instructions on mixing and preparing Amazing Casting Resin. I got a little excited, and pulled the pieces before they completely set, so some of the Alumilite Metallic Powder stayed behind in the mold, but that's alright, because of the crusty nature of this piece. Had it been more important, I might have re-poured.
I got busy layering colors onto the pieces using Acrylic Paints.
 |
| Black and Orange |
 |
| Some Creams and Browns |
To get the colors to layer into the nooks and crannies, I painted, and then wiped some of the paints off here and there. Still, my colors weren't QUITE popping when it came to the rust. Then I realized that the Alumilite Florescent "FLO" Orange Dye might be just the thing.
I just squeezed a DROP onto a damp paper towel, and dabbed it onto the pieces.
This really made the orange look like rust, but it was still not QUITE dingy enough, so I sprayed a little bit of Walnut Antiquing Spray over them.
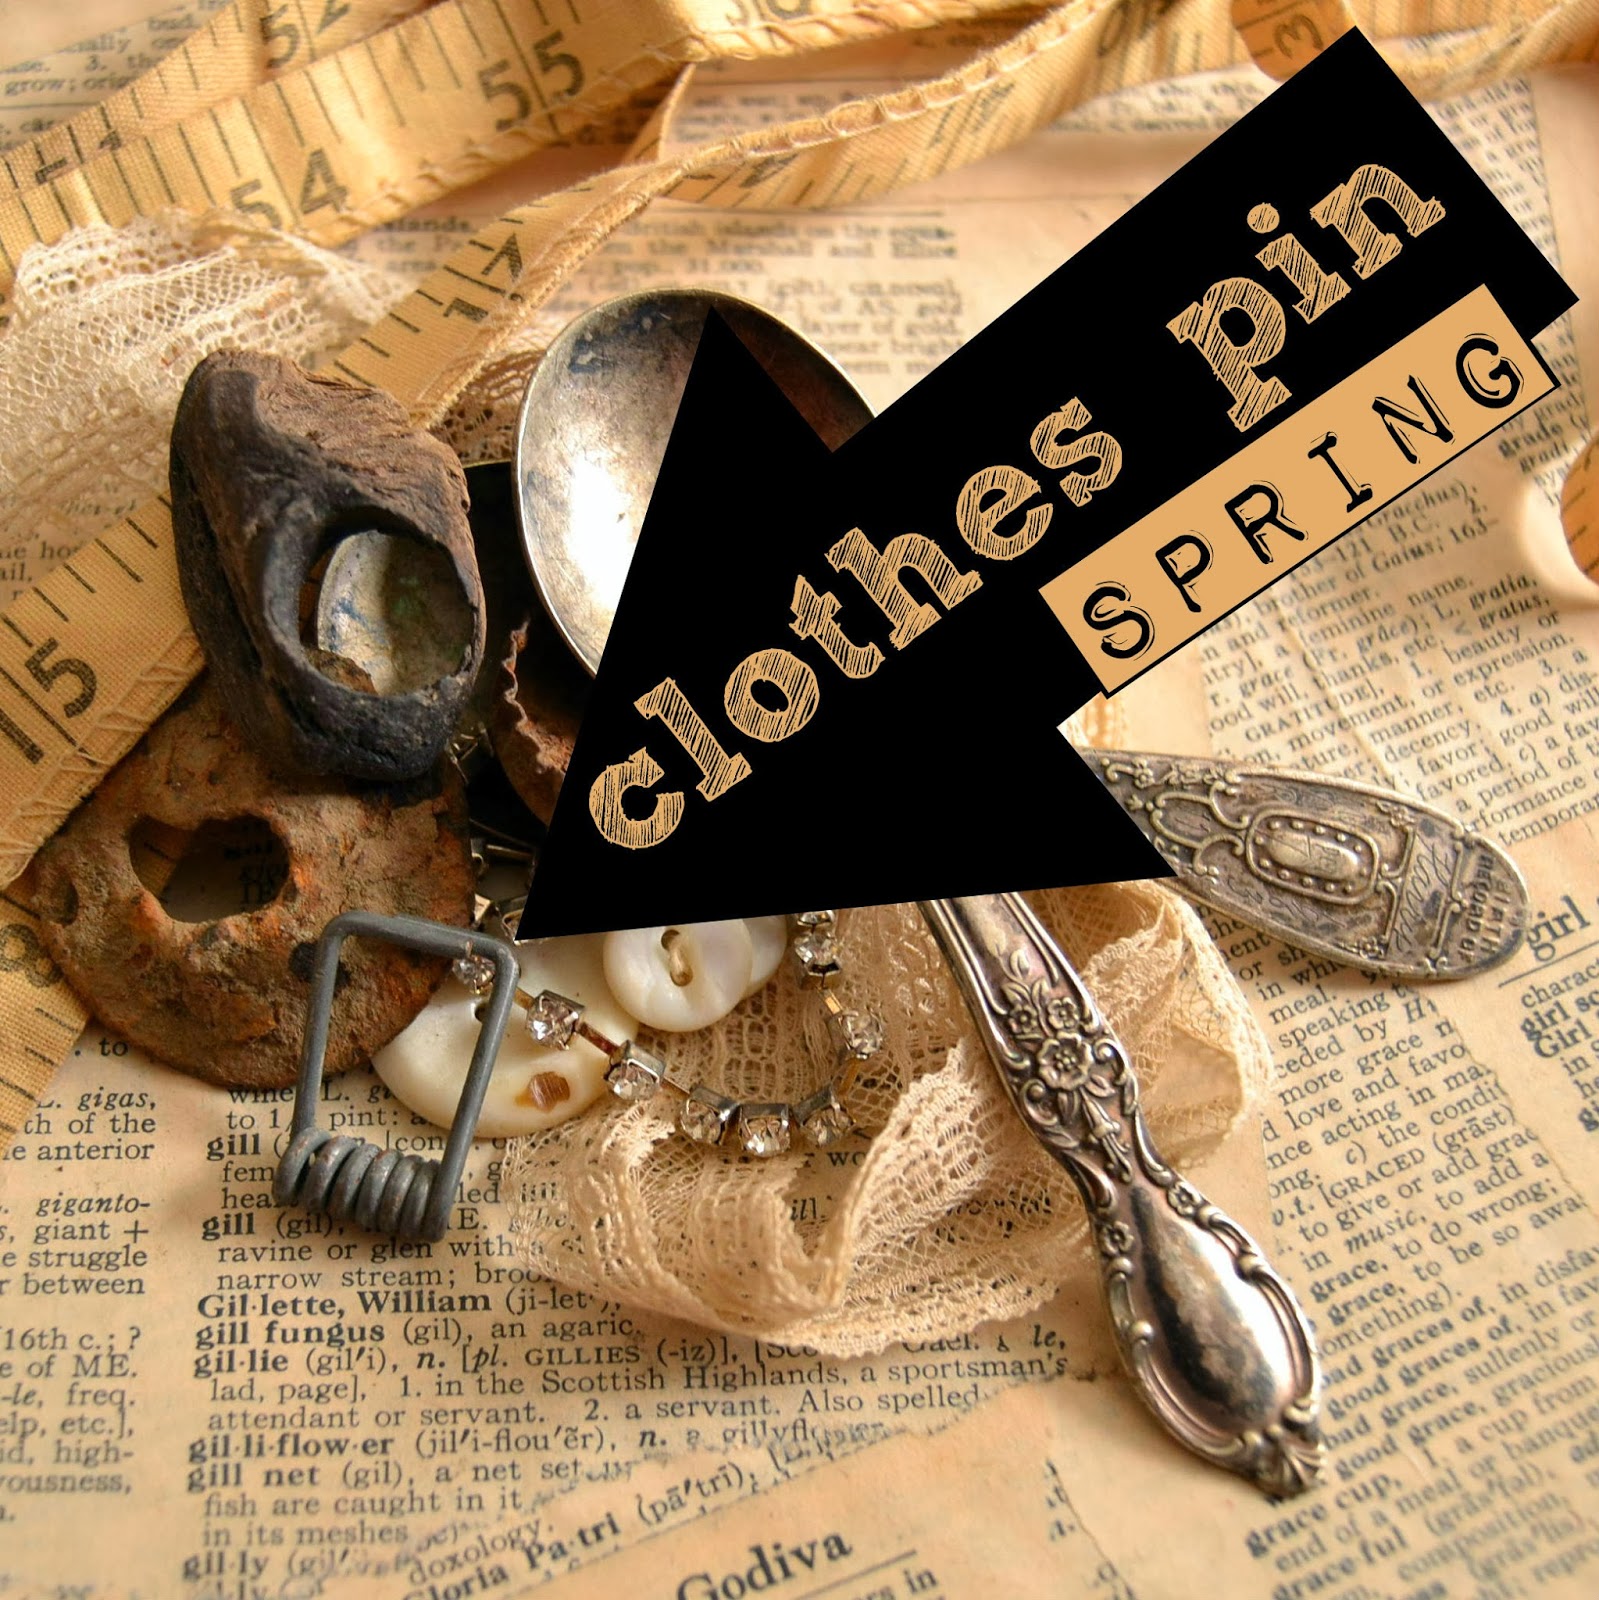
I used the clothes pin spring I shared with you in my "pile o' cool stuff" that I shared with you on my Inspiration Post at the end of last month.
I cut the ends off of the piece, and used more Amazing Casting Resin
to attach the metal to my molded piece.
I WOULD CHANGE THIS!
When I do this again, I will put the clothes pin piece
on BEFORE I paint the whole piece.
This way worked OK, but when I poured the layer of resin onto the back, a little bit dripped onto the front, and the whole thing would have been simpler if I painted my rusty look AFTER all the resin was poured.
When the second layer of resin was set, I painted the back of the piece in black. I threaded the vintage fabric measuring tape through some chain and the clothes pin spring.
I also paired it with a mix of other thrifted chains and jewelry that I had handy.
Here is the original, and my piece together! I think they look pretty great!
Thanks for reading! If you'd like to keep up with me, and see more of what I'm up to, I'd also love it if you'd visit MY BLOG and Subscribe! I'm still working on other media pieces to put on the necklace, so subscribing will help you ensure you get updates when I share the rest! You can also find me on FACEBOOK! ~ rachel
• • • • • • • • • •
Don't miss a single post!
Please subscribe to our blog on the right side bar:
Twitter at @AmazingCrafting | Facebook at AmazingMoldPutty | YouTube at AmazingMoldPutty


Gorgeous!
ReplyDeleteTHis is so creative and BEAUTIFUL! I want one!! Thanks for sharing!
ReplyDelete