
I love making objects using household items and bits of crafting leftovers.
I decided to mold and cast myself a forest.


I decided to mold and cast myself a forest.
I haven't decided exactly how I'll use my trees yet. They might end up on the cover of a journal or I might use them on a mixed-media canvas. I've molded and cast all my trees and I'm using cardboard and scrapbook paper to play around with landscape ideas.
The nice thing about this project was that all I needed was Amazing Mold Putty, Amazing Mold Rubber and Amazing Casting Resin and the rest was all leftover bits and bobs I had around the house.
I've never used Amazing Mold Rubber so I thought I'd cast my trees with both the rubber and the putty so I could compare. There wasn't much difference between the two. The Amazing Mold Rubber gave more defined foliage. The best example is in the tree below. The left was done with Amazing Mold Putty and the one on the right with Amazing Mold Rubber.

As with most things, there are trade-offs. Both products worked well for my project. Amazing Mold Putty is faster to use while Amazing Mold Rubber gives you even more detail. You get more overflow of resin with the putty, but the rubber needs a container to pour it in. There are videos and written how-to instructions at the Amazing Crafting Products site that can help you decide which is the right product for your project.

As with most things, there are trade-offs. Both products worked well for my project. Amazing Mold Putty is faster to use while Amazing Mold Rubber gives you even more detail. You get more overflow of resin with the putty, but the rubber needs a container to pour it in. There are videos and written how-to instructions at the Amazing Crafting Products site that can help you decide which is the right product for your project.
To back up a bit, since I used original handmade objects to create my molds, I'll discuss how I made them. I started with some 300 lb Watercolor paper. I drew the tree shapes I wanted. These were more of a concept guide than literal templates.

Then I started creating my trees right on the paper. I cut up my supplies into the necessary shapes --twine and toothpicks to make tree trunks, textured paper, wads of dried-up glue, rubber shelving and beaded lace for foliage. Once the trees were done, I cut them out of the watercolor paper, leaving the paper attached to the shapes for greater thickness.
For these two trees I used a hot glue gun to create the foliage.

For these two I used scraps of lovely textured paper.

And for these last three, I used beaded ribbons,
dried-up wads of PVA glue, and rubber shelving fabric.

For the Amazing Mold Rubber, I lined the lid of a plastic watercolor palette with aluminum foil and glued down the tree shapes (using Miracle tape) so they wouldn't float to the top. I mixed Parts "A" & "B" of the rubber, stirred and poured it in. I used the whole container since I had so many objects to cast.

My watercolor curled up a bit, so the Amazing Mold Rubber wrapped around the trees and I had to dig a bit to get them out. The mold looks a bit shabby, but it works a treat!
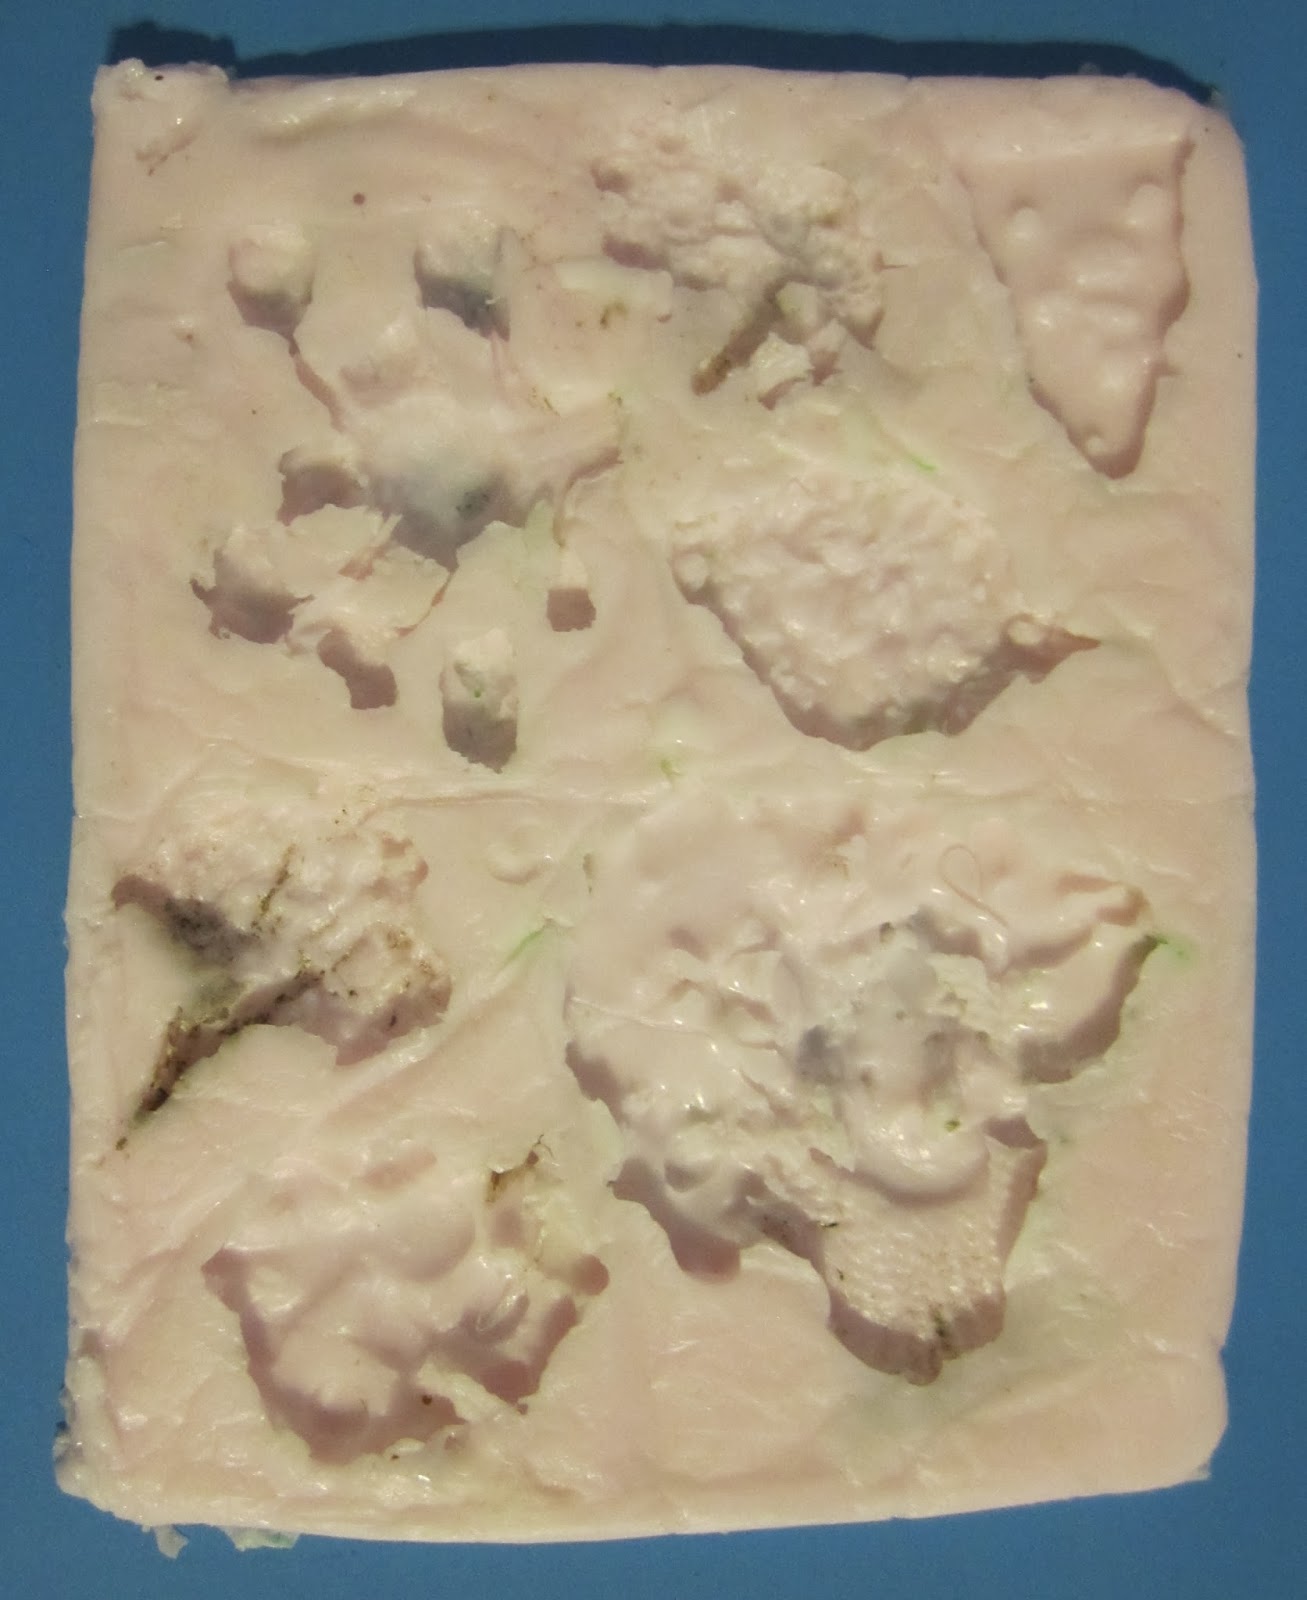
For the Amazing Mold Putty, I mixed Parts "A" & "B" together into a ball and flattened it out, then shoved the trees into the putty.
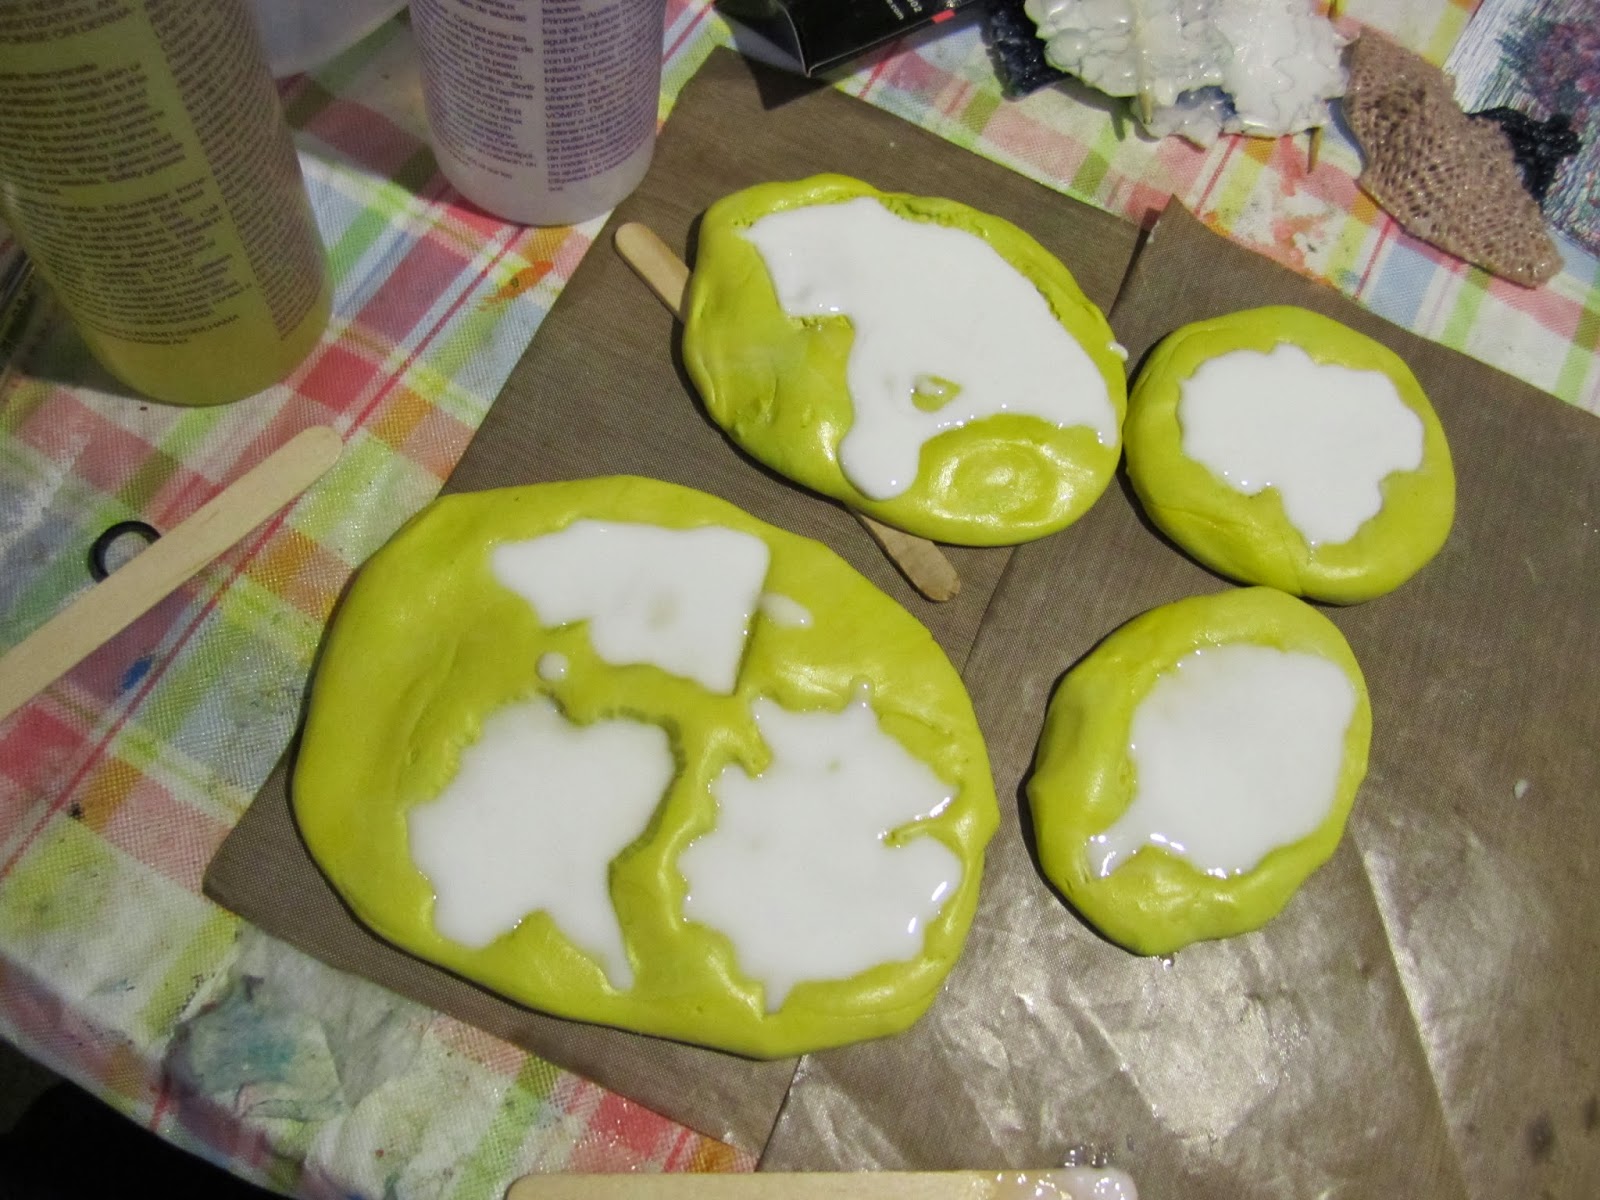
To cast the trees I mixed Parts "A" & "B" of the Amazing Casting Resin, making enough that I could cast both the mold putty and the mold rubber at the same time. You can see a Popsicle stick under one of the molds. That's another difference between the putty and the rubber. I didn't use quite enough putty to get a good dam at the bottom of the tree. Easy fix though. I just needed something to prop it up a bit, and it was good to go.
The resin set up in a about 15 minutes, though it takes a few hours to be completely cured. I popped (or pulled) out my trees and immediately trimmed them, and cut out a few areas where I wanted the tree limbs to show. Trimming, cutting and sanding should be done as soon as possible while the resin is still slightly soft.

I used metallic acrylic paints in yellow, magenta and cyan to add the color, and my forest was finished!
Whoever said you can't see
the forest for the trees?
the forest for the trees?
To explore all the products that are available,
please visit the Amazing Crafting Products website.
For more of my work in Amazing Mold Putty, zentangle-inspired art, and daily links to tangles, tutorials, and giveaways please visit my "Life Imitates Doodles" blog.
please visit the Amazing Crafting Products website.
For more of my work in Amazing Mold Putty, zentangle-inspired art, and daily links to tangles, tutorials, and giveaways please visit my "Life Imitates Doodles" blog.
Thanks for stopping by and have a great day!
...........................................
Join us each Monday for Mold Rubber Mondays – where we will share projects and inspiration using this fabulous new product available at Amazing Crafting Products!

CLICK HERE for Details how you can enter to WIN!
• • • • • • • • • •
What have you made during your Cre8time lately???
CLICK HERE for Details how you can enter to WIN!

the best part of using these products for me is to be able to come up with your own objects to mold and cast as needed, I love to clean and shave off extras or shaping them even more before the resin gets too hard. Love this very creative post - congrats on another great and creative post Sandra
ReplyDeleteThe end result is AMAZING!! These can be used for so many things
ReplyDelete