Showing posts with label may arts. Show all posts

Wednesday, August 27

A #Cre8time Gathering for an AMAZING Fall Harvest {How To by DeeDee Catron}

Hi hi hi friends! DeeDee here today, it's been a while but I'm excited to be back on the Amazing Crafting Products blog sharing some of my works with you. 


Today I'm doing a start to finish photo tutorial in a super FALL HARVEST theme. I'm so pumped for September right around the corner, and can't wait for the weather here in Vegas to relax just a little bit more. Let's get started shall we? 


1) Start with a tag base. My tag is a sheet of 7 Dots Studio paper by 
Finnabair cut using a Sizzix / Tim Holtz die.


 2) Distress edges with Walnut Stain Distress Ink and water.


3) Mix equal parts of Amazing Mold Putty parts "A" and "B".


4) Form Amazing Mold Putty around acorns. 

TIP: I like to have a nice flat back of my resin pieces to secure to the paper
or project that I'm working on. SO I only mold half way around the piece.


5) Mix equal parts of Amazing Casting Resin and pour acorns.
Allow to cure, demold.


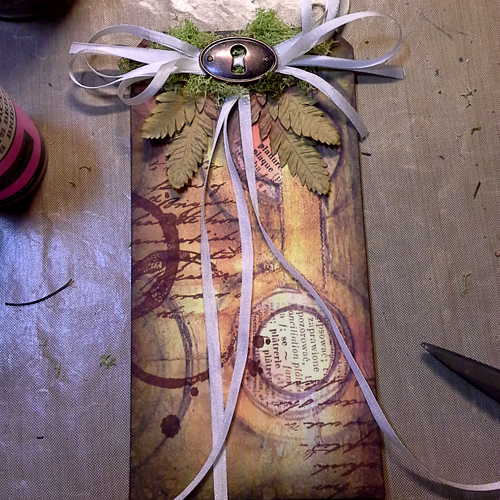
6) Build up base of tag with stamps, ribbons, 
flowers, and embellishments.


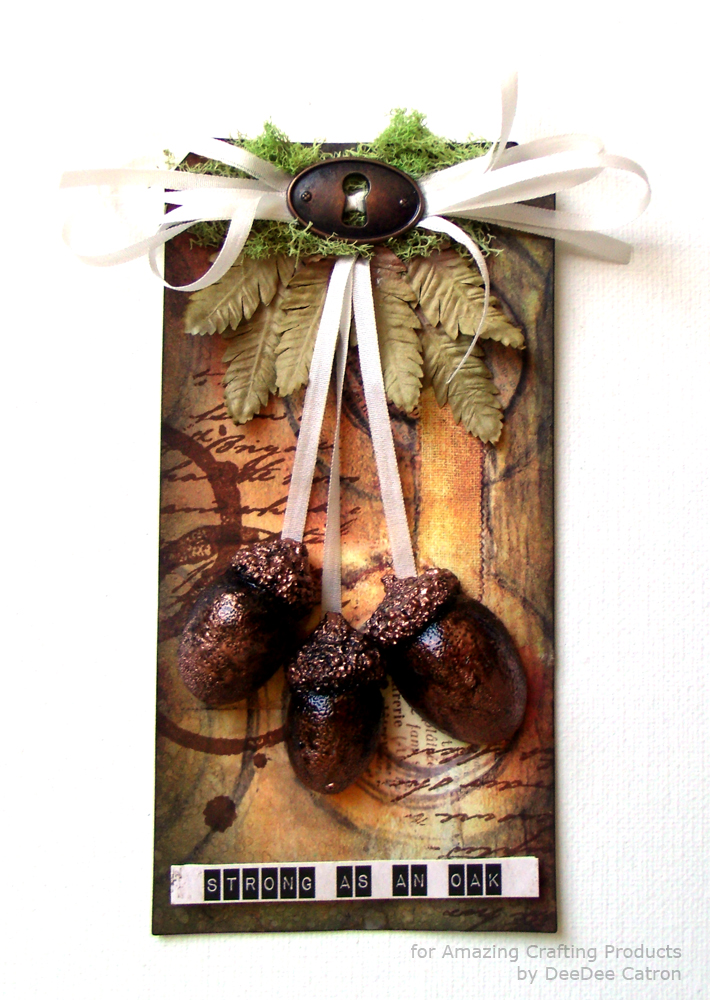
7) I felt like my acorns needed some texture and color, so I embossed
them with some WOW copper embossing powder.

I love altering the Amazing Casting Resin AFTER it's cured (as opposed to before),
because I don't need to worry about altering my mold or changing the original piece.


8) Distress with black acrylic paint.


9) Finish by layering the acorns up and adhering a sentiment.

There really are .. a TON of ways to finish your resin pieces;
glass beads, adhesives, powders, flocking, inks, mists, paints, more resin!
What have you always wanted to try? 


. . . . . . . . . . . . . . . .

Don't miss a single post!
Please subscribe to our blog on the right side bar:
Twitter at @AmazingCrafting | Facebook at AmazingMoldPutty | YouTube at AmazingMoldPutty

Friday, February 7

"For the LOVE Of" my DIY No-Gelatin Printing Plate... AMAZING Inspiration by DeeDee Catron

Hi Folks! DeeDee here today, inspiring you with a layout and one GIANT Amazing Mold Rubber PLATE. If you need a bit of a refresher course, check back to Susan's post about creating your own heavy duty long lasting printing plate from Amazing Mold Rubber. Basically.... it's a plate or slab of a non-stick surface on which you create patterns and textures using paints, mists, inks, and other colorants that are then transferred or "Mono-printed" to a sheet of paper. Today, I've followed Susan's example but made my plate 12 1/4" x 12 1/4" to accommodate patterned paper for scrapbooking. I used the plate to help create the background on this layout here :


(Please click to enlarge and see detail!)

Please be aware, the paper on the bottom did start patterned. It's a sheet of paper from 7 Dots Studio. I just enhanced it and made it my own by printing on top. I've used gesso and glimmer mist on the plate.

You can view the background process in the following video:


And here is a close up of the area where the awesome
rubber plate made its appearance!!

Other supplies include: Viva Las VegaStamps! (Coffee Ring Stamp,) UmWowStudio (Circle Confetti Stencil, Chipboard Butterfly, Heart Confetti,) May Arts, Prima, Gauche Alchemy, adhesive and thread.

I'm loving working on a plate, then to paper, rather than directly on paper, because if I mess up (and I tend to) I can just wipe the rubber plate off. If I had been working directly on paper and ended up being not happy, I'd have to trash it and start over.

Wanna see what other things I end up doing
with my GIANT Rubber Plate?
Visit me back here next month --
you never know what might pop up!

• • • • • • • • • •

Join me on my own blog for more details on this layout,
and to see more of my work!
DeeDee

• • • • • • • • • •


CLICK HERE for Details how you can enter to WIN!
Related Posts Plugin for WordPress, Blogger...