Showing posts with label snowman. Show all posts

Sunday, December 24

Frosty in a #Cre8time Winter Wonderland... by Michele Kosciolek


Holiday crafting is my FAVORITE! And in Michigan winter is a holiday! Michele here today to share some wintery molding fun!


I used Amazing Mold Rubber and Amazing Casting Resin for the snowman in this festive lantern. I started with a ceramic ornament and molded it in Amazing Mold Rubber. First, I need to build a moldbox...


I hot glued him to the lid of the rubber container.


Next, I used some cardboard from a box I received some crafty goodness in to create my mold box. I created a cylinder shape and secured with tape – leaving at least 1/4" around all sides of the snowman original.


Make sure you seal completely around the bottom. 
I used hot glue to seal the box to the lid.


Mix container of Amazing Mold Rubber according to the directions {CLICK HERE to view mixing/preparation}.


And pour until whatever you are casting is completely covered. Set aside to cure.


After the rubber is cured, gently peel away the mold box.


Pull item from mold. If needed, carefully slit down the side of the mold with a blade so you can remove what you molded.


To prepare mold for resin casting, I used rubber bands
around the mold to make sure I had a good seal.


Then filled with Amazing Casting Resin
{CLICK HERE to view mixing/preparation}.


In about 15 minutes the snowman is cured and ready to remove from mold! Can you see all that texture??!


I used my Copic markers to do some coloring.


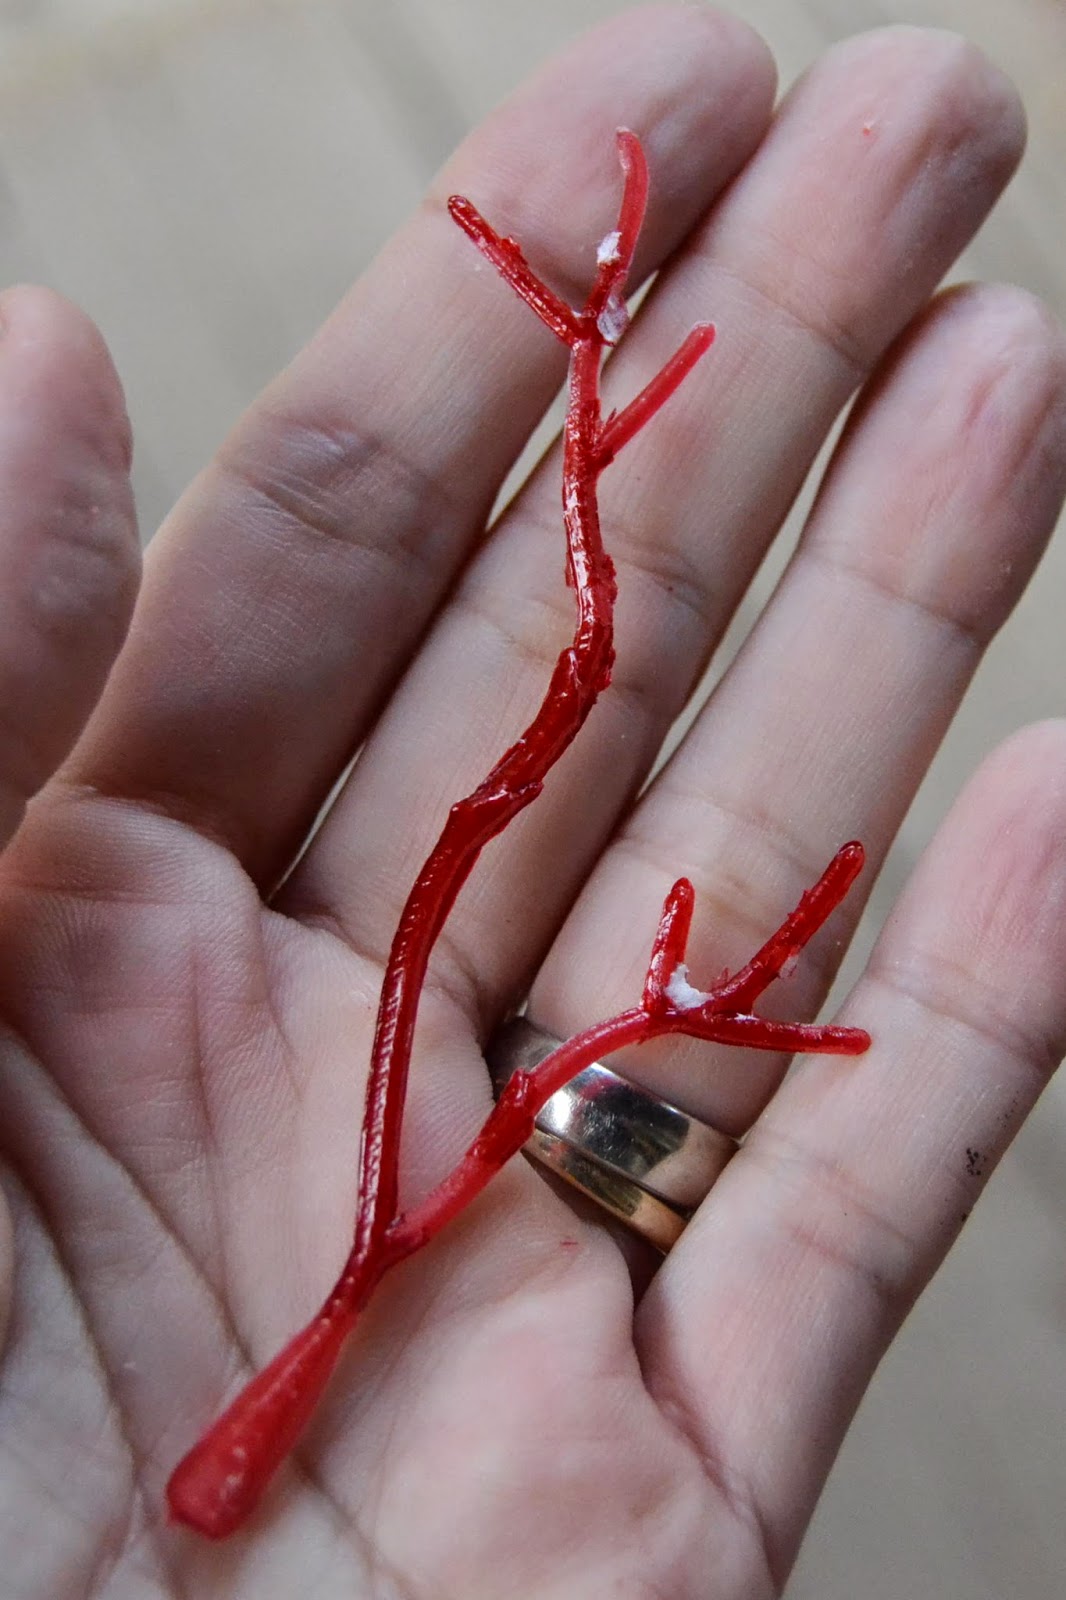
Add a little snow and a tree with lights...
and a cute little deer to complete the scene.


And viola! A cute wintery scene!


A perfect little place for Frosty to spend the winter!!!

How do you decorate for the holidays?

Thanks for joining us today. Until next time... 
Happy Holidays!! ~ Michele

For more projects and inspiration please visit my blog "Stuff by Belle"
or follow on Facebook: https://www.facebook.com/michele.kosciolek

• • • • • • • • • • • • 

Don't forget to subscribe to our blog on the right side bar:
Twitter at AmazingCasting | Facebook at AmazingMoldPutty | YouTube at AmazingMoldPutty

Monday, December 26

#Cre8time Resin Play... Quick and Easy Melted Snowman Gift Tags by Tanya Ruffin


Spruce up your gift wrapping with an adorable melted snowman gift tag!


I wanted to make some cute, kid friendly, name tags for my Christmas gifts and thought a melted snowman would be quick and flat enough that I would be able to write the "to" and "from" on... and be oh-so-adorable. In south Louisiana, the only snowmen we have are melted ones anyway! 

In my stash I have a small bag of mini top hats. No idea why I bought them, clearance I assume. I have had them for several years and darn it – it is time to use them!!

Supplies:
  

Mix up some Amazing Casting Resin (follow directions based on how many snowmen you want to make). I made two the first time so I mixed 15 ML of each part ( using the measuring cup in the box) and scooped up some pearl Alumidust on the end of a craft stick and mixed them all together.


On a silicone mat, pour out 3 puddles of resin for each snowman – each one getting larger than the last. On the smallest one, set the top hat and the beads into the resin. Let cure {this is at about 20 minutes}.


Some of mine ran together, so I picked up the resin before it completely cured and simply cut them apart with scissors. You can reshape your pieces at this point. 


I used Allene's Tacky Glue to secure all the pieces together.

Tada!


If you made these tiny enough you could make them into pins or even earrings!

How do you embellish your gifts?

You can Craft Your Own Way!


Please visit my site to see more of my inspiring
creations at www.tanyaRuffin.com

• • • • • • • • • • • • • • • • •

Don't forget to subscribe to our blog on the right side bar:
Twitter at AmazingCasting | Facebook at AmazingMoldPutty | YouTube at AmazingMoldPutty

Wednesday, December 24

I'm #Cre8time Dreaming of a White Christmas... or an AMAZING Melting Snowman by Rachel Whetzel

Hello, Amazing Creatives! Rachel Whetzel here... :::sigh::: with my LAST 'How To' post here on the Amazing Casting Products blog for a while!! Susan has asked me sneak on here and there when I have something to share with you, but I won't be posting regularly. I'm taking a break from a couple of my design teams to spend HUGE amounts of time watching and keeping books for basketball, and otherwise being suuuuuper busy. I appreciate all the love and support that you all give to the designers here! Of course, I won't stop creating, farming and generally misbehaving. If you'd like to keep up with me on my other interweb haunts, I would love that. There are links to help you do that at the end of this post, BUT FIRST!! 

You might think that something as simple as a melted snowman would be just that. Simple, right? Oh ho ho ho no!! It's totally NOT as simple as I thought, but it's definitely something I want to do again, and now that I have done it, I can share with you what I learned so that YOU can learn from my mistakes, and your project WILL be simple! How's that for a Christmas present!? 


HERE'S WHAT YOU'LL NEED
TO MAKE A MELTED SNOWMAN:

  • Amazing Casting Resin
  • Amazing Mold Putty curing mat (I made mine by rolling some Amazing Mold Putty thinly, and allowing it to cure). Please CLICK HERE for more detailed instructions on how to mix Amazing Mold Putty.
  • Multiple mixing cups and stir sticks because each layer of resin you pour will require a fresh set. If you wanted to, you could make a cup out of Amazing Mold Putty, and pop your cured resin out between batches. This would mean you only needed a new stir stick. Unless you made one of those too! 
  • Paints 
  • Fake Berries (I got mine at the Dollar Tree) 
  • Ribbon for a scarf
  • Glue
  • Glitter

To get started, you need to assemble all the pieces of your snowman! I guess I could have sculpted some arms for my snowman, but I really wanted some really stick looking arms, so I used a piece of a branch of berries that I bought at the Dollar Tree.


I pulled the berries off of the branches, 


cut them off of the main piece to make two "branches" and spray painted them black. 


Then I got to work making the top hat, eyes and mouth, and carrot nose from Creative Paperclay®. I used a toothpick to add texture to the teeeeeeny tiny balls for rocks, and to add lines to the carrot nose. When they were all dry, I sanded the hat to perfect it's shape, and painted them all with craft paint. I also frayed the ends of my ribbon to make it look like a scarf. 

Once all my snowman bits were ready, I mixed small batches of Amazing Casting Resin, which cures white. I poured it out in layers, and had to work EXREMELY quickly for each layer, so I could not get photos of the process, but I will do my best to explain what I did. 

THE PROCESS...

  1. Make sure that your work surface will release from your cured resin. I have made a simple mat out of Amazing Mold Putty for this purpose. 
  2. Mix your first batch of Amazing Casting Resin
  3. Stir your resin, and as it gets how, you will also see it start to get thicker. This process takes only a few minutes, because stirring speeds up the cure. As your resin starts to get warm, pour a puddle onto your mat. 
  4. Keep stirring, and as your resin gets hotter and thicker, pour another bit onto the top of your first puddle. This layer will set up faster than the first, and be slightly raised. 
  5. Repeat this process to build out your "melty" base shape. 
  6. You'll probably notice that there are some lumps and bumps in your layers that don't look particularly melty. (You can see an example of this in my photo near my snowman's left "arm") Don't worry about them too much. Our last layer will be different than how I actually did my piece, and this will fix some of the issues I had with my snowman, and make YOUR snowman much easier. 
  7. Get ALL your pieces ready to place onto your last layer of resin.
  8. Mix up one last batch of resin, and pour it when it just starts to get warm in your mixing vessel. Pour it in a thin layer over the top of your entire piece, and get to work placing your snowman bits onto the uncured resin. 
  9. Allow this last layer to flow over the edges of your base layers, to create the most realistic melted look. 
  10. BEFORE YOU LAST LAYER CURES: Quickly place the eyes and mouth first, then your hat and arms, and then your scarf.* Dribble some resin atop your hat if you'd like, to create a melting snow effect on your hat. Allow everything to cure in place. *If you run out of time for this step, and your resin has cured before you can finish, another layer of resin VERY thinly over the top of your piece will give you the time you need. 
  11. Once your piece has cured, use some glue and glitter around the piece to create a frosty look!
  12. Peel everything off of your curing mat.  

Now you have a melted snowman that will last much longer than the real thing! This little guy would go great with a cute saying like, "Some people are worth melting for..."


Thank you for reading! Want to keep up with me on the interwebs?
Visit me on PINTEREST and INSTAGRAM, or like MY PAGE on Facebook!
Thanks for stopping by! ~ rachel

• • • • • • • • • • • • • • • • •

Don't forget to subscribe to our blog on the right side bar:
Twitter at AmazingCrafting | Facebook at AmazingMoldPutty | YouTube at AmazingMoldPutty

Thursday, December 8

Let's Make a Snowman


I found a wonderful snowman ornament at my favorite store, but he is SOOO very heavy.
So I thought to myself, "self, can we make a lighter weight snowman?".
Myself said "heck yeah!"
So, I did!

This is the finished product....now let's see how to make it, shall we?

Supplies:
Amazing Mold Putty
Amazing Casting Resin
Snowman
Grungeboard holly & leaves
Acrylic paints and paint brushes
Extreme Glitter acrylic paint
Quick Grab glue
Smooch inks (blue and orange)
Twine
Bling

Pour your resin A & B parts. Then pour the little cups into one cup, stir, and let sit.
While it's sitting, make your mold by mixing equal parts of each A & B.
I rolled my ball of putt out with a rubber brayer, and put the snowman onto it face down, pressing him into the putty. Then, gently pull the putty up around his sides to make a wall.
My wall at the top of the hat wasn't deep enough, so after the mold cured, I added a little bit of putty to it.
See my messy patch job? :)
 Pour your mixed up resin into the mold and watch!
Let it set until it's completely white and not tacky to the touch.
Remove your casted piece.
FABULOUS!!

If you've got any edges you aren't thrilled with, just use an emery board to smooth it.
Easy peasy!
 Here's my casted piece next to the store bought one.
The detail is AMAZING!!
Start painting!
Paint some more!
Paint the grungeboard pieces with acrylic paint and then Extreme Glitter paint.
Wrap some twine around the hat, securing with the Quick Grab.
Add some holly leaves.
Add some bling berries!

 I added a little blue Smooch over the blue paint on the hat, and some orange Smooch 
over the orange paint on the carrot nose.
My artsy fartsy 15 year old said he couldn't tell which one came from the store! YEAH!
And, the casted piece weighs considerably less than the store-bought one does.


 Here's your wiener!
Daisy Dog says "Let is snow, let it snow, let is snow...I'll be on the couch!"
Related Posts Plugin for WordPress, Blogger...