

I usually spend my creative time making things that are useful but this time around I really just wanted to make something for the sake of making instead of making something with a specific purpose. This 5" x 5" decorative tile will be gracing my coffee table but it can also be used as a paperweight or a coaster.

I have a set of flashlight filters from an old military light that my boyfriend got rid of - yes, he actually got rid of something! The filters come in bright colors and just called for something cheerful. I gathered the filters, some random findings and a wooden block and challenged myself to make something happen with these items. My goal is make something I can display on my coffee table.


Of course as soon as I decided to use these items I realized I might want to use them for other creative works so instead of using the originals I used Amazing Mold Putty to create a mold so I could make my own colorful disks and findings for any future ventures. For the findings I got a plastic lid to use as a base for my mold since there were a few different shapes and I wanted to try making a small mold that would accommodate all of the different shapes. I mixed equal parts of "A" and "B" of the Amazing Mold Putty and pressed it into the dish – starting from the center and working my way to the edges. Once the putty was spread equally I pressed the findings and the disk into the putty. I mixed another amount to create the mold of my wooden block, once again starting from the center and working out to cover the edges. After I made sure the edges were covered, I flipped it over and pressed it onto my work surface to flatten out the bottom and left both pieces to set for about 10 minutes.

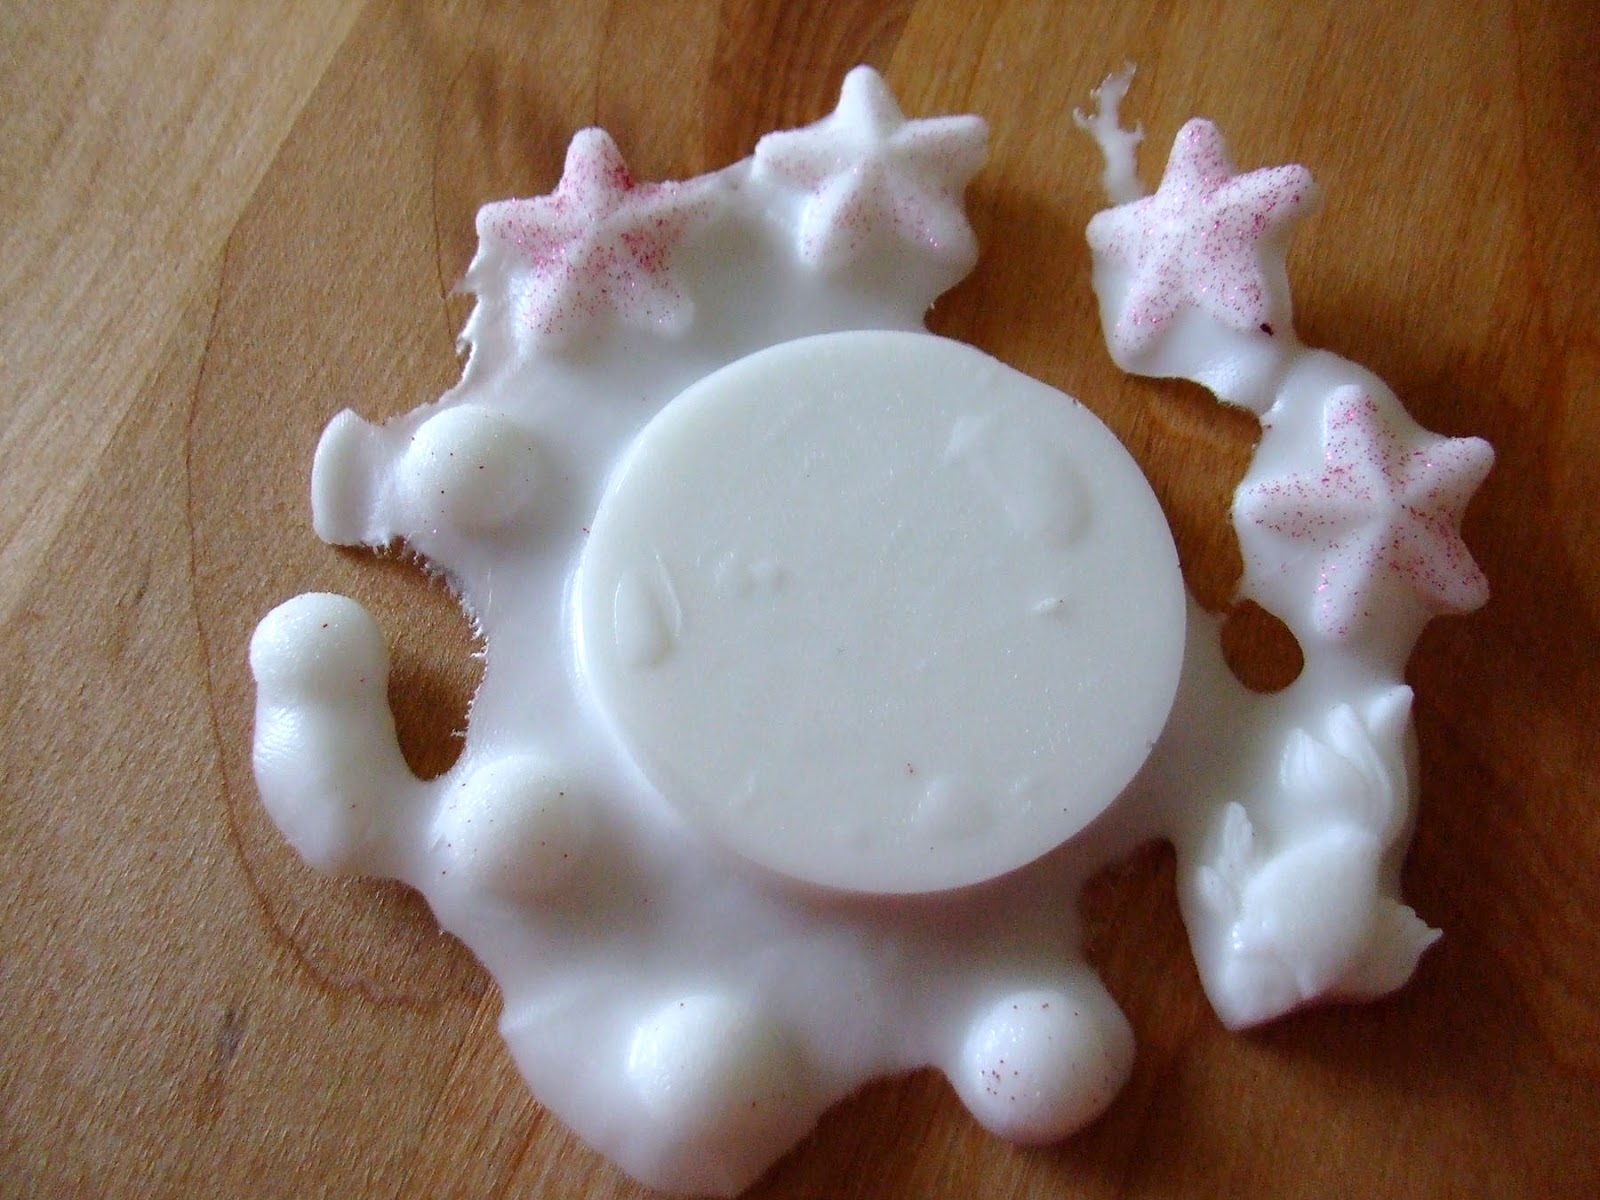
After removing the original pieces from the molds, I noticed there was some glitter that had been left behind in some places. I wasn't able to brush off the glitter and I didn't want to damage the mold by scraping it with my nails so I did the first thing that came to mind... I used Amazing Casting Resin to clean out my mold. Amazing Casting Resin sets and becomes a solid white color in only 10 minutes – so I would be able to do it quickly and not lose my creative momentum. Combining equal parts of "A and "B", I mixed them in a small cup and quickly poured it into my mold. While I gave it a few minutes' setting time, I continued working on my other mold.
For the wooden block mold – I mixed up some Amazing Clear Cast Resin and poured a thin layer. The block mold is about 3/4" deep so I poured a layer that's about 1/8" thick and let it set. I went back to pull off the now solid white Amazing Casting Resin and saw that my experiment worked. The glitter that had been left behind was now removed from my mold and it was ready to use.
For the wooden block mold – I mixed up some Amazing Clear Cast Resin and poured a thin layer. The block mold is about 3/4" deep so I poured a layer that's about 1/8" thick and let it set. I went back to pull off the now solid white Amazing Casting Resin and saw that my experiment worked. The glitter that had been left behind was now removed from my mold and it was ready to use.


For my findings I mixed some Amazing Clear Cast Resin and then added a drop of Alumilite Yellow Dye to the mixture. After pouring it into my mold I left it to set. After 4 hours the resin was not completely set in either mold, but for what I was doing I didn't need it fully set so I went ahead and removed the Yellow findings from the mold. I added another layer of Clear Cast Resin to the block mold and dropped the findings face down into the new layer of Clear Cast Resin. For some ridiculous reason I used yellow pieces in a yellow mold so I couldn't really see if this was working as I'd hoped. I'd have to wait until the whole piece was complete before I could see the finished product.


After waiting about 4 hours, I poured yet another layer of Amazing Clear Cast Resin. I'm building up layers so that I can reduce the chances of bubbles developing in the resin as it is setting. Within the third layer I used a toothpick to drag Alumilite Red, Blue, Green and Violet Dyes through the freshly poured resin. I then swirled the colors around in the mold and waited as they moved around. I had very little control over how the colors spread and swirled, since they kept moving around until the resin settled. I let this layer dry overnight.
The next day I poured the final layer in the mold. My last layer would be Amazing Casting Resin My thinking was that this solid white layer will be the background of the piece and it will show the shapes and colors nicely. I won't know if this actually works until the piece is finished. I'll just have to wait for the last layer to dry.
The next day I poured the final layer in the mold. My last layer would be Amazing Casting Resin My thinking was that this solid white layer will be the background of the piece and it will show the shapes and colors nicely. I won't know if this actually works until the piece is finished. I'll just have to wait for the last layer to dry.

I removed the piece from the mold and it was very foggy with rough edges so I used superfine sand paper to smooth out the roughness. My last step was to pour a thin layer of Amazing Clear Cast Resin over the top of the piece. This thin layer of Clear Cast Resin will take away the fogginess of the piece and provide a protective top layer for the tile. Once the layer was poured I dipped a small soft brush in Alumilite Metallic Gold and Copper Powders and splattered the surface of the tile. I went back with a toothpick and traced small overlapping circles over the entire surface of the tile.
This created a really interesting florentine swirl pattern that kept changing slightly as the resin dried. I'm absolutely in love with this piece. It was very exciting for me to create this piece because I was never really sure how it would look when it was done. It almost created itself because of the way the resin settles so this time around it was pure creative adventure for me.
This created a really interesting florentine swirl pattern that kept changing slightly as the resin dried. I'm absolutely in love with this piece. It was very exciting for me to create this piece because I was never really sure how it would look when it was done. It almost created itself because of the way the resin settles so this time around it was pure creative adventure for me.
What adventures will you create
with Amazing Crafting Products?
I'd love to see what you create! Please upload and share your creations to the
User GALLERY on the Amazing Mold Putty Website for all the world to see.
.................................
__________________________________________
COUPON
Use this coupon to shop at the Amazing Mold Putty
website HERE and receive 20% OFF your purchase.
Please use coupon code " shamrock " {no quotations}.
Coupon expires March 31, 2014.
__________________________________________
.................................
Don't forget to subscribe to our blog on the right side bar:
Twitter at AmazingCrafting | Facebook at AmazingMoldPutty | YouTube at AmazingMoldPutty

love your project - it's so much fun when you let your creativity take over. beautiful
ReplyDeleteThank you Maria! I had a lot of fun with this and I'm really happy with the way it turned out :)
DeleteBeautiFul, I love doing that swirl technique.
ReplyDelete