

When I was asked to work with the Frog Dog Studio kit – I wasn’t sure what I was getting myself into. This kind of project is way outside of my normal style, but I took the challenge to see what I could learn from it. When I received the April kit (shown below) nothing came to mind at first – so I took the parts out of the packaging started tinkering around. I came up with the 2 projects shown below. You may want to go grab a cuppa... there's a lot to see here.
Parts/Tools:
- Frog Dog Studio April Kit
- Amazing Mold Putty
- Amazing Clear Cast Resin
- Amazing Casting Resin
- Mixing Cup
- Mixing Stick
- Poster Board
- Spray Paint – Black, Green, Yellow, Red, Clear
- Acrylic Paint – Flat Black
- 18”x24” Framed Blank Canvas
- Solar Yard Lights
- Hot Glue Gun
- Box Knife
- Ruler
- Sharpie
- Painters tape
- Soldering Iron
- 1/8th heat shrink
- Clear White LED's
- 22awg wire, Red, Black. White insulation 2 –stand wire 3ft.
- Printed Label and/or Sticker
- Key Ring Loop
Here is what is included in the Frog Dog Studio


The Frog Dog Studio April Mixed Media Kit includes:
(1) **Alumidust Powder - Red Plum; (1)
StazOn Midi Ink pad - Claret; (1) StazOn Midi Ink pad - Blue
Hawaii; (1) iZink Pigment Ink bottle - Gold; (1) Stampendous Mica
Fragments Jar, Pearlized; (1) Dusty Attic Chipboard set - Birds; (1)
Stampendous Mini Clipboard Canvas pack; (1) Set Canvas Mini's - Canvas
Corp; (3) Sheets of Decopatch Tissue Paper; and (16) Tim Holtz Clear
Fragments (random sizes/shapes). ** Alumidust is one of the many additives from the Alumilite Corporation. Valued at over $45.
The Frog Dog Studio April Add-On Kit includes:
(1) Amazing Clear Cast Resin – 16 Fluid Oz Box; (1) Amazing Mold Putty – 2/3 lb Box; (25) 1 oz Measuring Cups; and (50) Wooden Stir Sticks. Valued at over $47.
• • • • • • • • • • • • • •
4x4 Key Chain

I took a couple of the Tim Holtz Clear Fragments
and applied a printed label to the center.


Then I mixed up equal parts of Amazing Mold Putty {click here to view preparation}, pressed each of the shapes into the mold putty, then let cure.

With each mold ready – I combined equal parts of Amazing Clear Cast Resin per instructions {click here to view preparation}, poured into the molds covering acrylic pieces, and let cure.

Remove from mold, clean up hole and insert key ring.
Fun custom keychains ready to go!

Layered Canvas
As this celebration of mixed media with Frog Dog Studio continued, I decided to use some of
the materials and try something completely off course. The steps shown below
are there so you can follow them to make this project yourself or use another
line design, change the colors, etc.
I used a shared design of a Spartan printed on regular
paper. Glue whatever printed line design you choose to a piece of
3/16” think foam board. Cut out the first layer from the outer edge.

Cut two (2) more layers using the first one as a stencil.
I drilled holes through all three layers from the front mask to be used later. The first layer with the printed line design will be the top layer, so I cut out the pieces that will be shown from the layers beneath. When complete, I have a solid outline layer (Layer 3), middle texture layer (Layer 2) and the printed line design pieces (Layer 1).

I applied Mod Podge Matte to layer 3 and covered it
using the red/gold Decopatch tissue paper.
using the red/gold Decopatch tissue paper.

Let dry and trim the edges off.
Tape the front of layer 2 and paint the edges with flat
acrylic paint.

Apply Mod Podge Gloss to the 2nd layer and cover with the Chrome/Feathers Decopatch tissue paper. Let the Mod Podge dry and trim the edges.

Attach Layer 2 to Layer 3 using hot glue.

Spray paint the pieces of the first layer red,
and trim the edges with flat black acrylic paint.

Brush on the Red Plum Alumidust to give the surface
a metallic effect. Set Parts aside for later.
a metallic effect. Set Parts aside for later.

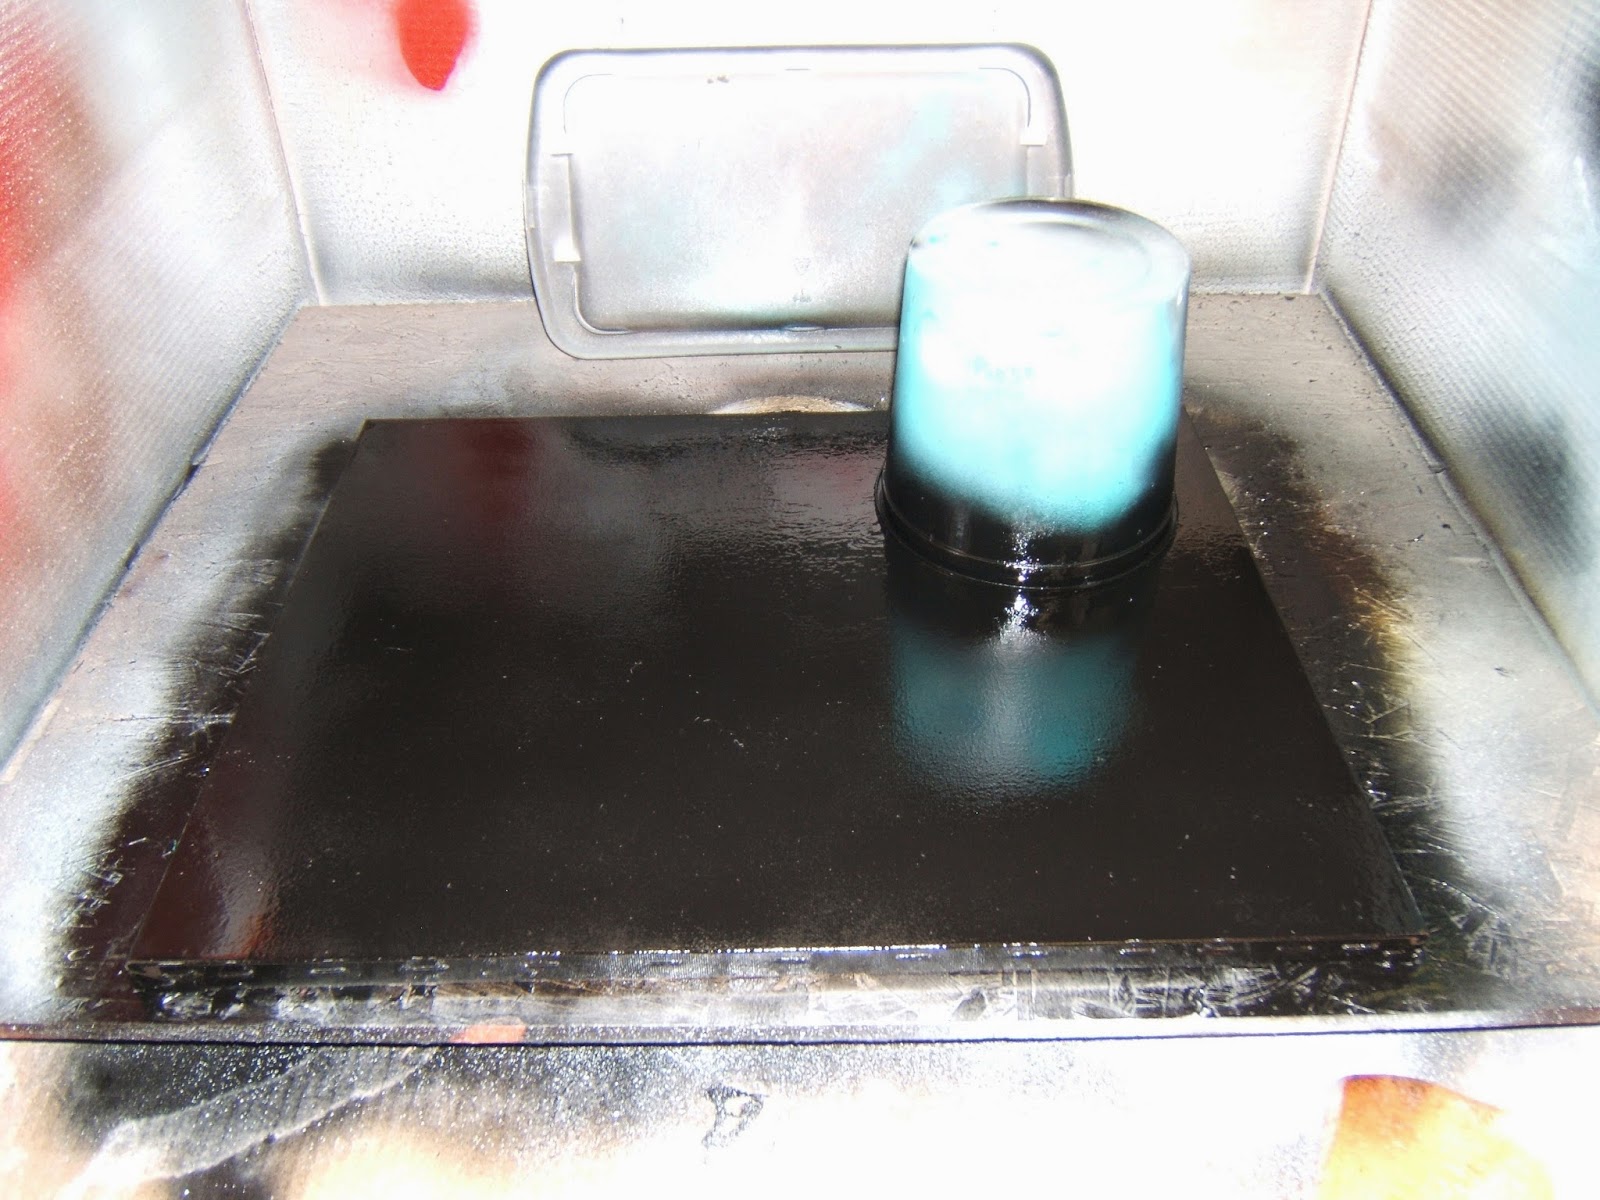
Make a mold using the cut-out’s from the face mask visor
by mixing equal parts of Amazing Mold Putty. Let cure.

Remove the foam shape. Mix and fill halfway
Remove the foam shape. Mix and fill halfway
with Amazing Clear Cast Resin. Let Cure.

Paint the top of the casting with the iZink Gold Pigment Ink, and let dry.

Prepare a second batch of Amazing Clear Cast Resin and fill the second half of the mold. Let cure. Remove from the mold, sand the edges. and set aside.
Make some Spray Paint Art
I’ve always wanted to try the spray paint art seen on street
acts. I watched a couple videos on you tube and gave it shot. I made two of them
using different planet colors, the one shown below was not the one used for the
final, but it’s made using the same steps. The paint dries quickly, so every
step has to be done quickly to get the right effect.
Start with a white canvas; spray a corner with yellow.

Then orange.

Using a glossy coated page from a magazine, smear the Orange and Yellow.

Shade Black by spraying lightly off the corner;
this will be the shaded part of the planet. Try
and arch the shade.

Place a lid or bucket over the corner, partially over the
black shade on the edge.

Paint the entire surface black.
Spray white on your finger tip and flick white stars across
the surface.
Flare highlight the planet with light blue lines off each side.

Remove the Planet cover.

Using card stock or a business card, drag a line (swoosh
across the planet)
to simulate rings. Sign the corner or your masterpiece.
to simulate rings. Sign the corner or your masterpiece.

Let dry, set aside...
Solar yard Lights and LED’s. It’s not over yet…
Lights and glass have always been my favorite décor and/or
effect. If it’s translucent I’m usually drawn to it regardless of the color…
Laugh it up, my favorite color is clear. This part of the tutorial is optional
to your resources. Basic soldering skills, equipment and tools are required. This part is optional and you certainly skip this section and proceed with final assembly... but I'm all about the lights so I appreciate you hanging in until the end.
Secure an LED using the clear LED’s, note the short pin ( -
cathode).

Clip the pins short. Strip the 22awg black and red wires and solder tin the end. Attach the black wire to the cathode pin, red to the anode. Cover the solder joints with heat shrink. X4 LED’s.


The solar yard lights I found were from a discount store. They were wired for 1 battery, but have a compartment for 2 AA. The LED’s I used are 3V so 2 sets of LED’s wired properly will need 2 AA. I took apart 2 solar yard lights.


Take out the battery tabs from the second solar light and add them to the first. I changed the wiring so the batteries are in series; the positive side of one battery is connected to the negative of the other. The ground wire is moved to the negative of the second battery. As shown below.


Move the black wire from the first battery tab to the negative side of the second battery (RED Arrow). Add a wire from the tab you removed the black wire and attach it to the posative tab of the second battery. Now the battery base has 2-AA batteries, 2 output wires for LED's and 2 input wires for solar panels.


Connect the LED's to the LED output of the battery base. Connect the Solar panel assembly to the solar input on the battery base. Mind the polarity (+/-). The solar panels casting can be placed in a near by window to keep the batteries charged in the day and automatically trigger the LED’s on a night when it get’s dark enough.

Completed assembly lights off.


The solar yard lights I found were from a discount store. They were wired for 1 battery, but have a compartment for 2 AA. The LED’s I used are 3V so 2 sets of LED’s wired properly will need 2 AA. I took apart 2 solar yard lights.
The inside of the enclosure has a small circuit and 1 – LED.
De-solder the back of the solar panel connections.
I removed the stock LED and wired the output from the board.
Take out the battery tabs from the second solar light and add them to the first. I changed the wiring so the batteries are in series; the positive side of one battery is connected to the negative of the other. The ground wire is moved to the negative of the second battery. As shown below.
Remove the battery tabs from the 2nd solar light base.
Add them in the marked locations.
The tab with the spring goes in the (-) location.
Move the black wire from the first battery tab to the negative side of the second battery (RED Arrow). Add a wire from the tab you removed the black wire and attach it to the posative tab of the second battery. Now the battery base has 2-AA batteries, 2 output wires for LED's and 2 input wires for solar panels.
Take the Solar panels and wire them in series.
Secure the panels with hot glue, cover the face with tape.
Cut a foam board shape large enough to enclose the 2 solar panels.
Mix enough Amazing Mold Putty to mold the shape. Let cure.
Place the Solar panels in the finished mold.
Mix and fill with Amazing Casting Resin {click here for preparation}. Let cure.
Remove from the mold and trim any casting that leaked
under the panels, peel the tape off the solar panels.
Almost over...
Attach the Decopatch tissue Layers 2 and 3 to the front of the canvas
using small wood screws and/or hotglue.
Attach the Gold cast visor.
Attach the red pieces from the first layer.
Now if you decided to skip the lighting portion, please skip the following steps. Poke holes through the canvas from the front visor/mask. Insert the 4 LED's wired previously through the back. Wire 2 pairs in series, then wires to the 2 pairs together parallel.
Attach the battery base to the back of the canvas using small wood screws.
Connect the LED's to the LED output of the battery base. Connect the Solar panel assembly to the solar input on the battery base. Mind the polarity (+/-). The solar panels casting can be placed in a near by window to keep the batteries charged in the day and automatically trigger the LED’s on a night when it get’s dark enough.
Completed assembly lights off.
The final completed piece all lit up!
I'm going to really enjoy this hanging in my shop.
Thanks for joining in and thanks to Frog Dog Studio and Amazing Crafting Products!
Stop by anytime to check out more exciting projects from
the Amazing Crafting Products Creative Team. ~ Lonnie S.
the Amazing Crafting Products Creative Team. ~ Lonnie S.
• • • • • • • • • • • • • •
Don't forget to subscribe to our blog on the right side bar:
Twitter at AmazingCrafting | Facebook at AmazingMoldPutty | YouTube at AmazingMoldPutty

You are truly amazing. I love your canvas!
ReplyDeleteThank you! :) This one wasn't easy for me...
DeleteOh my goodness! You are amazing, I was in awe as I scrolled down! Bravo~
ReplyDeleteThank you. This is one of those projects I look back on and don't know how I did it... Glad there are instructions! :)
Delete