Showing posts with label texture plates. Show all posts

Monday, June 6

But of Course... it's AMAZING!! #AmazingMoldRubber


Hello Amazing Creatives – we would like to welcome everyone to Amazing Casting Products!!! Mondays here on the Amazing Casting Products Blog is Mold Rubber Monday – dedicated to projects and inspiration using this fabulous product. 

WHAT IS Amazing Mold Rubber???

Amazing Mold Rubber is an easy to use, high strength liquid silicone mold making rubber that is strong, soft and flexible - great for undercut parts. Please note: this product is NOT FOOD-SAFE.

Amazing Mold Rubber is a two-part liquid rubber used to make extremely elastic molds to produce quick and exact reproductions of your original. Replicas can then be cast in Amazing Casting ResinAmazing Clear Cast Resin for plastic parts - or use other materials such as plaster, wax, clay or polyester. 


If you have problems viewing video, please click here.

Where Can I Get It???

Amazing Mold Rubber is available at your local Hobby Lobby
and Michael's Stores and the Amazing Casting Products website.

Earlier this year Amazing Casting Products was featured on Charity Wings Live from CHA at NAMTA/CAMEX {CLICK HERE to view the playback}. We were also part of the Charity Wings Live from CHA at CHA Winter in Anaheim {CLICK HERE to view the playback from this event with lots of Amazing Mold Rubber projects}.

We have compiled all the #MoldRubberMonday posts from the Amazing Mold Putty Blog vault for your reading pleasure. Please click on the photos blocks below to jump to the project post.

Just some things you can do

Feel free to bookmark or pin
this post for future reference.

Join us next week for another MOLD RUBBER Monday!

Thanks for stopping by and have a fantastic day!
...........................................

Don't forget to subscribe to our blog on the right side bar:
Twitter at @AmazingCasting | Pinterest at AmazingCasting | YouTube at AmazingMoldPutty

Friday, November 13

In All Things Give #Cre8time Thanks... Organic Leaf Magnets by Aimée Wheaton


I had grand ideas for this little project of mine,
except today had other ideas.
 
OK – so I wanted to create some pretty organic Fall leaves and petals and use them as magnets on my epic magnetic chalk board in my front hall. This is the story of how I created them, accidents and all.


I started by taking this mound of Sculpey clay and smoothed and flattened it all out. Then started creating the leaves and petals. Sculpey is awesome because you can bake it for 15 minutes and it's done!


I used various items to give it texture.
Texture plates, vintage buttons and a lace doily :)


Love this one!


Lace texture


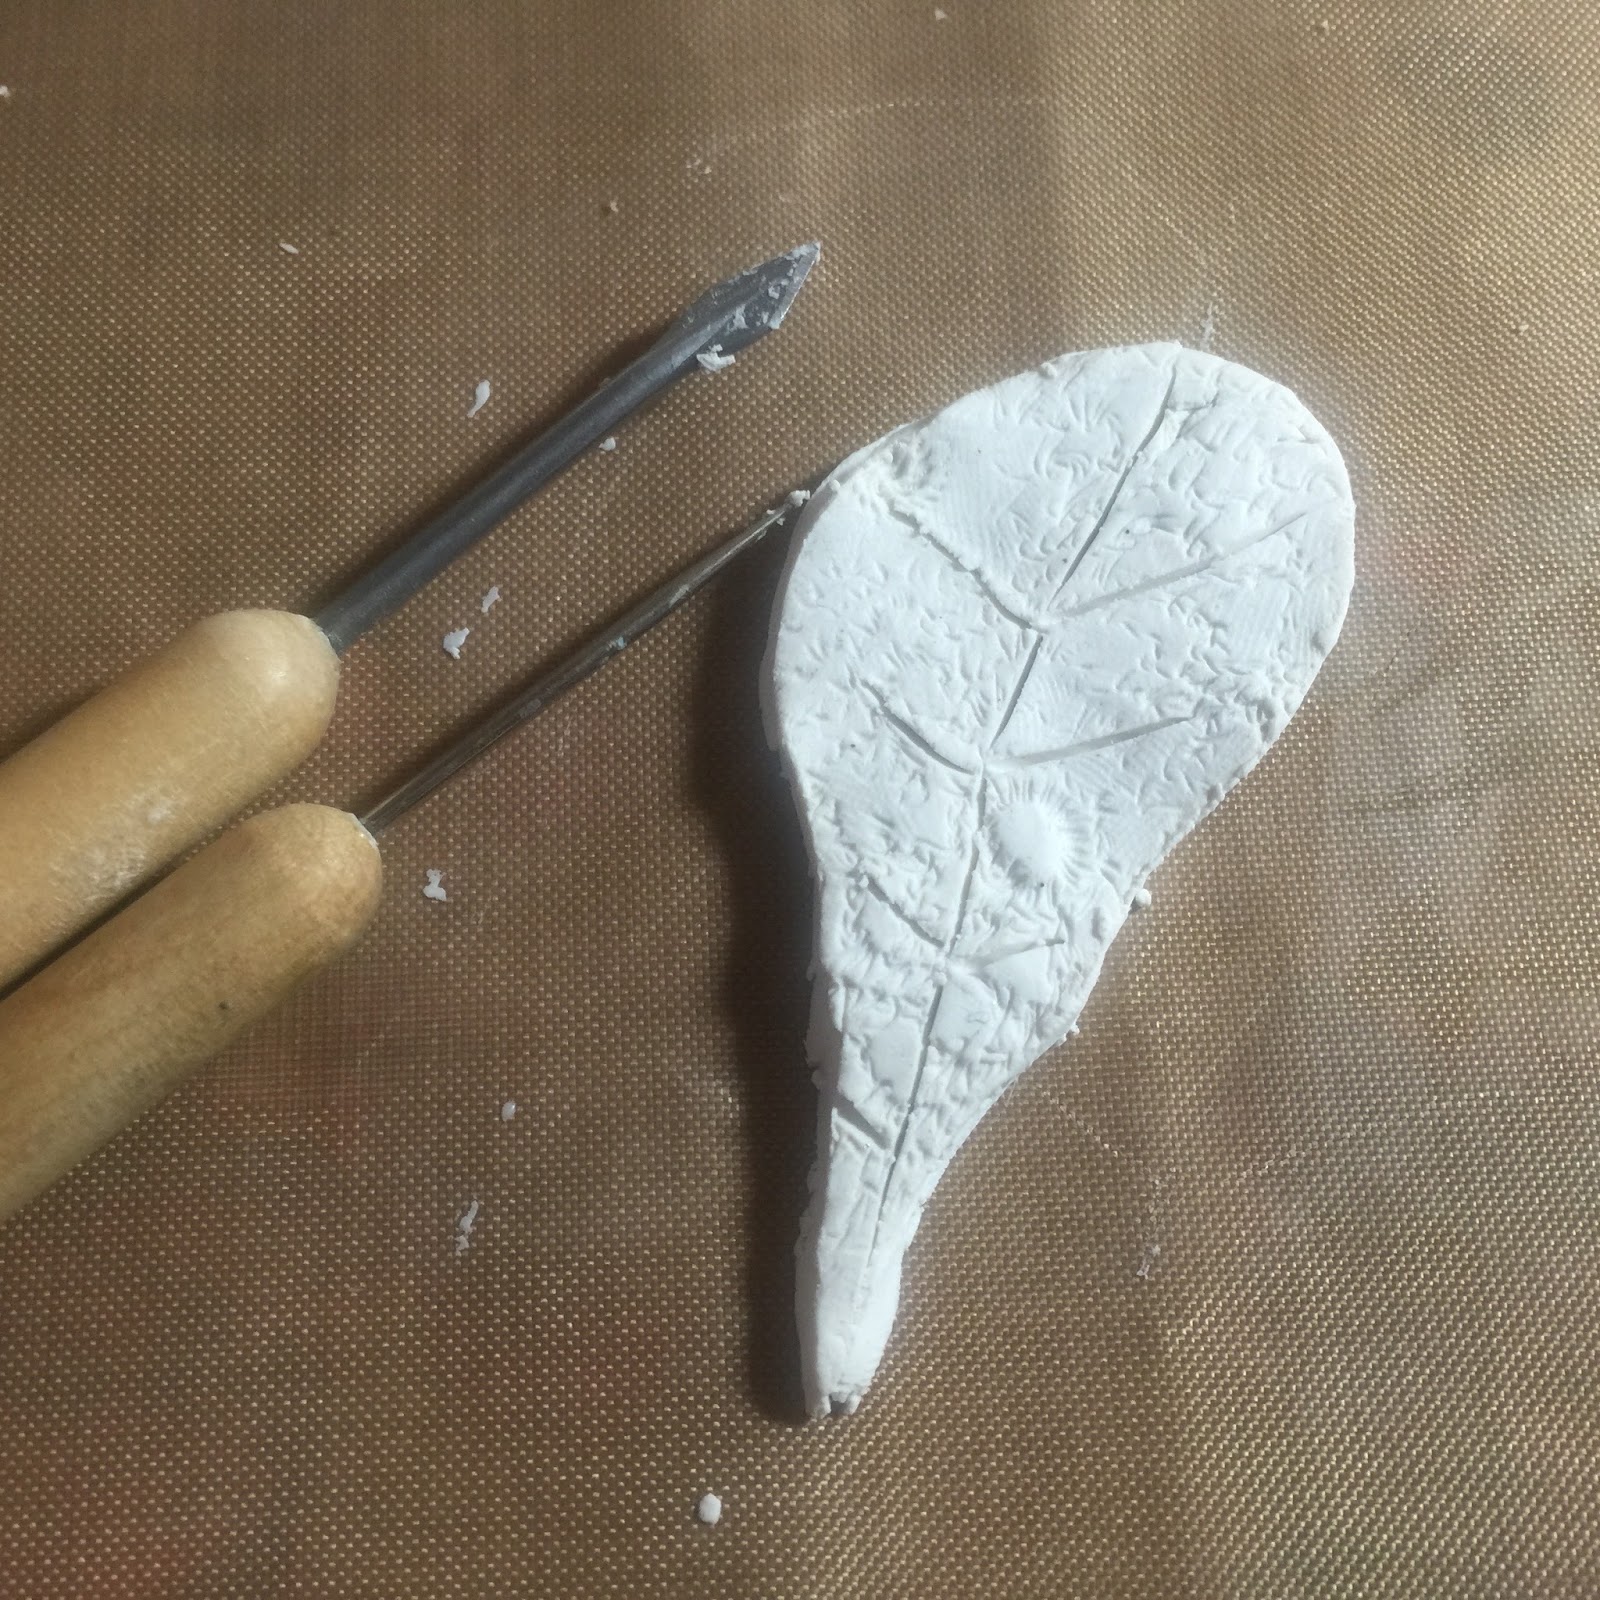
Next I cut out the shapes using clay tools
and made the veins in the leaves.


This is what I ended up with.


Fun textures!


I preheated the oven to 275º and put the clay
in a pie plate. Bake for 15 minutes.


When the leaves were cool to the touch I grabbed my Amazing Mold Putty and created molds for each one. You take equal parts of Part "A" and Part "B" and knead together with your hands, then form around the objects you want to mold.


Next time I'm making individual molds.


You can see it picked up all the texture.


My favorite part was painting in these gorgeous
Alumidust powders in the Autumn colors.


They were so pretty and glistening and I knew
they would turn out amazing!!


So pretty!!


...and then THIS HAPPENED! I'm going to use this a lesson, yes accidents happen and they happen to me a lot but you fix it and move on...

OK – so I had just poured Part "A" of Amazing Casting Resin into that little cup you see on the left. I was attempting to drop in some yellow Alumilite dye. It wasn't coming out so I squeezed harder and the entire cap blew off the top spilling yellow die and resin all over me, the wall and my supplies. :( All that gorgeous painting of the Alumidust ruined, I had to back track and clean it all up. Parts of the molds that got stuff spilled on it were messed up so some of the finer details disappeared. I was so upset but I moved on quickly. Thank God for baby wipes!!! I showed all of this to say that you should use a pin or something to make the hole a bit bigger if you're using the dye, I wouldn't want this to happen to you. Crafting is messy!! OK... moving on.


After I cleaned up my mess, I repainted the molds with the Alumidust, I poured more resin, poked a bigger hole in the red dye and mixed up Part "A" of Amazing Casting Resin, then mixed it into Part "B". CLICK HERE to view mixing/preparation.


Poured resin into the molds ... let it cure.


Taken out of the molds. It wasn't as bright as I had hoped because of the accident above, so I pulled out some acrylic craft paints and made it pop a bit more letting some of the shimmer still show from the dust.


After painting.


Next I took this StazOn ink pad and rubbed the leaves
onto it to help bring out the texture a bit more.


Makes some fun patterns.


I added on sticky back magnets which I will be taking off.
I need to glue a stronger magnet on for these.


I figured this saying was appropriate for the kind of day I'd been having. This chalkboard is about 8 ft. tall and in my foyer. See the leaves on there?


They are super pretty! All in all I'm pretty
happy with the way they turned out.


What are you thankful for? 
I'm thankful I got all the yellow dye off of me!! :)

Let's see what you can mold using clay

Feel free to stop by my FB page to see the latest with me.
To see more of my work please visit my new blog "Life Glitter Makeup"
and also at the Aimée Wheaton Art and Design website.

Till next time! Xoxo Aimée

• • • • • • • • • • • • • •

Don't forget to subscribe to our blog on the right side bar:
Twitter at AmazingCasting | Facebook at AmazingMoldPutty | YouTube at AmazingMoldPutty
Related Posts Plugin for WordPress, Blogger...