Showing posts with label Blue. Show all posts

Tuesday, July 4

#Cre8time Celebrations... DIY Patriotic Planter by Brenda Burfeind


Happy 4th of July! Brenda from Creativity is a State of Mind to share what has become my annual 4th of July project. It's not just Independence Day, it's my husband's birthday also – and every year on the 4th, we have a big party and celebrate with lots of games, good food and of course fireworks. 


I try to decorate as much as possible, but this year time got a little away from me... but I did manage to make some planters representing my love for the red, white and blue. Last year I created an amazing Patriotic wind chime using Amazing Clear Cast Resin – you can see it by CLICKING HERE


Using the same method as last year's resin paper stars, I created these stars. When cured, I layered one of each color on top of a coordinating piece of ribbon to embellish some simple silver vases. 

How do you show your Cre8time colors?

Wishing everyone a happy and safe 4th of July. I hope you enjoy your 4th and thank you for stopping by. I hope you've enjoyed my project for today! I invite you to stop over to my blog, Creativity is a State of Mind to see all that I've been making. 

Until next time, Happy Crafting! ~ Brenda

• • • • • • • • • • • • • • • • •

Don't forget to subscribe to our blog on the right side bar:
Twitter at AmazingCasting | Facebook at AmazingMoldPutty | YouTube at AmazingMoldPutty

Thursday, December 22

A #Cre8time Rain Dance... AMAZING DIY Light Sculpture by Lara Hjorthoy


Hi Friends! It's Lara here to share my latest creation. Well this little how-to project has proven to be quite the undertaking!

I'm so thrilled to get to share with you what all the fuss has been! If you've been following me on Instagram and/or Facebook, you know I've had a project in the works for a few weeks... and I'm finally able to unveil it!!!

So without further ado...
a Rain Dance!


So I've been inspired as of late, by our nearly apocalyptic amount of rain that Vancouver has treated us to since the beginning of October! On last count, I think we had three days of sun... and every other day has been rain! 

But unlike a lot of people, I don't mind the rain... and with Amazing Casting Products, I made the rain even MORE beautiful! 


Using Super Sculpey, I first sculpted four orginal "raindrop" shapes in different sizes! Then using Amazing Mold Putty, I molded the raindrops twice – to get a series of eight "drops" that could be cast at once! The Mold Putty is so easy to use and it sets up so quickly... I was able to get all the molds made within a couple of hours! 

Next with Amazing Clear Cast Resin, I mixed a batch of resin, using Alumilite Blue Dye and made my first set of blue raindrops! These took up to 2 days to cure, as it became suddenly very cold here in Vancouver. So I let them set to cure fully for 2 days – then over the next few days, made two more batches of raindrops, using smaller and smaller amounts of Alumilite Blue Dye in the resin mixture. That way, there is a variety of shades to play with when I constructing my project!


After all the drops were completed, Hubby and I spent an evening drilling holes into the top of each drop with a Dremel tool. We wet sanded the heck out of them too... to make them suuuuuper smooth to the touch!


Once they were smooth, I let them dry overnight. I took them outside on a cold winter day and sprayed the heck out of them with Krylon Triple Thick Clear Coat. That gave them this beautiful wet-like look! It was love!


Then began the slow and long construction process. For this, I gathered a foam wreath form from a dollar store and a set of LED lights (that were supposed to flicker), then wrapped the wreath with the lights and some wire – so that I had a "skeleton" of sorts to use for tying later. Then I formed some fluffy cotton stuffing around the wreath, to make my CLOUD! 


Then I began stringing the drops with silver elastic cord and added small beads for decoration. This took a couple of days to complete... a bit hard on the back! LOL!


But finally, I used an old frilly ribbon to hang
the cloud from... and presto! It's COMPLETED!


Think how pretty something like this would be... GLOWING in YOUR home! Sure makes the rain something I actually want to being into my home! 


What light feature could 
you make for your home?

Hope you enjoyed this tutorial as much as I enjoyed making it for you! 

Stay Inspired Friends! ~ Lara

Check out my website at www.larahjorthoy.com and YourToyCreation.etsy.com. You can follow my day to day creations on Facebook and Instagram, look for YourToy Creations!

• • • • • • • • • • • • • •

Don't forget to subscribe to our blog on the right side bar:
Twitter at AmazingCasting | Facebook at AmazingMoldPutty | YouTube at AmazingMoldPutty

Thursday, September 15

#Cre8time Seaside Dreams... an AMAZING Remelt tutorial by Tracy Alden


Hello! Tracy here with another Amazing Casting Products tutorial! I recently started to change the decor in one of my bathrooms, going with sea life, drift wood and glass themes in shades of blue, white, gray and brown. I noticed that one of the walls was missing a little something. With the help of Amazing Remelt it was easy to mold some of the sea shells and glass bobbles I already had as decorations in the room to create that final decoration!

Supplies: 


Using a plastic lunch tray as my mold box, I carefully placed sea shells and glass marbles on the bottom layer of the tray, making sure none of the pieces reached the top lip of the tray.


I heated the Amazing Remelt in the microwave, in the container it comes in. I poured the heated Remelt into the plastic lunch tray with the shells and glass pieces from a 12 -15 inch distance – the distance gives the Remelt a chance to release more bubbles before cooling. A few of the shells floated, because of trapped air bubbles, all I had to do was push the shells back down with a stir stick and the air bubbles rose to the surface of the still-liquid Remelt.


I let the Amazing Remelt cool until no longer tacky or warm – putting the tray in a refrigerator can speed up this process. Once the mold was cool and no longer tacky, I carefully removed the Remelt from the tray and flexed the mold until the glass pieces popped out.

Some of the Remelt had gone between the glass pieces and shells – requiring me to cut and remove the excess Remelt with sharp crafting scissors. I trimmed the uneven edges and made sure there was no loose or over hanging Remelt.


Using a small cosmetic brush I dusted the inside of the mold with Bright Blue, Ocean Blue, Interferance Blue and Pearl Alumidust


I mixed up a small portion of Amazing Clear Cast Resin, making sure to slowly stir to reduce air bubbles and let it sit for 5 minutes. Using a toothpick, I put a tiny drop of Blue Alumilite Dye into a small mixing cup and poured a portion of the pre-mixed resin in it. I poured un-tinted Amazing Clear Cast Resin in the mold and used a toothpick to drop in small portions of blue tinted resin in different areas to create visual contrast.


Once Amazing Clear Cast Resin was cured I carefully removed it from the Amazing Remelt mold and trimmed any uneven edges.


Using a plain gesso covered canvas I applied Viva Decor Inka Gold Metalic Rub, Silver and StazOn Blue Hawaii Ink with a Cosmetic Sponge.


I glued on the casted resin piece to the canvas with Beacon Gem-Tac Adhesive and let dry. I added some Liquitex Gloss Varnish over and around the edges of the resin and sprinkled on Stampendous Crystal Snow White Glitter.


With as easy as I found this to do I am now looking at what other decor items I can create with Amazing Remelt!

What AMAZING arts and crafts can you create?

Please share them on the user GALLERY on the Amazing Crafting Products Website!

Visit my blog Art Resurrected for more craft tutorials!

Until next time, safe travels! ~ Tracy

• • • • • • • • • • • • • • • • •

Don't forget to subscribe to our blog on the right side bar:
Twitter at AmazingCasting | Facebook at AmazingMoldPutty | YouTube at AmazingMoldPutty

Monday, August 29

#Cre8time Keepsakes... Memory Inspired Collage from Trinkets by Aimée Wheaton


What is this? 

It started with a broken mug my mom had saved... believe it or not. This was a simple keepsake project using three products and trinkets I had around the house.


My mom LOVED blue and white dishes and saved
even her broken ones to use in mosaic art.


This was from a mug and makes a perfect niche.


The focal point was a pin she bought me at Express back in the 90's and it was a favorite. We had "Fleur de Lis" all over our home due to our French heritage. I loved it so much I had to mold it before I embedded it in resin. I LOVE Amazing Mold Putty for that reason alone.


I mixed some Amazing Casting Resin and threw in the trinkets!
Wait for the magic!


I swirled around a drop of blue dye as well. As the resin cures, it turns opaque.


Ooey gooey goodness! Love how RICH this looks!


From different angles...


This keepsake project came together quickly. I like how it is free-form and very different – it would make a great conversation starter. Hope you enjoyed this and see how easy it is to save pieces to use in resin work.

Do you save things to create with?

Feel free to stop by my FB page to see the latest with me.

To see more of my work please visit my new blog "Life Glitter Makeup"
and also at the Aimée Wheaton Art and Design website.

Till next time! Xoxo Aimée

• • • • • • • • • • • • • • • • •

Don't forget to subscribe to our blog on the right side bar:
Twitter at AmazingCasting | Facebook at AmazingMoldPutty | YouTube at AmazingMoldPutty

Tuesday, May 27

If You Give an Artist Some Sunshine...
AMAZING Inspiration with Rachel Whetzel

Hello, Creatives!! Rachel Whetzel, here, with a little vintage patriotic fun! I'm sure I'm not the only artist whose inspiration sometimes comes in an A.D.D. kind of mind stream. The kind that resembles the book If You Give a Moose a Muffin. For me it goes like this: The sun starts to come out, the fire pits gets it's first fire of the season, and I start thinking about Summer. Thinking about Summer makes me start to think about BBQ's. Thinking about BBQ's gets me thinking about my garden. Thinking about my garden gets me thinking about fresh fruit. Thinking about fresh fruit makes me start planning which one's I'll pick, like blueberries and strawberries. I like to dip them in whipped cream. Thinking about eating strawberries and blueberries dipped in whipped cream gets me all red white and blue, which reminds me of the 4th of July. Thinking about the 4th of July reminds me of BBQ's, and I decide I might make invitations to a BBQ on the 4th this year... and so I begin. 

I have a vintage pin that says U.S. on it,
and that's where I jumped off for this project. 


After molding the pin, I used Amazing Casting Resin with Bronze and Gold Metallic Powders to create the metal finish of the pin! I also had some vintage red white and blue crepe paper streamer that I used to back the pin.


Here's the finished invitation!! I really love the way these turned out, and how simple and easy it was to create them! I think I might use these pieces to create some patriotic banners too! I especially love that my "I-only-have-one" piece has now turned into an "I-have-as-many-as-I-want!" piece, thanks to Amazing Crafting Products


Now tell the truth... Am I the only
person whose muse takes them 
on this twisted path to creation!? 

Thank you for reading! Want to see more of what I'm up to?
Visit me on PINTEREST and INSTAGRAM, or like MY PAGE on Facebook!
Thanks for stopping by! ~ rachel

• • • • • • • • • • • • • •

Don't forget to subscribe to our blog on the right side bar:
Twitter at AmazingCrafting | Facebook at AmazingMoldPutty | YouTube at AmazingMoldPutty

Monday, January 20

Mold Rubber Monday brings an AMAZING Art Journal Cover by Rachel Whetzel


Hello, gang!! Remember the vintage books I shared with you last year? I finally had the chance to mold one of them, and create a totally unique and pretty-cool-if-I-do-say-so-myself-and-I-do-say-so-myself, Art Journal for this coming year at The Precinct (AKA A Year in the Life of An Art Journal).

To create one of your OWN journals...

Here's what you'll need:
  • A really cool, old book that you don't mind the possibility of ruining. (I'll share more about that later) 
  • A shallow tray of some sort for casting in. 
  • Amazing Mold Rubber
  • Amazing Clear Cast Resin
  • Blue Alumilite Dye
  • Krylon Matte Finish Artist' Spray Paint
  • Acrylic Paints 
  • All the bits and bobbles, ephemera, etc. that you want to decorate your cover with. (I'll leave that up to you) 

Let's get started!! 
Click any of the images here to view them larger.

This art journal began with the idea I had to use Amazing Mold Rubber to cast a mold of some of my favorite vintage books with cool textures and embossing on them. For this project, I chose my Women's Institute Library of Cookery book from my bunch. It's 5 and 1/2 inches by 9 inches, and a nice middle of the road size for an art journal.

To get the book ready for casting, I took the cover apart, keeping the front and back. I sealed them using matte finish clear spray paint. 


You can see a bit of the embossing on the cover in the photo above. This step alone "wrecked" my book cover, because the paint dried slightly opaque. When I say to use a book you don't mind losing the original of, I really mean it.

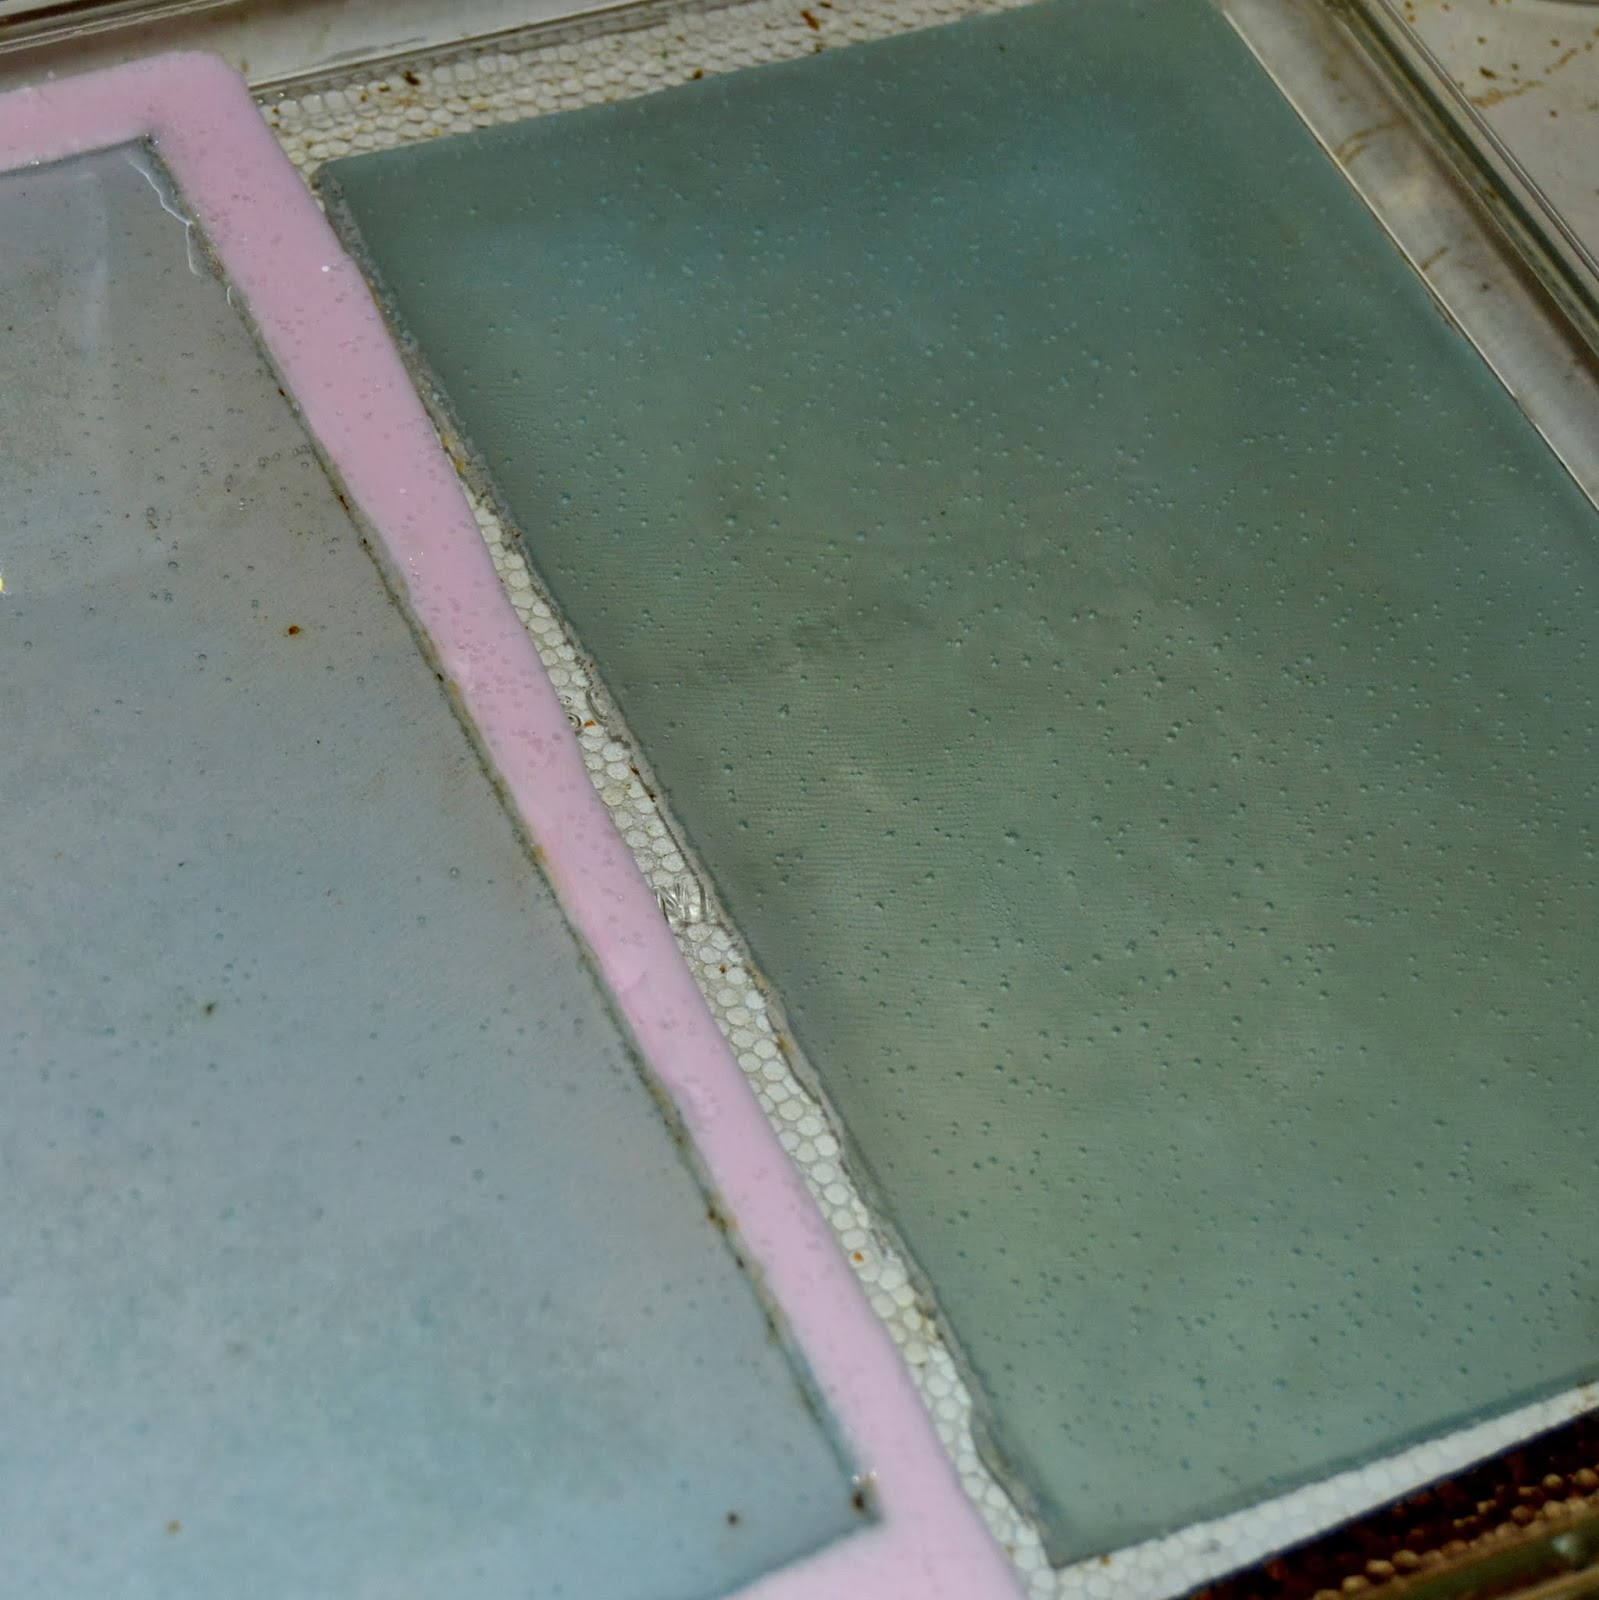
Once the paint was dry, I mixed and poured Amazing Mold Rubber into a glass tray I had purchased for this job. GO HERE for video instructions on mixing and pouring Amazing Mold Rubber. In hind sight, I would have used a mold release on both my book cover AND my tray, because I ended up nearly losing the entire project when the mold rubber took too well to both pieces. I don't know why I didn't do that in the first place!! Alumilite has a Mold Release, and I have it in my stash! You can also use Vaseline as a release agent. I would have used it on my tray to help the mold rubber release from it. Lay your cover face down in the mold rubber, and press it in. I didn't use an anchor for my pieces, because items will naturally float to the surface of Amazing Mold Rubber. I kept an eye on my cover and kept pressing the pieces down every once in a while to ensure they were in the rubber deep enough. Once the Amazing Mold Rubber started to cure and set up, I didn't have to press them in any more.


It took some considerable doing, once the rubber set, to pull my book cover out of the mold. This is why I mention using a book you don't mind chancing getting ruined. As I mentioned above, I also had a tough time getting the Amazing Mold Rubber to release from the glass. Again, something I would fix with a release agent in the future. For this project, I managed to get things out by cutting the mold in half, and using a LOT of elbow grease!! Be careful, though! I did rip my mold a bit. Thankfully, when you press the mold back into it's tray to pour, seams like that seal back up for the pour.

I had ideas that my cover was going to look like ice, so to get an icy look, I used just a DOT of Blue Alumilite Dye in my Amazing Clear Cast Resin before I poured it into the mold. I used a toothpick, dipped into the tip of the dye bottle, and used that dye to tint the Clear Cast Resin. Here's a view of the resin and mold mid removal once everything had cured.


I got busy decorating the cover of my art journal using glitter on the edges, and pieces of ephemera all around on it. My word for the year is FOCUS... so I used the clear surface of the journal to add dimension by putting ephemera in layers on top AND behind the resin, giving the eye LOTS of places to focus! (What can I say... it's the details, people. Details like that make me REALLY happy.) I used some acrylic paints and wiped some of it off to draw out the texture of the original book, and help the embossed part of the cover show well. It was tricky to photograph it! (check out the reflection of the sun off the glitter at the top of the pic!)


In keeping with the Kitchy feel of the 30's and 40's from the original book, I used some old Blue Chip and True Value stamps, some vintage pom pom trim, crepe paper, seam binding ribbon and measuring tape Washi. 


I used ephemera from Gauche Alchemy to create pages to fill the inside of my journal! I also used some punchinella from the store to stencil on some of my pages, as well as on the cover. You can GO HERE to see more of those pages!


So, even though this project had a bit of trail and error in it, I managed to get a finished piece that I LOVE, and could make more of!! I'm using this journal for my year long art journal and photography project THE PRECINCT. You can see how I'll be using it in the prompts HERE!


What unique and funky items have you dreamed
of using Amazing Crafting Products to create?

What are you waiting for!?

Please share your projects in the comments below! If you create something inspired by my idea, please leave a comment with a link here, so I can come and visit to see! I would love for you to visit me at my "house" too!! Thank you so much for reading!! ~rachel

........................................... 

Don't miss a single post!
Please subscribe to our blog via Networked Blogs,
bloglovin' or email on the right side bar:
Twitter at @AmazingCrafting | Facebook at AmazingMoldPutty | YouTube at AmazingMoldPutty
Related Posts Plugin for WordPress, Blogger...