
Scale Fender-Flares (Split molding)
by: Lonnie Sexton
This is a tutorial on molding and casting miniature/scale
Wheel Fender Flares. I made these for a 1/10th scale remote
control replica. They are molded to fit the
Ford F550 body and ER Shell. More details on the entire build and the
end of this post.
Parts/Tools:
Amazing Mold Putty - Link
Amazing Casting Resin - LinkMixing Cup - Link
Mixing Stick – Link
Mold Release
Poster Board
Styrene Sheets .30” think - LinkGreen Putty - Link
MEK – Styrene Bonder - Link
Masking Tape
Wood / Styrene Rods (dowels) ¼” dia.
Digital Scale – Link
Hot Glue Gun
2-part quick set epoxyHot Glue Gun
Box Knife (razor for cutting poster board)
Xacto Knife
Ruler
Sharpie
Vacuum Chamber (DYI Vacuum Chamber coming soon!)
Steps:
- Create Primary Object
- Prepare the Part for molding
- Make the mold box
- Prep for Bottom ½
- Press Bottom Half – wait for cure
- Apply Mold Release and Press Top Half –wait for cure
- Casting and Vacuum
- Sand and Paint
Creating the primary object
The primary can be made out of just about any material. The
Earth Roamers were made from Styrene sheets cut into a “rib-cage” and filled
with epoxy putty.


Primary Objects Left/Right

Preparing the part for molding
Sand the part and coat with 2-part epoxy. You don’t have to
use epoxy, but I wanted a smooth finish on the part. Depending on the texture you
can use different materials (wood, metal, etc).
Make the mold box
The basic rule to a mold box is it should be 2x the height
of your part and .25 - .50” wall around the edges. Lay the primary down on a piece of poster board. Mark and
Measure the size of the base. Cut out the parts and Hot Glue the Mold Box
together. You can use duct tape or packing tape to hold the box together. I
prefer hot glue.


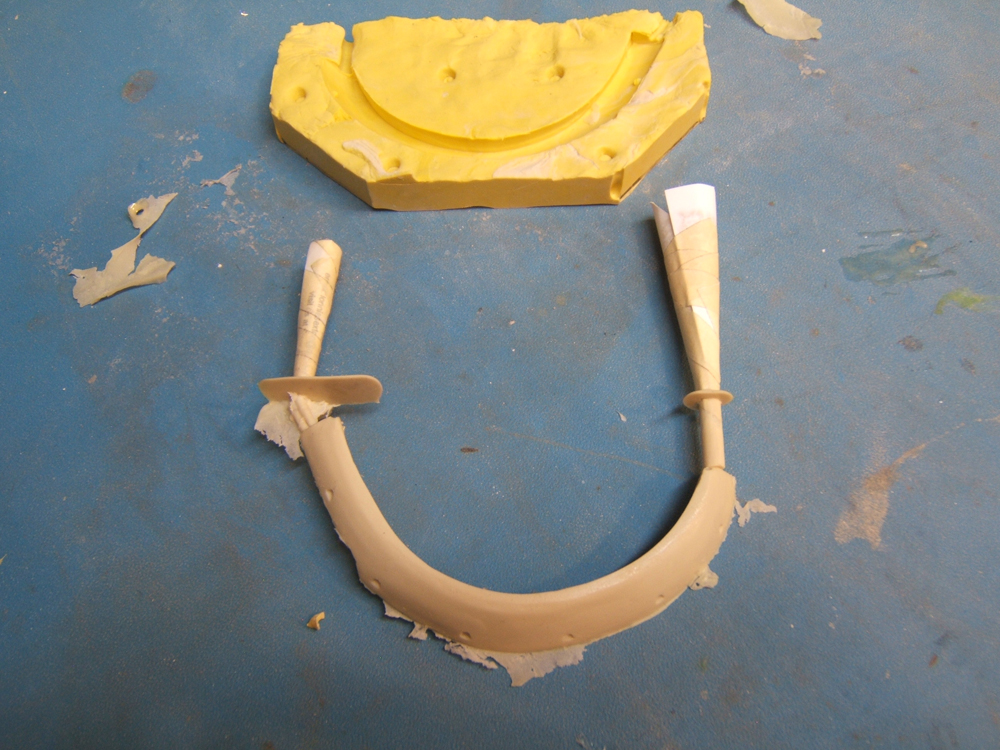
Prep for Bottom ½
The Styrene or wood dowels are used to create the casting
resin and air inlets. They will be pressed into the AMP between the wall of the
box and primary object. Place the primary in the box, measure and cut the
dowels. Set aside.
Pressing the Bottom ½
Weight and mix the proper amount of AMP part A and B. It’s
important to get them equal. A digital scale is useful. Press the AMP into the box and flatten it out as best as
possible. Align the Part in the box where your pre-cut inlets will fit
and press the part firmly into the box. Press the Inlets into place and Finesse
the AMP around the edges of the primary. Try to avoid and overlapping of the
part. If needed only press the primary partially into the bottom ½ to avoid
unwanted undercuts. I always press alignment dimples into the corners so the half’s
line up better. Let the AMP cure.

Apply Mold Release and Press Top Half
After the bottom is cured, lightly mist the amp and part
with mold release.
Mix the AMP and Press it into the top of the box. Working it
down into any edges to avoid air pockets and finesse is flat. Scratch a part
name or number if you wish.

De-molding and Mold Finishing
Separate the mold carefully. Remove the primary object and
trim the inlets.

Casting and Vacuum
Secure the mold together with rubber tough rubber bands.
Make inlet funnels with some paper of old business cards (crafting tip:
business cards make great crafting disposables. Funnels, mixing, spreading
filler, etc.) Mix the Casting parts per instructions and pour into the
larger funnel until you see it pop out the smaller funnel. Make sure there is
enough casting material in the funnel to filler the space the air bubbles take
up. Place in Vacuum chamber, pull a vacuum for aprox 10-15 sec,
then release vacuum pressure and let the part cure.


Sand and Paint


Amazing Install!


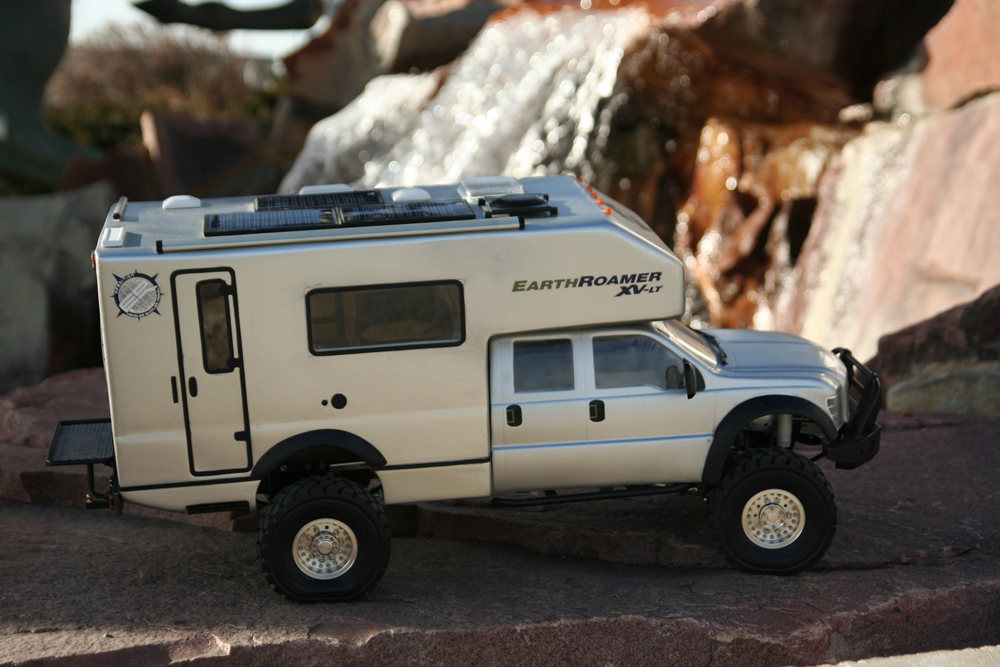

AMP really came through for me on this project. When all the
other attempts to make these flares failed, AMP saved a 5 year project. These
parts were the last thing I created and installed on the Earth Roamer.
I thought it was fitting to post this as my first project on the new AMP Creative Team.
If you want to see the entire 5 year build unfold part for
part, visit the forums on; Link
Scale 4x4rc.org - I’ve been told it takes about 3 hours to
go through the entire build page for page.
Enjoy!
Please come back and join us for more exciting projects and tutorials.
Coming soon;
*Miniature Brake Light Covers
*DYI Vacuum Chamber
*Styrene Ninja - Road to Plastic Master
Enjoy!
Please come back and join us for more exciting projects and tutorials.
Coming soon;
*Miniature Brake Light Covers
*DYI Vacuum Chamber
*Styrene Ninja - Road to Plastic Master

FANTASTIC !!!
ReplyDelete