Showing posts with label shells. Show all posts

Monday, June 27

#Cre8time Beachcombing... Preserve Seaside Keepsakes in Miniature Tide Pools by Lara Hjorthoy

Hi Artists! Today's "how-to" is inspired by an artist I ran into recently. He creates these stunning glass and concrete sculptures, where the glass looks like water... just gorgeous! I wanted to try my hand at what resin could do!

So for today, I'm making Personal Tidal Pools!


As a Girl from Vancouver, BC, the West Coast of Canada sports some seriously beautiful beaches, and my goal for these little pools was to capture some of that!

So to start off with I found myself a fairly generic silicone muffin "tin". I got one from a local cooking shop as the ones I found in the thrift store looked a little worse for wear, and I really wanted a smooth cast!

Next, Hubbs and I went to the beach!!! I collected handfuls of dry sand, handfuls of cool rocks, used shells and bits of interesting wood! 


When I got home, and before I went too far, I decided to sculpt some mini starfish and barnacles out of Sculpey, and then mold those with Amazing Mold Putty! Since they were so tiny, I just pressed the putty out wide and flat and in no time I had a great mold! Later I cast all these guys using Amazing Casting Resin and some glow in the dark powder!

I think it's important to explain the mistakes that happened – I would hate for anyone to think I hit pay dirt right off the bat!

So what I did, was mix up some of the sand I collected with acrylic polymer medium, and THAT I wouldn't do again. Main reason? I don't think the medium was a strong enough bond with the sand and eventually the resin, so it got flaky and fell apart in the end. ALSO, I didn't leave this step long enough -or- it might have been that my rocks were not completely dried out inside which may have introduced moisture back into the sand. Next time, if I go the sand route again, I will try something different. So even though my resin eventually set super fast, the sand didn't, which was the contributing factor to the whole, falling apart thing.

Anywho... I WAS successful eventually, so bare with me!


***here is a pic of the rocks, laid into the sand in the mold.***


I did let this stage set for 24 hours and when I touched the top it appeared hard and set, so I went ahead a mixed up the Amazing Clear Cast Resin. I wanted a slight tint to the resin, as I thought it might be a cooler look then simply just clear, and here is my second mistake! Using a drop of blue and two drops of fluorescent green into my resin part "A", the dye was SOOOO DARK!!!


Alumilite dyes are so powerful and such a very very little is actually needed! Lesson learned, so the top three in photo are the super dark dye, they didn't work – unless I was going for a tide pool at night. The two up front used the last of the dye in the container and I didn't add any more to it. It was a lovely light blue. Those were mostly successful!

After letting them set for another 24 hours, I finally removed them from the mold. The resin popped out beautifully. However the sand didn't set properly in these and kind of fell apart a bit. Bit of a bummer but left me thinking....

So my last try, I skipped the sand, used some flatter rocks to create a "bed" in the bottom of one mold, added some nice shaped and interesting colored rocks, some bits of wood, my glow in the dark casts of starfish and barnacles. Made sure when I poured the resin this time, I used a teeeeeeensy tiny amount of dye and poured.


After a day, here is the final result! A successful Personal Tide Pool – and it glows in the dark... so cool!!! The back two pictured are the not super successful ones from my first try. But they weren't terrible either, so they deserved a look!


Here is my final Tidal Pool – 
the one I would like to keep on making! 


How do you create a water effect?

I hope you enjoyed this How-To! Have a great week Friends.
Stay Inspired ~ Lara

Check out my website at www.larahjorthoy.com and YourToyCreation.etsy.com. You can follow my day to day creations at Facebook and Instagram, look for YourToy Creations!

• • • • • • • • • • • • • •

Don't forget to subscribe to our blog on the right side bar:
Twitter at AmazingCasting | Facebook at AmazingMoldPutty | YouTube at AmazingMoldPutty

Thursday, June 2

Bring a #Cre8time Touch of Summer Indoors...
by Susan M. Brown {sbartist}


Hello Amazing Crafters and welcome to June – where did the previous 5 months go?!! Susan here with some summertime Cre8time inspiration. I wanted to make a wreath using one of the Smoothfoam™ Ruled Wreaths to bring some of the beach indoors {since I do live in SoFL}... so with the wreathform, some natural twine and raffia I've combined the two to create a beautiful dreamcatcher.


My dreamcatcher has taken on a weathered beachy feel, so it is only natural to add a special piece in the center of the weaving... an Amazing Clear Cast Resin cast crowned starfish that was molded in Amazing Mold Putty. I love the sea-glass look and feel the clear cast resin piece has. I did come back and brush a bit of clear cast to the tips of each arm to give a glossy shimmer. A rub with some inks in pink and gold, then buffed away and this starfish is ready to add to my piece.

CLICK HERE to jump over to see tutorial and full reveal...

How do you decorate for the summer?

Please leave a comment below to share! If you would like to see more of my creations, please visit my blog sbartist : painting in the dark by clicking here. ~ Susan
. . . . . . . . . . . . . .

Want to Socialize with Amazing Casting Products?
Twitter at @AmazingCasting | Facebook at AmazingMoldPutty | YouTube at AmazingMoldPutty

Thursday, August 27

#Cre8time for #DIY Artsy Frames... by Maria Soto


Hi there, this is Maria and today I want to share a post about framing. I have a lot of sketchbooks. I've been painting a lot lately and was wondering what to do with all these works. My son is going to sell his art for the first time at an art show next month and asked me to share the table with him. He suggested I sell the art pieces I've been working on for the last couple of months. 

I decided to share the table with him and was wondering how I would frame the smaller pieces. After a lot of thinking it came to me... I would make my own frames using the Amazing Mold Putty and the Amazing Casting Resin.

I went to the dollar store to get some house cleaning supplies and found a few frames to use for the small art pieces. I thought I would first try and make a frame using Amazing Mold Putty – and maybe use the putty to add some designs to the frame to make it different that the one I purchased.


Here is one of the frames I purchased.


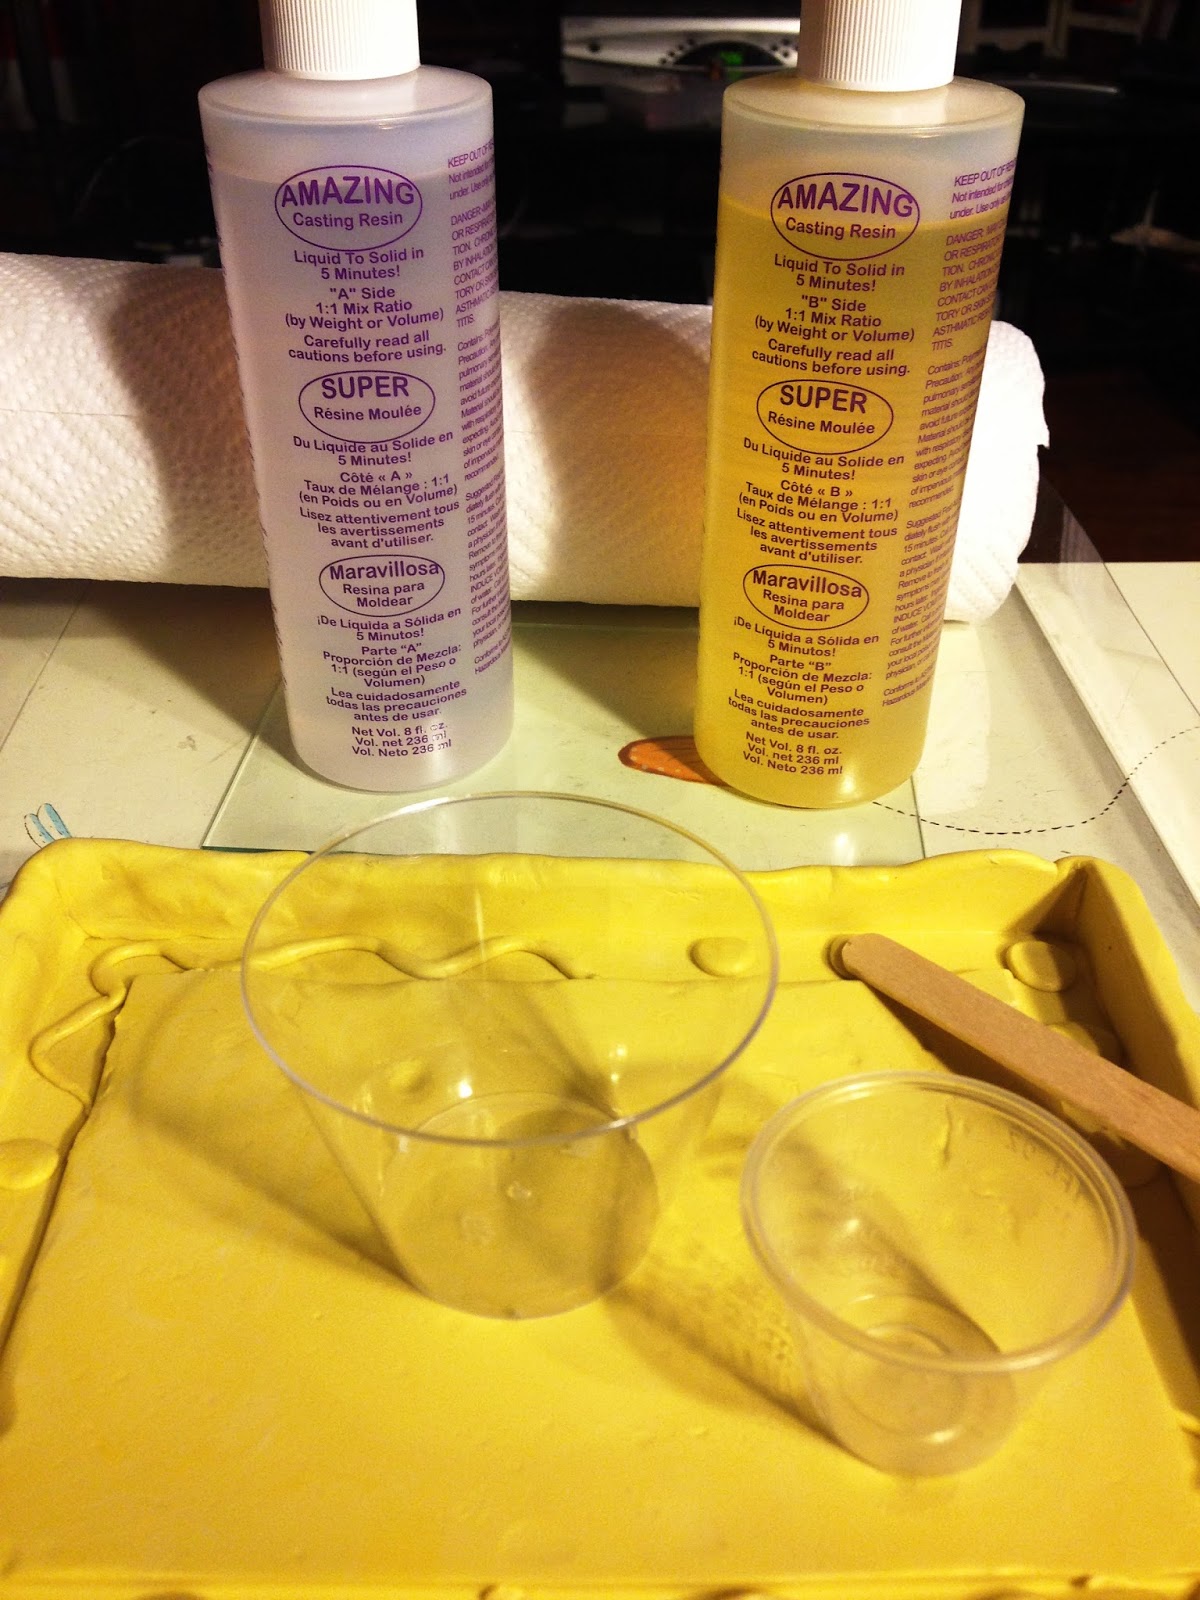
Amazing Mold Putty is so easy to use! You need to take same amounts of part "A" & part "B", mix them well until the white and yellow become a solid yellow color. Since the putty sets fast, you need to make sure your item to mold is ready. For this mold I spread out the putty on a plastic container, and then placed the front of the frame over and pressed into the putty. I waited a few minutes and turned the frame over and folder over the excess putty to wrap it around the frame as you can see in the photos below.


Mixing the Amazing Mold Putty to start making the mold of the frame.
CLICK HERE to view mixing/preparation.


The front and sides of the frame are covered with the mold putty – just waiting a few minutes for the Amazing Mold Putty to fully cure.


Once the mold putty was set, I removed the frame and decided to mix up another batch of mold putty to add some type of design to the frame. I didn't want it to be a solid frame, and I figure it would be fun to make designs. The Amazing Mold Putty will fuse to itself if a mold release agent is not used – so you can build up a large mold, use like clay to make your own shape, or add shapes/layers to create a custom design.


I have my new mold, resin, measuring cup, mixing cup and mixing stick ready – now it's time to add the resin. I used the Amazing Casting Resin to make the first frame casting. No color was added to the resin. I used 2 full measuring cups each of part "A" and part "B"; using equal amounts of each part, otherwise your resin will not cure properly. This resin cures really fast so once you are done mixing, pour it over your mold as soon as it begins to feel warm. The photos below show the process. 


Part "A" & Part "B" are mixed and ready to pour into the mold.
CLICK HERE to view mixing/preparation. 


Here you can see how the Amazing Casting Resin starts out clear – then as the resin is starting to set it turns solid white. When fully cured it's pretty flexible for a few minutes. The heat of your environment affects how long it will take for the resin to become solid {so it could be faster or a few minutes longer}. It's pretty cool here in Indiana this week, and it took about 10 minutes for my resin frame to cure.


Here is the Amazing Casting Resin frame – just removed from the mold and is still very soft and flexible. At this time you can carve, cut or make holes for hanging. 


I made two tiny holes on the top of the frame and added string for hanging, you can use wire too. Next step is painting the frame, I used a mixture of acrylic paints, first in gold and silver, then added a bit of blue for contrast. the center of the frame didn't need to be colored but I added color anyway.


I squirt out a mixture of paints to be applied to the entire frame. I love painting my molded items cast in Amazing Casting Resin.


I added blue paint to the outside of the frame. I will use Ranger Glossy Accents to glue my painting directly into the center of the frame.


The completed frame with my art piece glued on...
now it's time to add a bit more interest to the piece.

The frame itself is a work of art!


I used Glossy Accents to glue a few tiny shells on the bottom corner of the painting. This frame is done, and I can't wait to make more frames! I have quite a few more small paintings that need to be framed.

I hope that I have inspired you to find ways to customize your molds, using ready made frames and adding fun texture or designs helped me make my own frame. 

How would you embellish your custom frames?

I hope to have inspired you to look around and see what items you can recycle into something new, something fun with Amazing Casting Products.

Thanks for visiting! I invite you to stop over to my blog, "What is Creativity" at http://chuy-creativity.blogspot.com to see more of my creations. ~ Maria Soto

• • • • • • • • • • • • • • • • •

Don't forget to subscribe to our blog on the right side bar:
Twitter at AmazingCrafting | Facebook at AmazingMoldPutty | YouTube at AmazingMoldPutty

Monday, July 13

#Cre8time Bathroom Renovations... DIY Faucet Decor by Brenda Burfeind


Good day friends and welcome to amother Amazing Mold Rubber Monday. I'm pretty excited to share this project I made with this AMAZING product so let's get started!


My faucet in the bathroom has this plastic insert. I really wasn't sure what it was for or why it's like this, but it sometimes pops out. It even went missing once for awhile. (I'm thinking the grandbabies played with it). Anyway, it's kinda annoying so I wanted to glue it down. When I suggested that to hubby he stopped me immediately...  "It's the cap to HIDE the screw in case you wanted to take your faucet off". Ha, who knew? Well, instead of taking it off, I decided to "decorate" it. 


So I started with popping it out and hot gluing
it into the bottom of a condiment container. 


See the hot glue? Works marvelous.

Amazing Mold Rubber takes a bit longer to set up -vs- Amazing Mold Putty, but for this project it was the better of the choice – as I wanted to capture the shape and detail perfectly.

I mixed up the 2 part Amazing Mold Rubber mixture and poured my mold. You can go HERE and check out a YouTube video showing exactly how to prepare your mixture. My mold set up in about 8 hours. Depending on the temperature and humidity, the curing time can be anywhere from an hour to 24 hours. I usually let my mold set up overnight to make sure it cured completely.


I then used my Amazing Casting Resin mixed with some Alumilite Blue Dye to create my base. You can check out a YouTube video HERE with mixing instructions.


Here you can see the blue duplicate piece -vs- the original piece. You can get a nice clean mold using Amazing Mold Rubber... especially for those ridges to hold the cap into place on the faucet.


My bathroom is blue and has a ocean theme to it, so what better way to embellish this piece? Shells of course. I glued them to the cap with my favorite glue, E6000®. Now to pop the new cap in place.


I love how this turned out!


I'm thinking I will make a few different caps for the seasons also. I do decorate my bathroom for some seasons {ie: christmas, halloween, etc.} and it would be fun to change it to match. I hope you will follow me over at Creativity is a State of Mind and keep a lookout for my next seasonal Faucet Cap!

Did you like my tutorial?
Is this something you would do?

Thanks for stopping by and hope you will leave me a comment telling me what you would embellish your faucet cap with if at all. Until next time ~ Brenda

Visit my blog, Creativity is a State of Mind to see some more of my creations.

• • • • • • • • • • • • • •

Have you always wanted to be part of our team??
We have a call for guest creatives... CLICK HERE for details.
{deadline: July 15, 2015}


• • • • • • • • • • • • • •

Don't forget to subscribe to our blog on the right side bar:
Twitter at AmazingCrafting | Facebook at AmazingMoldPutty | YouTube at AmazingMoldPutty

Thursday, May 7

#Cre8time Beach Adventures and EVERLASTING Sand Dollars... #ACPthrowback Thursday #TBT


Hello Amazing Crafters! Susan here to share some summertime inspiration and revisting my sand dollar created with Amazing Casting Products. Items from nature are my favorite items to mold and cast and living in Florida, magical items from the sea are always catching my eye.

With summer fast approaching, this is the perfect time to keep a lookout for interesting shells and beach findings that are perfect for moldmaking and casting... to have at the ready to make embellishments and parts to use in your mixed media art and jewelry.


The best thing about Amazing Mold Rubber is the precise detail that is captured and my Sand Dollar looks and feels like the real thing! The Amazing Casting Resin takes inks, paints and sprays beautifully from it's white state – but screaming NEON shells would be fun too! Or how about concrete??!


This altered box houses a mini accordion album with vintage stamped images. The mini book accordion folds into a stack and fits nicely in the box. It's all grungy and weathered and looks like it's just washed ashore!

Memories by the Sea...


Nestled atop my altered and recycled cheese box: resin cast sand dollar colored with spray mists and antique gold ink; recycled section of envelope with international postage; a recycled dry cleaning tag; section of cheesecloth; raffia stands; and some real mini seashells to complete the vintage beach feel.

What would you mold and transform
from your summer vacation?

Please leave a comment below to share your ideas -or- please, ask us questions! If you would like to see more of my creations, please visit my blog sbartist : painting in the dark by clicking here -or- check out more videos on my YouTube channel here. ~ Susan

Thanks for stopping by and have a creative day!


• • • • • • • • • • • • • •

Share Your Creations with us
on Social Media to be Featured on
#ACPthrowback Third Thursday

May 21st is another THIRD THURSDAY... this is your chance to be featured. Post your creations to our Facebook page, Pinterest, and on Twitter! We'll be on the hunt for your projects with the hashtag #ACPThrowBack, (you can even go back into your past pins and add this pin to help us find you!) and share ALL your projects using the hashtag #AmazingCastingProducts!!

• • • • • • • • • • • • • •

Don't forget to subscribe to our blog on the right side bar:
Twitter at AmazingCrafting | Facebook at AmazingMoldPutty | YouTube at AmazingMoldPutty

Monday, September 16

GOING CRABBING!!! DIY Crab Claws with AMAZING Mold Rubber by Rachel Whetzel

Hey, AMAZING CREATIVES!! It's Rachel here, and I am SO THRILLED to be sharing the newest addition to the Amazing Crafting Products line!! 

I recently shared with you all here, my experience trying to use Amazing Mold Putty to mold a crab's claw. It didn't go well, but when Amazing Crafting Products came out with Amazing Mold RUBBER, I realized my chances of success were GOOD. 


Here's a reminder of the difference between molds made with Amazing Mold PUTTY (bottom) and Amazing Mold RUBBER (top).


What you'll need to create YOUR Crab Claw:

• A Crab Claw (I got mine beach combing on the Oregon Coast) 
• Krylon Spray paint 
• Acrylic Craft paints (I use Folk Art)

You can find the complete directions for pouring Amazing Mold Rubber HERE. When I started my mold, I made a frame for it, using foam core board, but when I went to pour the rubber, it was clear my mold was too large. 


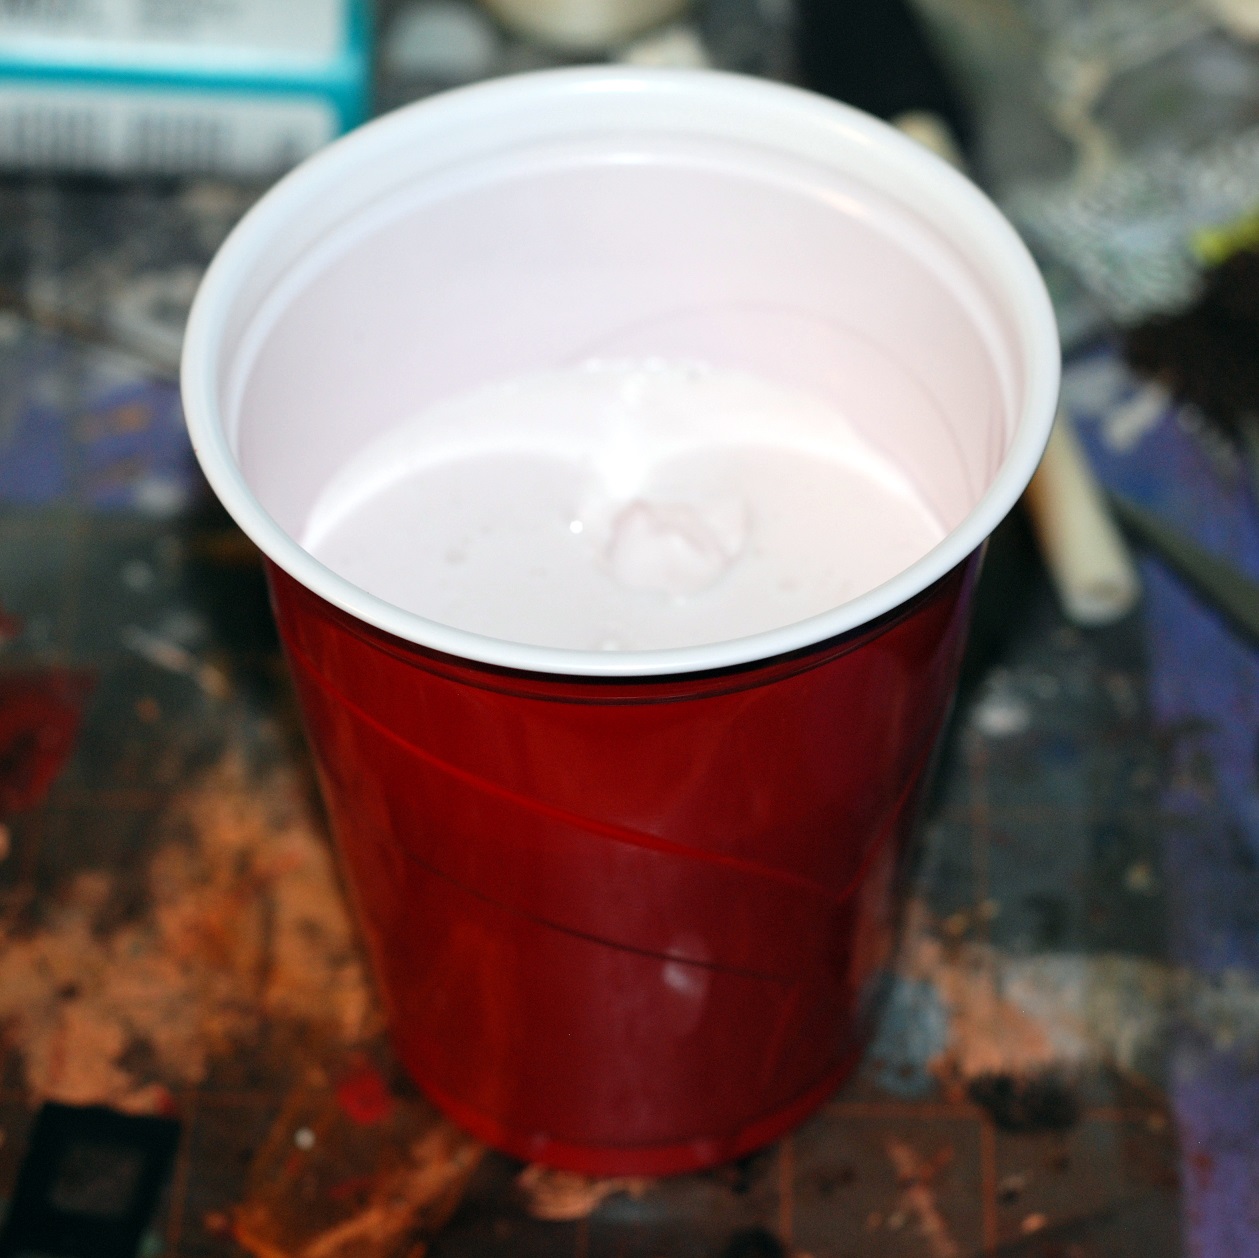
So I quickly switched to a red solo cup! 


Once the mold was set, I realized that even the solo cup was possibly too large, and that I could have made a mold with much thinner distance between the walls, to help with the peeling of the mold. One of the HUGE advantages of Amazing Mold Rubber is the ability to pull and bend it more easily than Amazing Mold Putty. This makes it very easy to pull off the mold from resin without the mold tearing. However, because my walls were so thick, I had to cut the side to get to the claw. That made it easy to get my piece out, and the flexibility of the mold makes the rubber fit back together so well, that I didn't have any seams to deal with on the finished resin piece! 

After the piece was free, I spray painted the claw with a base coat of orange.


Next, I put a coat of cream over the top of the orange. Then I wiped some of it off, and added more, etc. until I had the color pattern I wanted. Then I added some black into the crevices of the piece to add dimension and age to the piece. 


Here's the piece, front and back! 


I am SO thrilled with the options that Amazing Mold Rubber will create for me now! I can't wait to use it to create MORE 3D molds and pieces for my art! 

What ideas does the NEW
Amazing Mold Rubber give YOU?! 

Leave us a comment here, and tells us what you've been inspired to try! 

I would love for you to visit me at my "house" too!! Thank you so much for reading!! ~ rachel

...........................................

Here's your chance to get 20% discount
including the new Amazing Mold Rubber!!!
Use coupon code { celebrate } at

Coupon Expires September 30, 2013.
........................................... 

Don't miss a single post!
Please subscribe to our blog via Newtorked Blogs,
bloglovin' or email on the right side bar:
Twitter at @AmazingCrafting | Facebook at AmazingMoldPutty | YouTube at AmazingMoldPutty

Thursday, May 30

Seaside Inspired Ornaments... AMAZING Inspiration by Michelle Frae Cummings


Hi Everyone, Michelle here to show you some Seaside Inspiration made from Amazing Crafting Products! We decided to keep up our tree from last Christmas because with the lights on, it adds a nice glow to our living room.

I had also always wanted a seaside inspired tree with glittery sea shells and mermaid ornaments!

Now that Summer is here, I decided it was the right time to start decorating and made up these easy ornaments from sea shells and plastic toys. 


Here, you can view how I made the molds and poured the resin. I used the following Amazing Crafting Products for these ornaments: Amazing Mold Putty; Amazing Casting Resin; also Silver and Pearlescent Alumilite Powders.


I simply brushed the powders into the molds before pouring the resin and added a bit of wire before the ornament had set so I would have a instant hook. 


What are you creating for your summer seasonal decor?

Thank you so much for coming by to see my Inspiration. Please feel free to visit my blog for more idea's! ~ Michelle Frae Cummings

.................................
__________________________________________

Don't forget!! We have a COUPON to shop at the Amazing Mold Putty
website HERE and receive 20% OFF your purchase.
Please use coupon code " amazingmay " {no quotations}.
Coupon expires May 31, 2013.
__________________________________________
.................................

Want to SOCIALize? Please join us on our Facebook page or follow
Related Posts Plugin for WordPress, Blogger...