

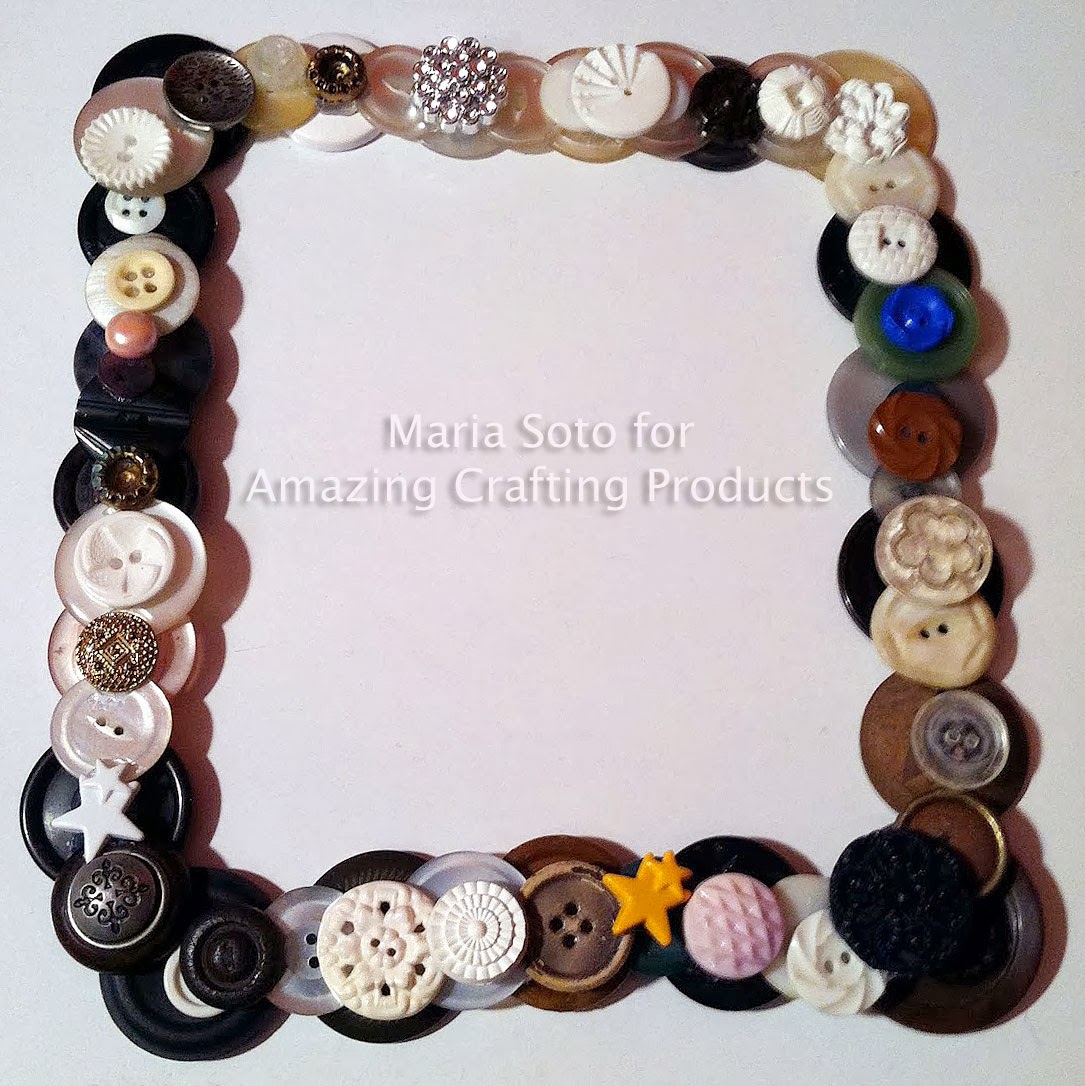
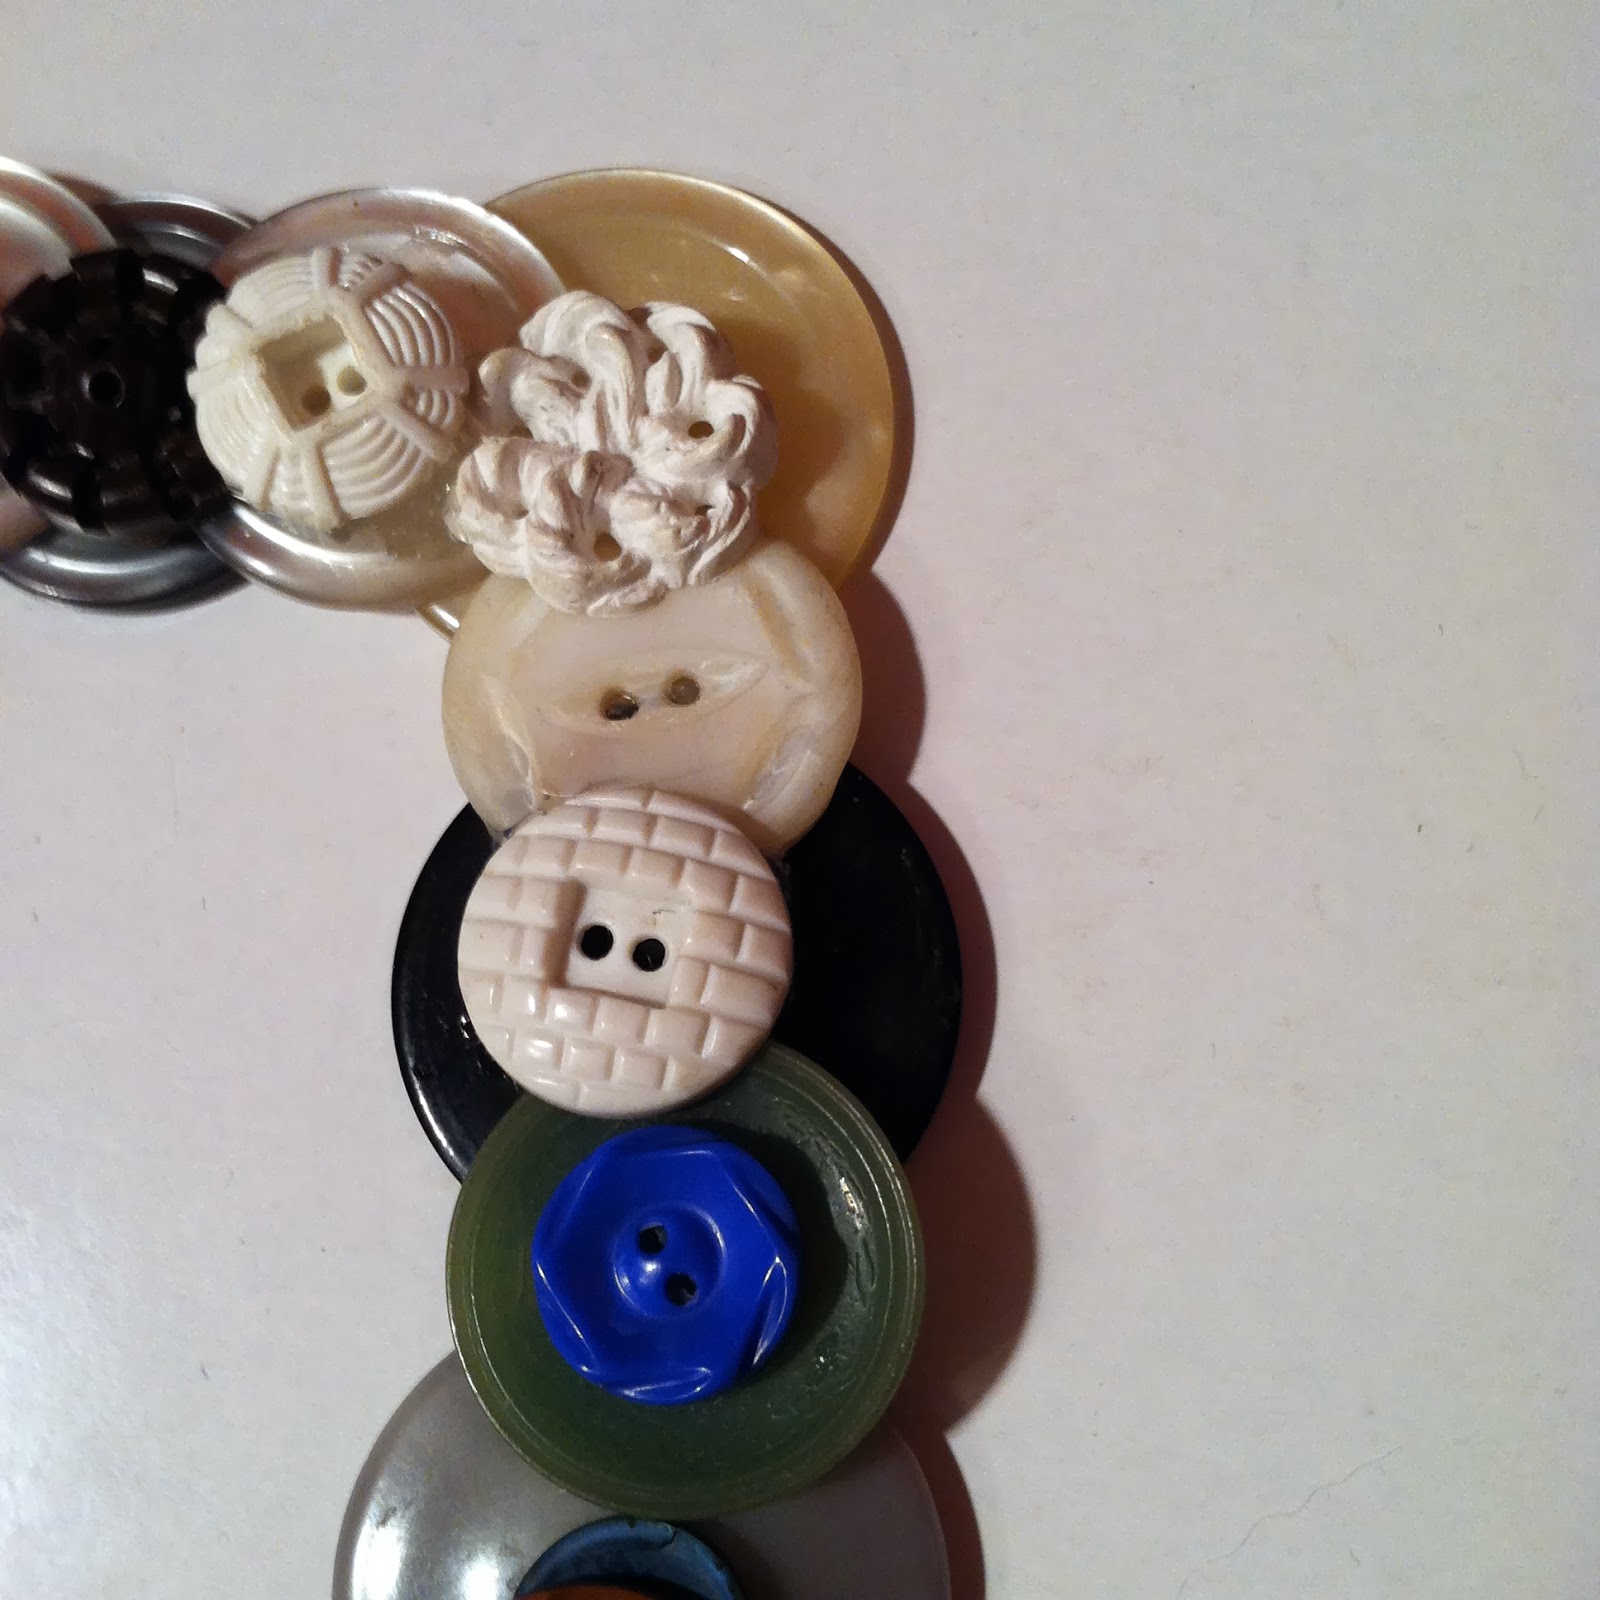
I finally had the opportunity to try out the new Amazing Mold Rubber – and I had all these crazy ideas as to what I wanted to do. When the time came to settle for one, I decided to go through the big bucket of buttons I had, and hand-picked the ones with the most detail. I wanted to see how much detail I would get from this new product. Well it took me forever to find the buttons I wanted to use, again I thought this would be a good test. I've seen and heard how this new product was amazing at showing detail on molded items. Once I had all the buttons it was time to create a frame, using the bigger and more simple buttons at the bottom and then going in size largest to the smallest with the greatest detail on top. You can see the two photos below, it shows the buttons I chose to be on the front of the frame to be molded.
Please follow the instructions for mixing the Amazing Mold Rubber {click here to view video how-to}. I don't know what I was thinking – I began to mix in small batches, then suddenly realized I had to mix the entire container, so I did.

.jpg)
I was so upset when I poured the entire bottle of rubber and realized I needed more. I did manage to cover the middle area of the frame otherwise I would end up wasting product. To do so, I took a plastic corsage box, cut the bottom and glued to my mold box before pouring the Amazing Mold Rubber. When making molds, please try and cover/block any areas that you don't need the rubber to go into. At this time I didn't have any other objects to mold other wise I could have glued them in the middle and make more than one mold at once.

Here is a side view of the mold in process, as you can see I needed quite a bit more rubber to cover the frame in order for it to mold the way I wanted it. You want to have at least 1/8" to 1/4" of Amazing Mold Rubber over your molded items so there won't be any tearing of your mold.
I waited two days – two days is just so long. I was so excited to see how this mold would turn out. I probably would have been able to wait less, but I just wanted to play it safe. When I went to un-mold my frame, I was so upset, the frame of buttons, broke off in pieces as I tried to remove it in one piece. That didn't work, also I noticed how the mold was not coming out as I had imagined it would.
Once I finished removing the frame I was so upset – see in my mind I saw the image of the frame I wanted; and now after all the work and time I spent – what I had in front of me was nothing like what I imagined. All I could say was Craft Fail!!!!
I was about to just cut it all up and use it as filler, but I just couldn't after all the time spent, the product used – so I had to find a way to make it work. I just took out my craft knife and began carving off what would be the back of the frame, I guess you can say I carved about 1/2 of the frame. Once I got to the top layer (front) of the frame, I began to see the pretty button designs and suddenly as I carved out all these pretty areas, I noticed that the areas I had removed were adding texture to the frame... suddenly I began to see that what I thought was a Craft Fail – was no longer that!!! It was a new idea, a new project!
Unfortunately in my despair I didn't take photos of how the mold looked before all the carving started, I was so upset that all I wanted was to salvage my mold and not once did it cross my mind to take photos. My apologies – that's what happens when you are so into your project (at least that's what happens to me). Now keep in mind this Amazing Mold Rubber will go into every little open area, so if you are going to mold a dimensional object, you need to make sure to fill in any open areas you don't need with hot glue. I did this to the top layers of buttons, but ran out of hot glue and I think that's the reason the bottom of the frame didn't come out right, the rubber got in between all the buttons and when I removed the buttons, it removed the rubber too.
Now here are a few close-ups of the mold, you can see all the detail captured by this product, I'm so in love with how AMAZING this product captured even the tiny details on the small buttons I used.


Now here are some photos of the frames I casted out of this mold. I made three frames, each different. I wanted to see how different it would look using the Amazing Casting Resin as opposed to the Amazing Clear Cast Resin, also I used the Alumilite Metallic Powders in different ways, for instance the first one I made was the gold frame, I brushed the gold metallic powder on the frame, trying not to miss any areas, then I mixed the Amazing Casting Resin and poured over the gold covered mold, you can see below how it set, it was a fast and rewarding process, I love the gold.

Here is the frame all covered in gold metallic powder.


Here is the first frame I made, it looks so pretty all in gold.
Now, I had to go back and try to add more than one color. Here I brushed the Alumilite metallic bronze, copper and gold powders on the buttons, then I took the pearlescent metallic powder and brushed it on the rest of the mold. I took the Amazing Clear Cast Resin, mixed according to the instructions on the box and poured it on the entire frame. I out it aside and waited 24 hours for it to set completely.


Here is the final result, the frame showing all the different metallic powders and the pearlescent giving the frame a beautiful glow on the Amazing Casting Resin around all the colored buttons. I used a little bit of Viva Decor metallic paints in blue, gold and silver, to help bring out some of the details in some of the buttons.

Here is a close up of the above frame, just look at all the details
captured by the rubber mold, just amazing!!!
I can't wait to play with this Amazing Mold Rubber, I hope this project has inspired you to try these products, I not only learned how great this new product is, but it allowed me to be creative, manipulating this rubber after I thought I had a useless mold, well it made this project even more rewarding, now I can't wait to use these frames in many different ways.
Products used:
- Recycled plastic box
- Assorted buttons
- Hot glue
- Amazing Mold Rubber
- Amazing Casting Resin
- Amazing Clear Cast Resin
- 1oz. Measuring cups
- Stir Sticks
- Paint brush
- Alumilite Metallic Powders; Copper, Silver, Gold, Bronze and Pearlescent
- Viva Decor metallic paint in blue, silver and gold.
- Craft knife
Please share your creations using
Amazing Crafting Products with us
by posting photos in our User Gallery.
***********
Thank you for stopping by. I invite you to stop over to my blog "What is Creativity"
at http://chuy-creativity.blogspot.com to see more of my creations. ~ Maria Soto
...........................................
Don't forget to subscribe to our blog on the right side bar:
Twitter at @AmazingCrafting | Facebook at AmazingMoldPutty | YouTube at AmazingMoldPutty

Glad it worked out for you-beautiful results!!
ReplyDelete